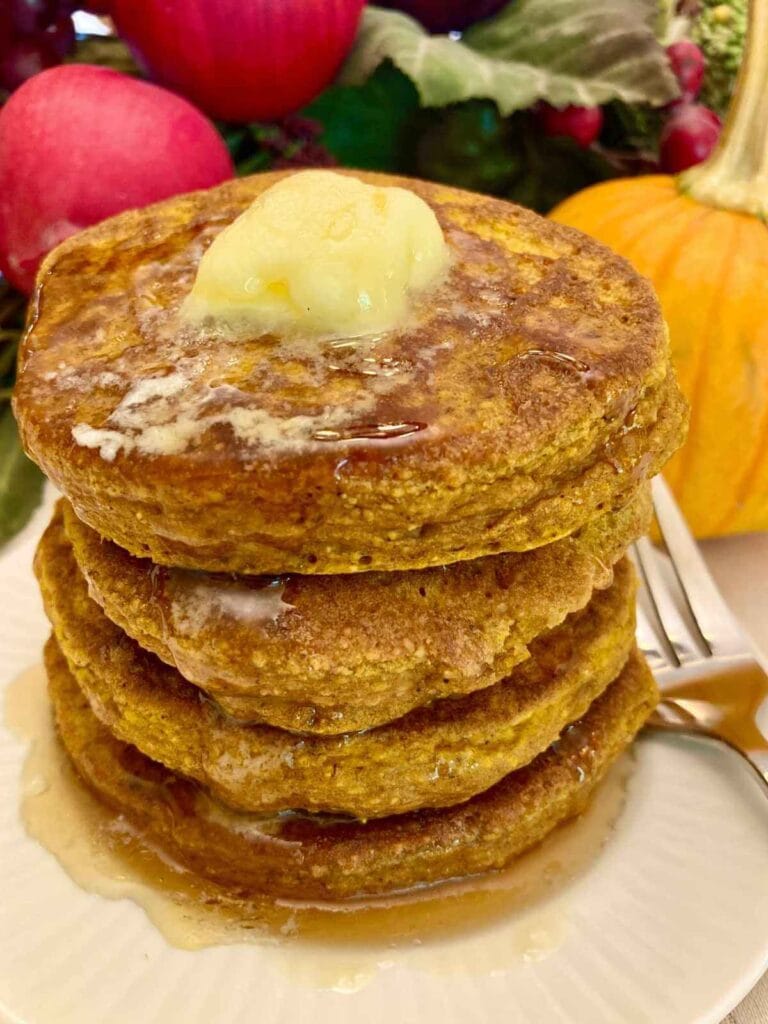
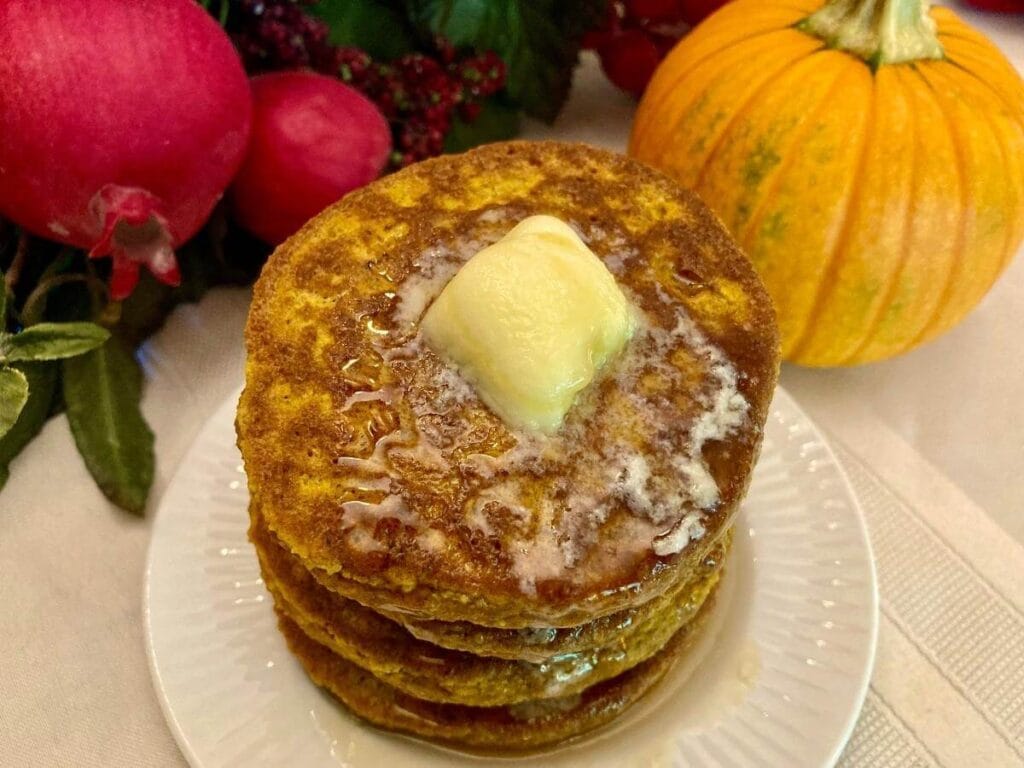
Fluffy, delicious, and full of rich pumpkin flavor, these oatmeal pumpkin pancakes are sure to be a favorite this fall! They’re quick and easy to put together and perfect for a weekday breakfast or autumn brunch.
I’ve always loved pumpkin in just about anything but coffee (I know, I’m in the minority with that one). Every fall I love coming up with as many ways to eat pumpkin as possible – gluten-free pumpkin cookies, pumpkin protein balls, gluten-free pumpkin muffins, gluten-free pumpkin cheesecake bars…
The list goes on and on.
When I’m wanting something a little more hearty, but still pumpkin, this recipe is my go-to! The oatmeal makes these pancakes a nourishing way to start your day, whether you’re running out the door on a busy weekend or enjoying a relaxing autumn brunch.
Why You’ll Love This Recipe
Rich, pumpkin spice flavor – This recipe doesn’t skimp on the pumpkin or spices!
High in protein – Made with oat flour and lots of eggs, these pancakes are much higher in protein than most making them a perfect way to start your day.
Simple, real ingredients – These pancakes are made with only simple, healthy ingredients, so you can feel great about eating them all autumn long!
Quick & easy – It only takes a few minutes to make these pancakes so they’re the perfect breakfast even on busy mornings.
Gluten-free recipe everyone will love – Many gluten-free recipes are an instant turn-off for those who regularly eat gluten. Not these pancakes! Even people who eat wheat won’t notice the difference.
Topping Ideas
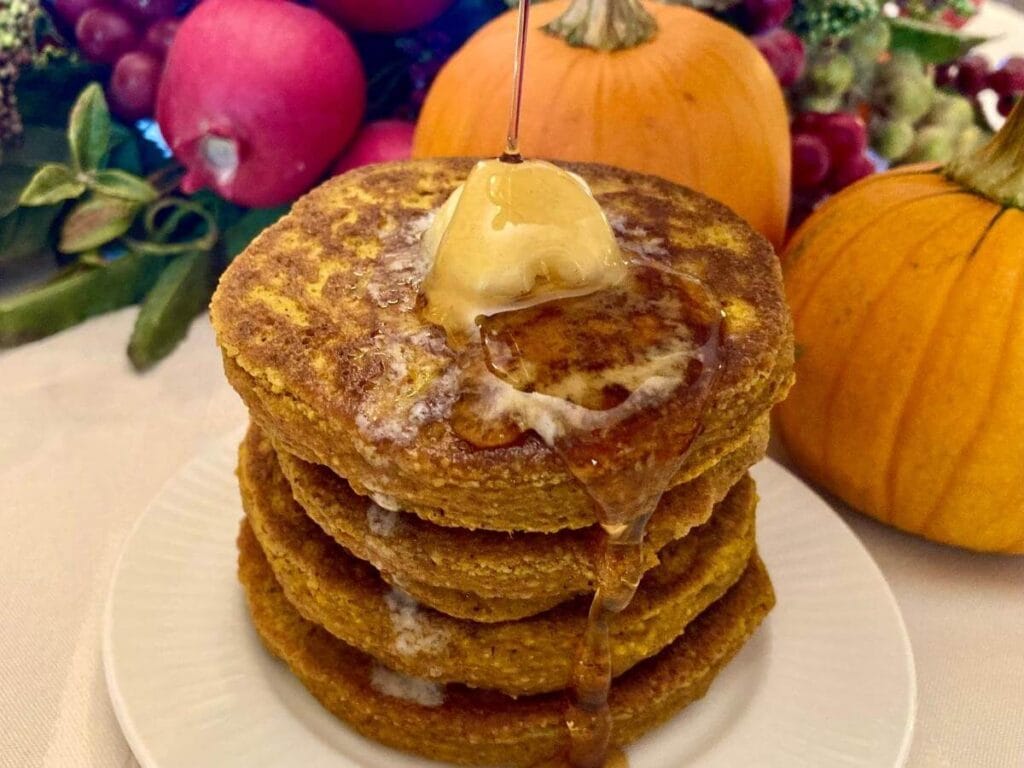
Toppings are one of the best parts of pancakes, and you can get creative with fun toppings for these pumpkin pancakes!
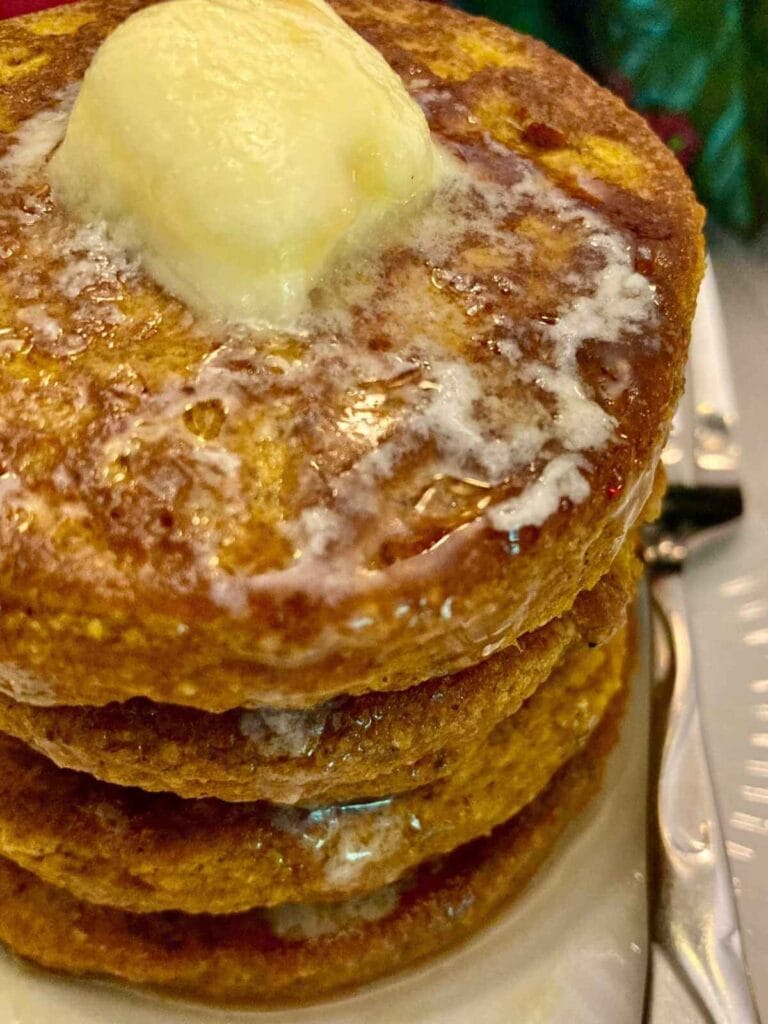
- Butter (I love making my own butter from raw milk)
- Coconut oil
- Maple syrup
- Honey
- Stovetop candied pecans
- Food processor whipped cream
- Low-sugar cranberry sauce
- Chocolate chips
How to Store
You can store any leftover pancakes in an airtight container in the fridge for 3-5 days. Go ahead and make a bigger batch to enjoy all week long!
For best results, reheat them in the oven or toaster oven.
Can I Freeze?
Yes! These pancakes freeze wonderfully!
To do so, let them cool completely and place in an airtight container or plastic freezer bag. Pancakes keep well in the freezer for up to two months.
When you’re ready to eat them, they can be reheated frozen or first thawed in the fridge. I prefer reheating them in an oven or toaster oven, however, a toaster can also work great! Just make sure to not let them get too crispy in a toaster.
How to Make Flour from Oatmeal
You can always buy oat flour, but it’s so easy to make your own from rolled or quick oats. There are usually more healthy choices (glyphosate-free, sprouted, organic, gluten-free, etc.) when you buy rolled oats, and I always like buying one ingredient and using it in multiple ways.
- Add oats to a food processor or blender making sure not to overfill.
- Pulse until they turn into a fine flour-like powder.
- Use right away or place in an airtight bag or container and store in a cool, dry place.
You can also read more detailed instructions on making your own oat flour.
Note: The amount of oat flour you have at the end of the process will always be less than the amount of oats you started with. Make sure to measure your oat flour before using it in any recipe.
Tools You May Need
This post contains affiliate links which means I earn a small commission at no extra cost to you. See my full disclosure here.
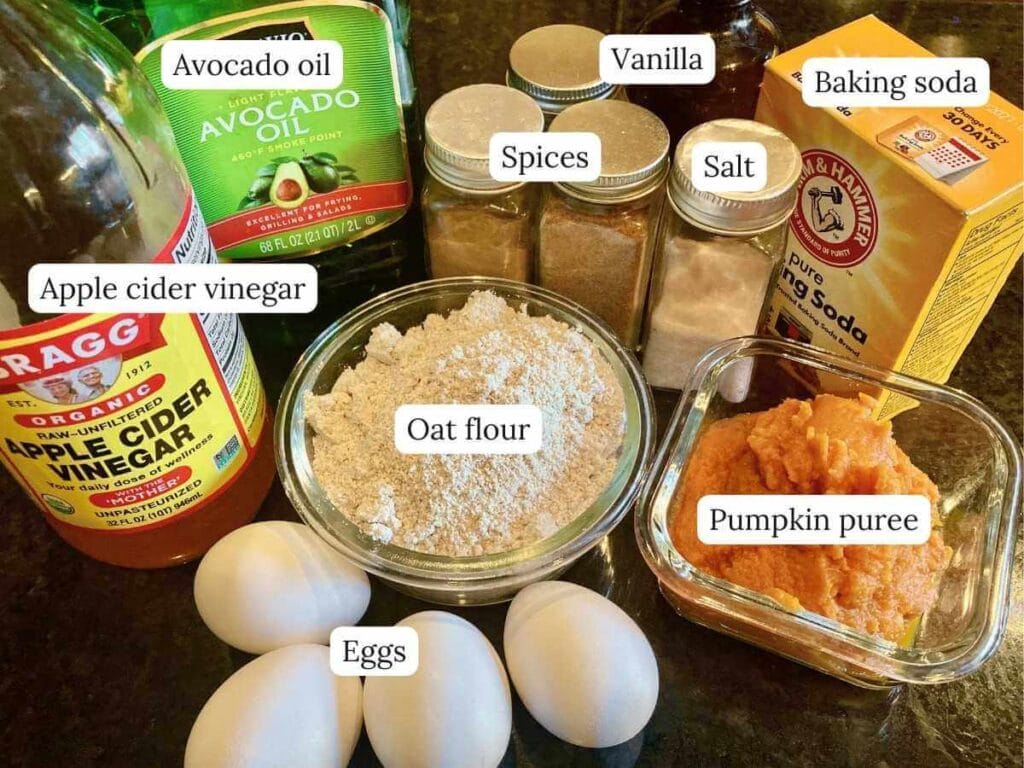
Ingredients
Oat flour – Homemade oat flour or store bought. If you need these pancakes to be gluten free, make sure to use gluten-free oat flour.
Pumpkin puree – Not pumpkin pie filling
Milk – Dairy or non-dairy
Eggs
Apple cider vinegar – Reacts with the baking soda to create more rise. Don’t worry, you won’t be able to taste it.
Baking soda
Vanilla extract
Spices – For the best flavor, use quality spices without additives. Mountain Rose Herbs is my favorite affordable source for organic, premium spices.
Salt – Sea salt or Himalayan
Step-By-Step Instructions
Start by heating your skillet on the stovetop on medium heat.
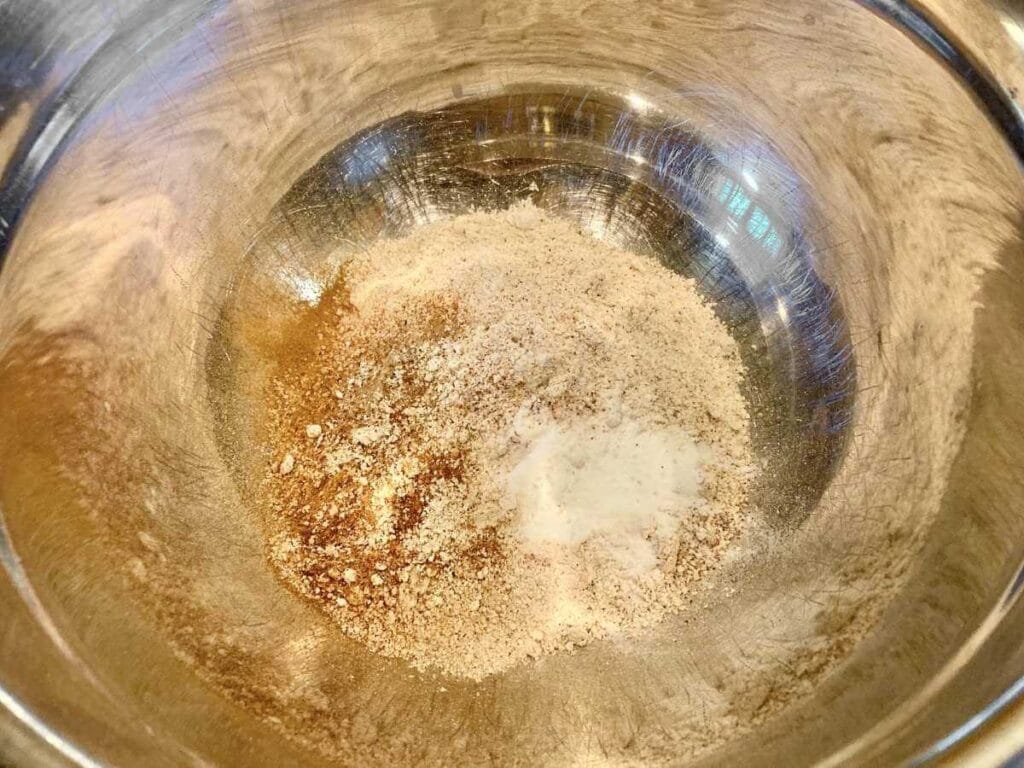
While it’s heating, in a large mixing bowl, whisk together the oat flour, baking soda, spices, and salt.
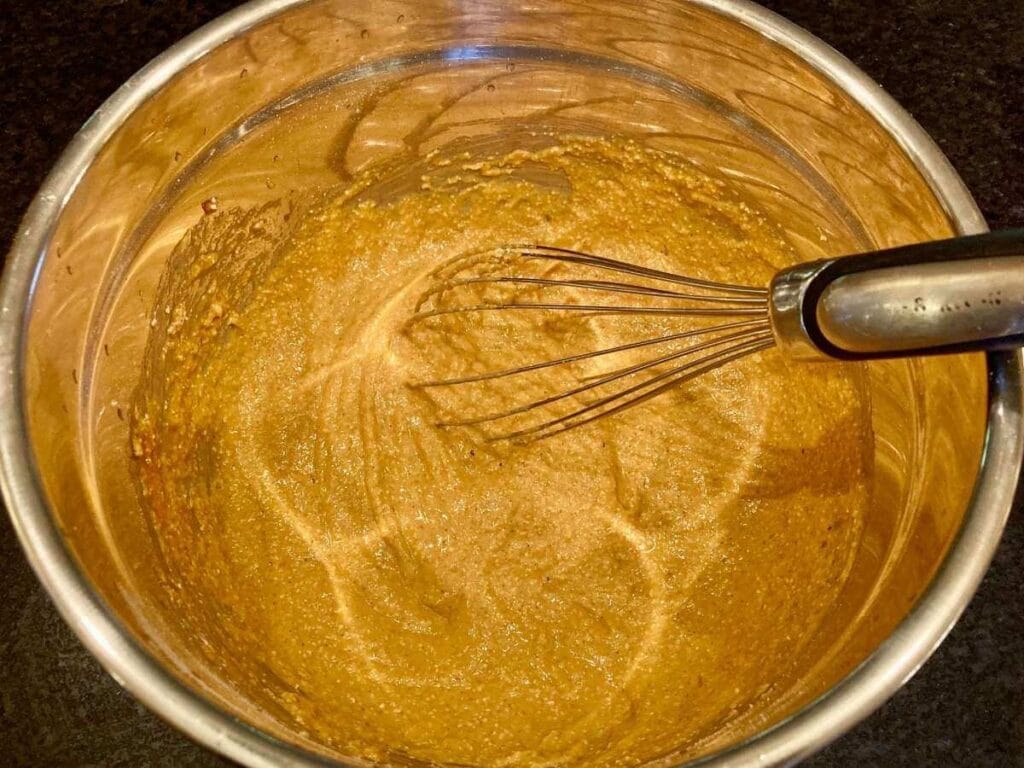
Then, add the pumpkin puree, milk, eggs, vanilla, and apple cider vinegar. Whisk until the mixture is well combined.
Once the skillet is hot enough that a drop of water splashed on it will sizzle, pour 1-2 tablespoons of oil into it. Then, scoop the batter into the skillet, using about 1/3 cup of batter for each pancake.

Now here’s the trick for fluffy oat flour pancakes! Cover the skillet with a glass lid (so you can see through it), and cook the pancakes until the bottom of the sides look like they’re beginning to get dry. Since this pancake batter is thicker than some, you won’t see bubbles like when cooking most other pancakes.
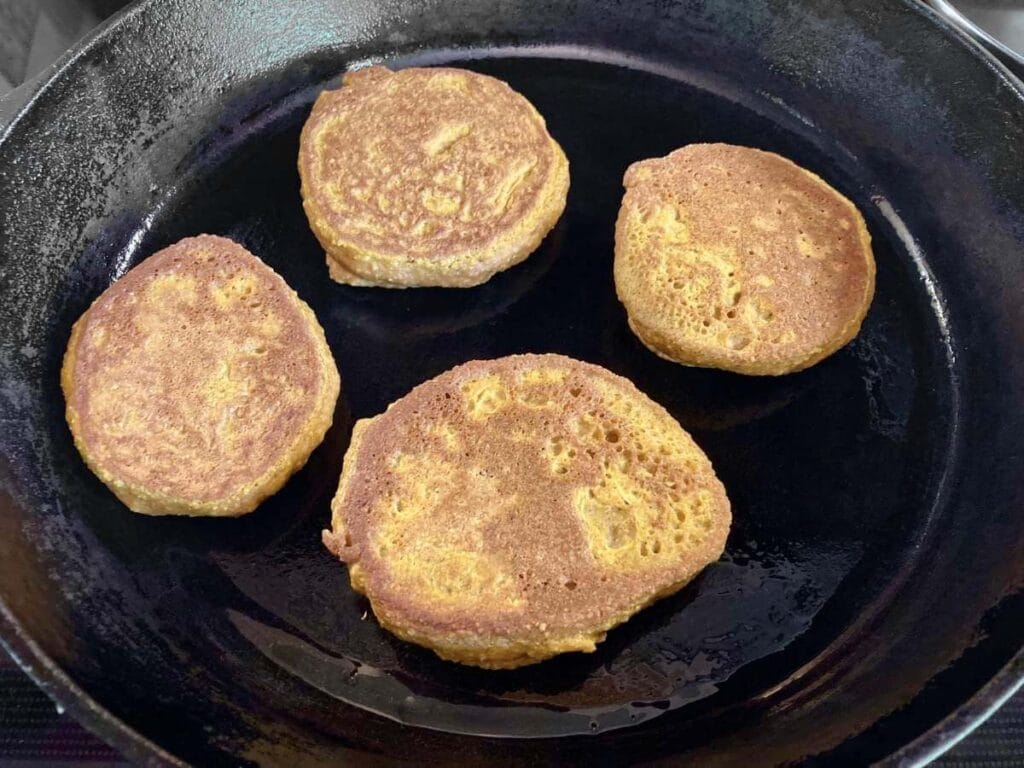
Remove the lid and flip the pancakes. Continue to cook them uncovered a few more minutes until they’re lightly browned on both sides.
Finally, place the finished pancakes on a platter and continue cooking the rest of the batter. Every other batch or so or as needed, you can add a little more oil to the skillet.
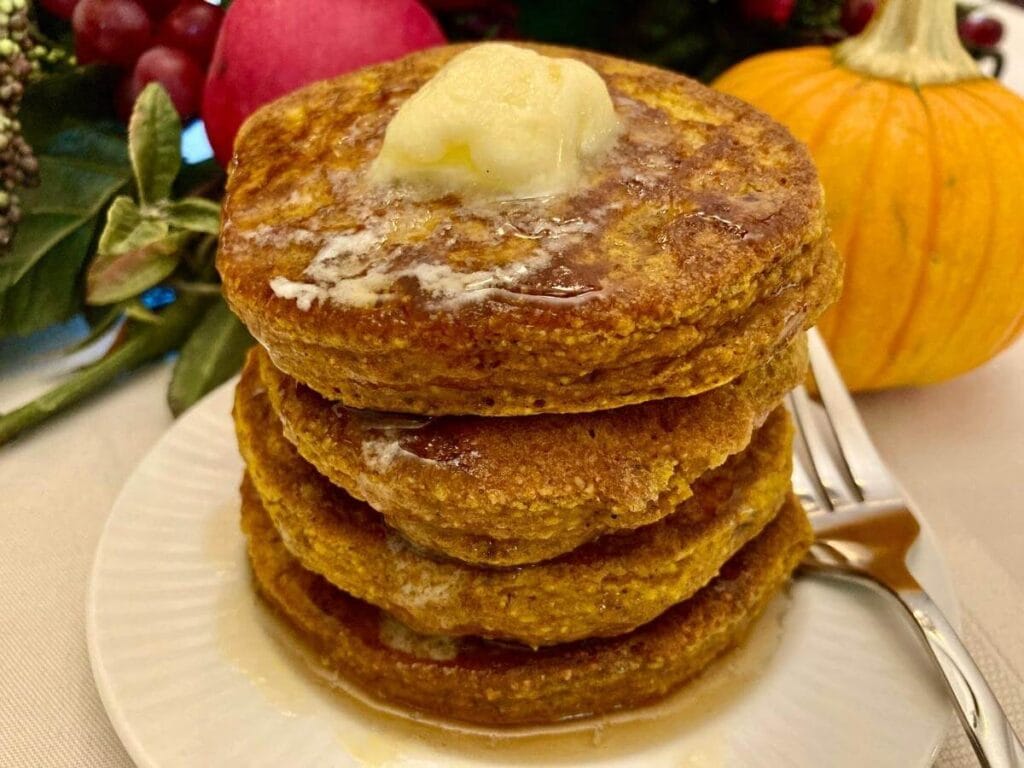
Serve immediately with any delicious toppings of your choice!
If you try this recipe, let me know in the comments! Tag me on Instagram @violet_rightathome
More Clean Eating Breakfast Recipes
Blueberry Cheesecake German Pancakes

Oatmeal Pumpkin Pancakes (Gluten-Free)
Ingredients
- 1 1/2 cups oat flour
- 2 teaspoons baking soda
- 1 teaspoon cinnamon
- 1/2 teaspoon nutmeg
- 1/2 teaspoon cloves
- 1/4 teaspoon salt
- 1 cup pumpkin puree
- 2 teaspoons apple cider vinegar
- 1 teaspoon vanilla extract
- 1/3 cup milk
- 4 eggs
Instructions
- Heat your skillet on the stovetop on medium heat.
- In a large mixing bowl, whisk together the oat flour, baking soda, spices, and salt.
- Add the pumpkin puree, milk, eggs, vanilla, and apple cider vinegar. Whisk until the mixture is well combined.
- Once the skillet is hot, pour 1-2 tablespoons of oil into it.
- Scoop the batter into the skillet, using about 1/3 cup of batter for each pancake.
- Cover the skillet with a glass lid, and cook the pancakes until the bottom of the sides look like they're beginning to get dry.
- Remove the lid and flip the pancakes.
- Continue to cook them uncovered a few more minutes until they're lightly browned on both sides.
- Place the finished pancakes on a platter and continue cooking the rest of the batter. Every other batch or so, add a little more oil to the skillet.
- Serve immediately with any delicious toppings of your choice!
Nutrition
If you love these pancakes, please make sure to come back and leave a comment and a 5 star rating. I’d love to hear how it turned out for you!
Also, I’d love to have you part of the Right At Home community! Make sure to join my newsletter for all the latest clean eating recipes and clean living tips and DIYs.


This is a favorite fall breakfast around here, and I think you’ll see why when you make it!