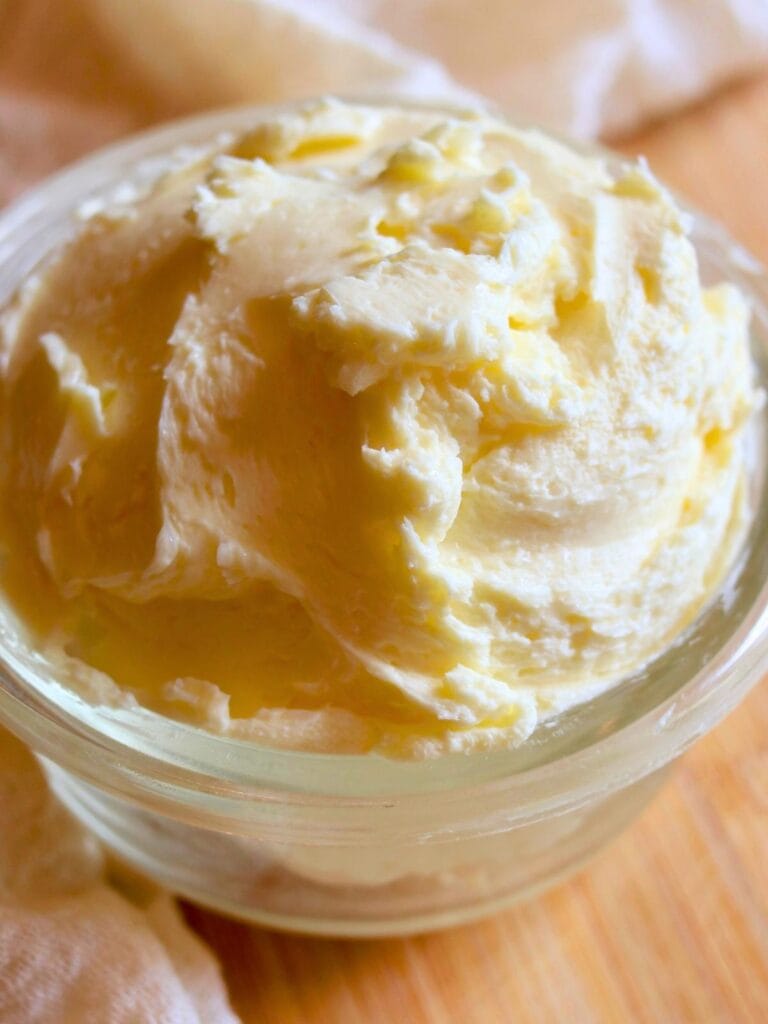
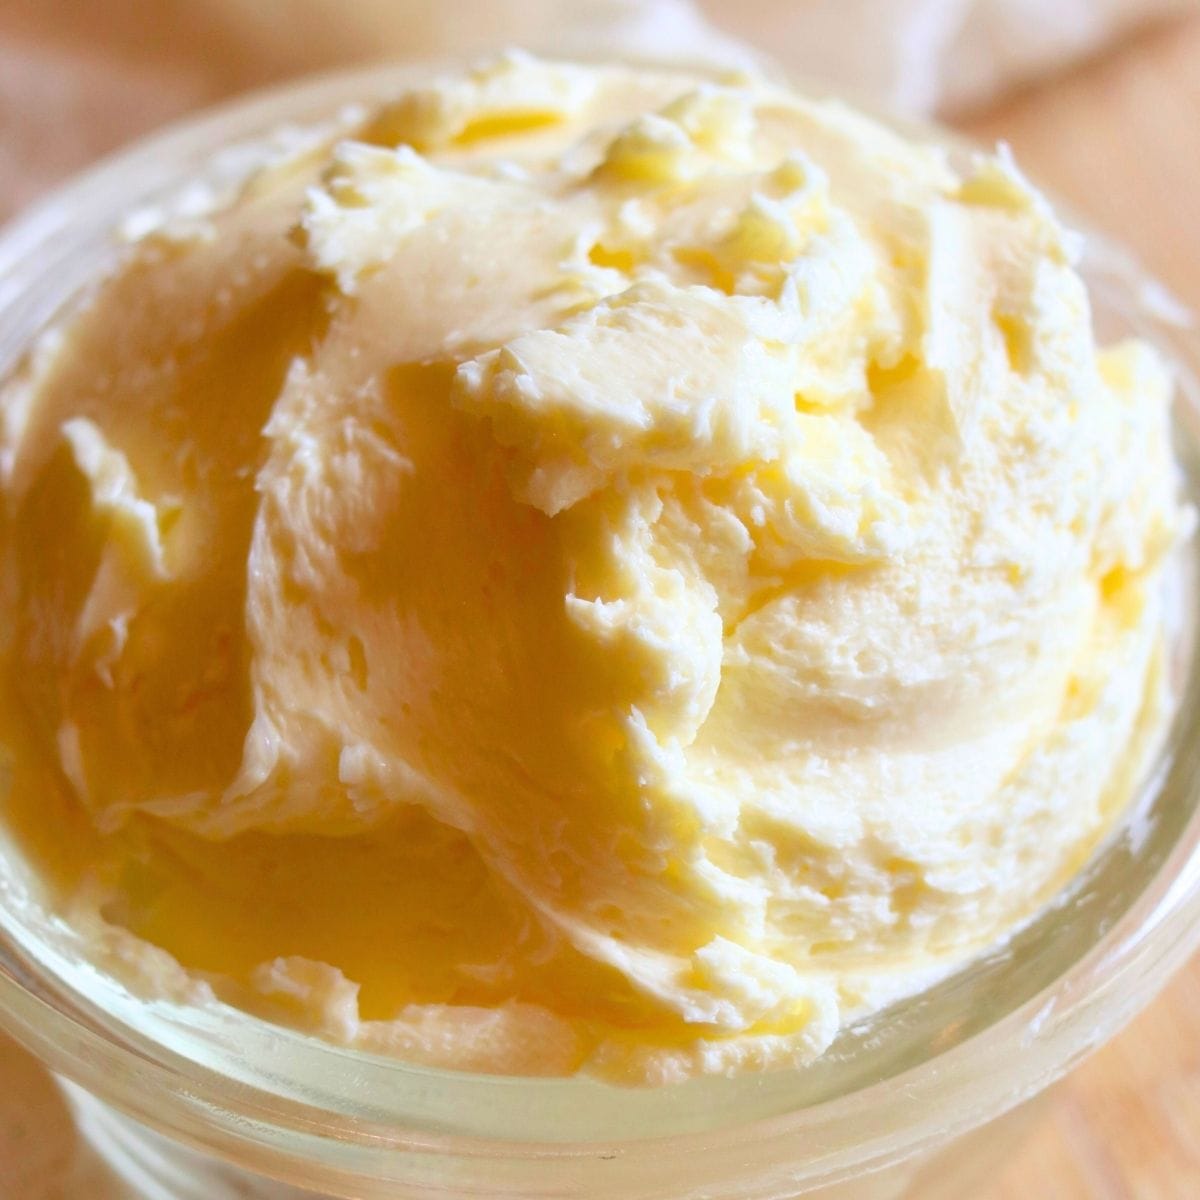
Rich and creamy, butter from raw milk is easy to make and nutrient-dense. It’s delicious in baking, cooking, or just slathered on a piece of toast.
Quick Look at the Recipe
- 🍽️ Flavor: Rich and creamy
- ⏱️ Prep Time: 10 minutes
- 👥 Yield: 1/2 pound
- 🥣 Main Ingredient: Cream
- 📋 Method: Blend in food processor or blender
- ❄️ Freezer Friendly: Yes, most dairy products don’t freeze well, but butter is an exception.
- 👩🍳 Tip: A food processor or blender is the fastest and best mess-free way to make homemade butter.

The Best Butter Around
As someone who prioritizes traditional, nutrient-dense foods, raw milk is a staple in our home. Not only is it delicious for drinking, but it makes the best homemade yogurt, whipped cream, and more.
Out of everything I use it for, there’s nothing like homemade butter. It’s rich, creamy, and slightly sweeter than store-bought, and it’s surprisingly simple to make!
Packed with healthy fats and vitamins, it’s a kitchen staple you’ll make on repeat.
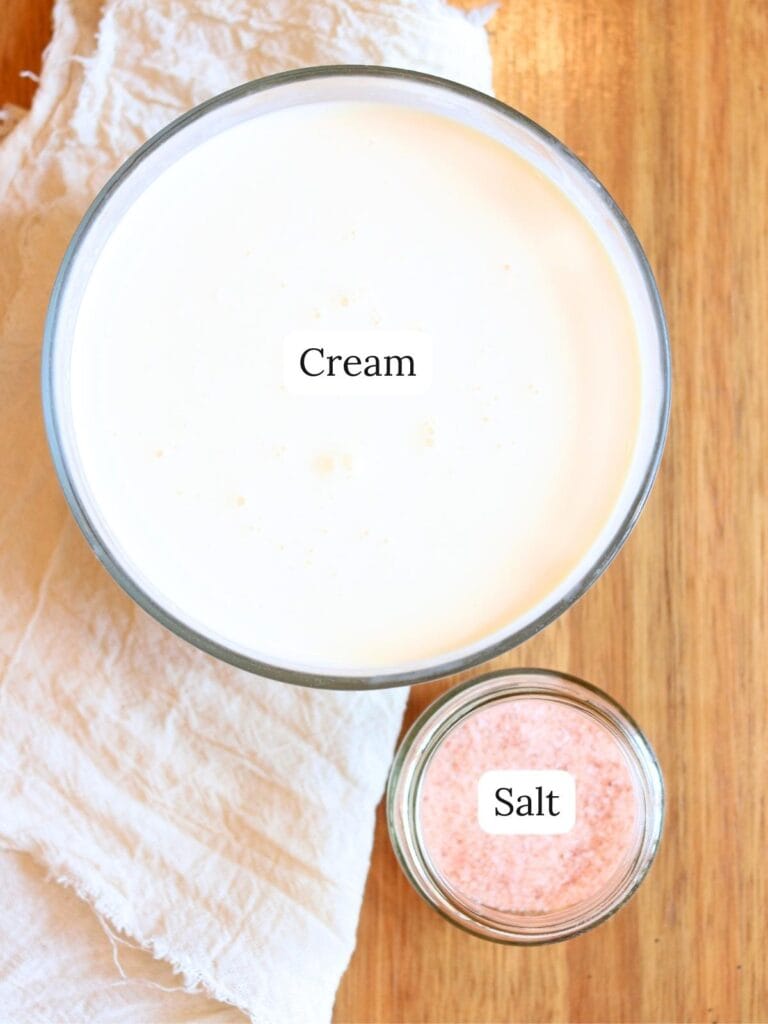
Ingredients
Tools Needed
Step-By-Step Instructions

Step 1: First, pour the cream into a food processor and blend until the butter separates from the milk. The time this takes will vary significantly depending on how powerful your food processor is. If you’re not sure if it’s ready, it’s probably not.
You can also use a high-speed blender for this.
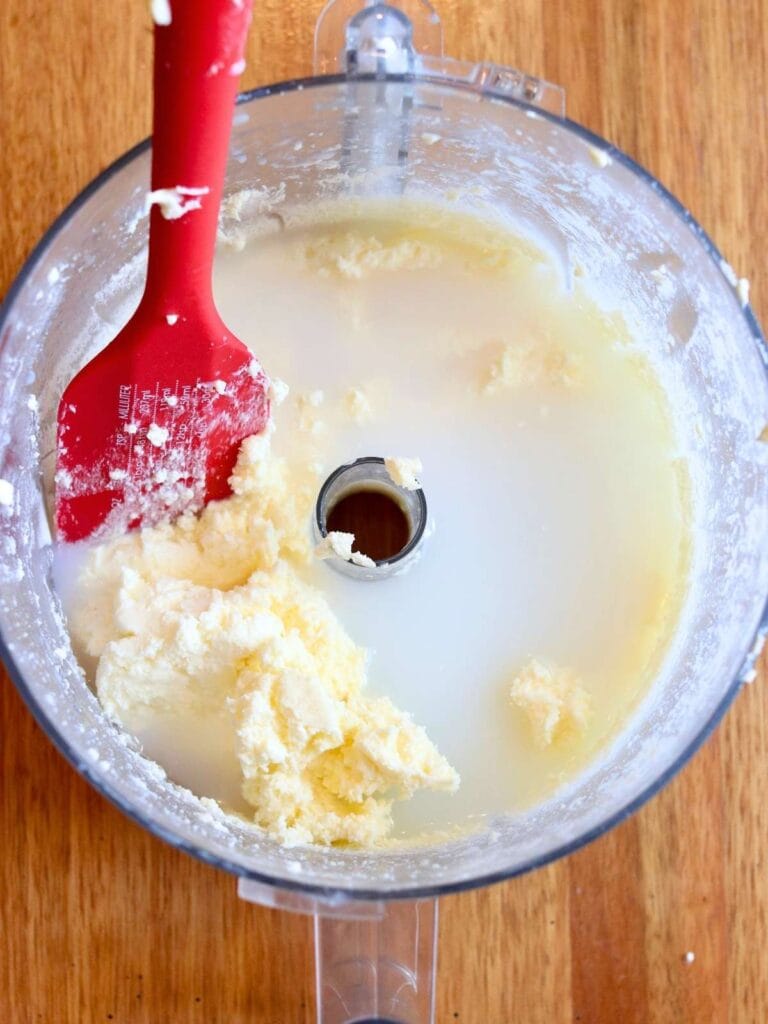
Step 2: Then pour off the liquid buttermilk from the butter.
Now remove the food processor blade and pour enough cold water over the butter to fully cover it. Use a spatula to stir and smash the water into the butter to rinse off access buttermilk, and then pour off the water.
Step 3: Repeat the previous step until the water is mostly clear when stirred into the butter.
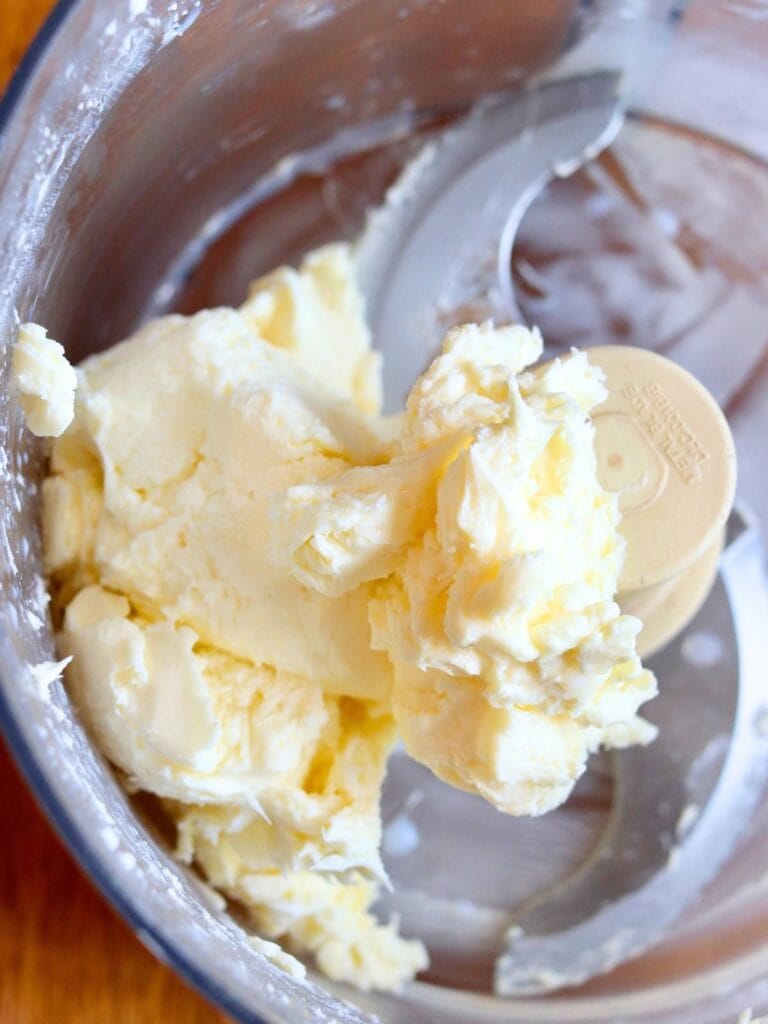
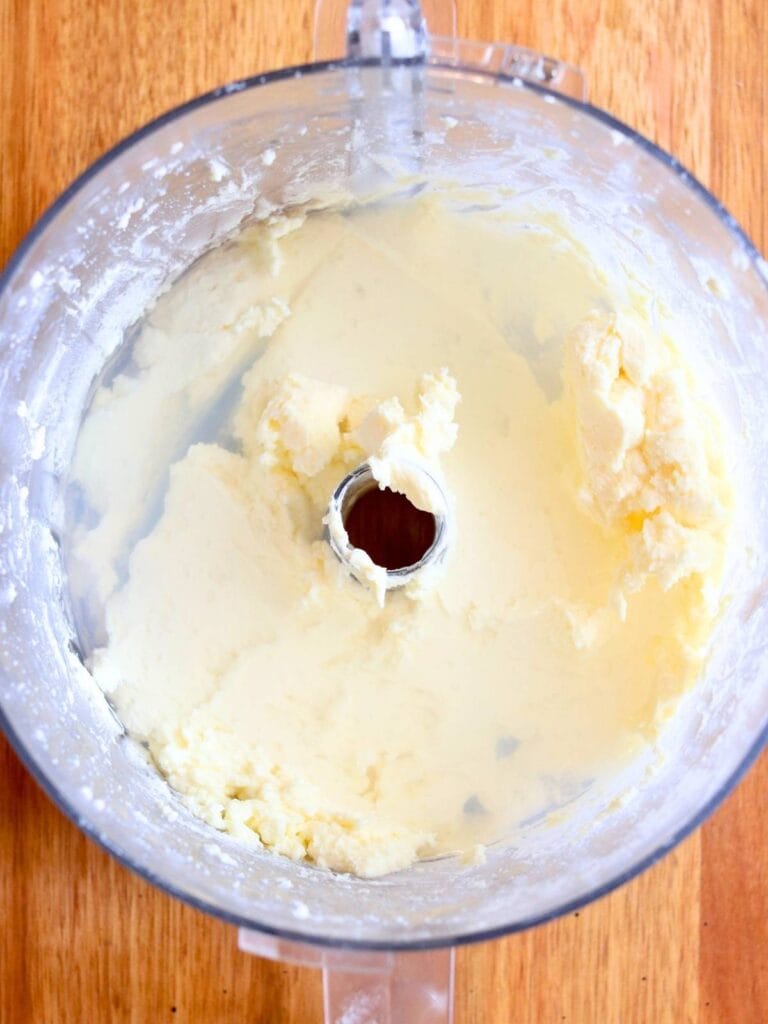
Step 4: Then place the blade back in the food processor, add salt if you would like, and turn it on for a few seconds to form the butter into a ball.
If you added salt, you’ll need to let the food processor run a little longer to make sure it’s thoroughly mixed.
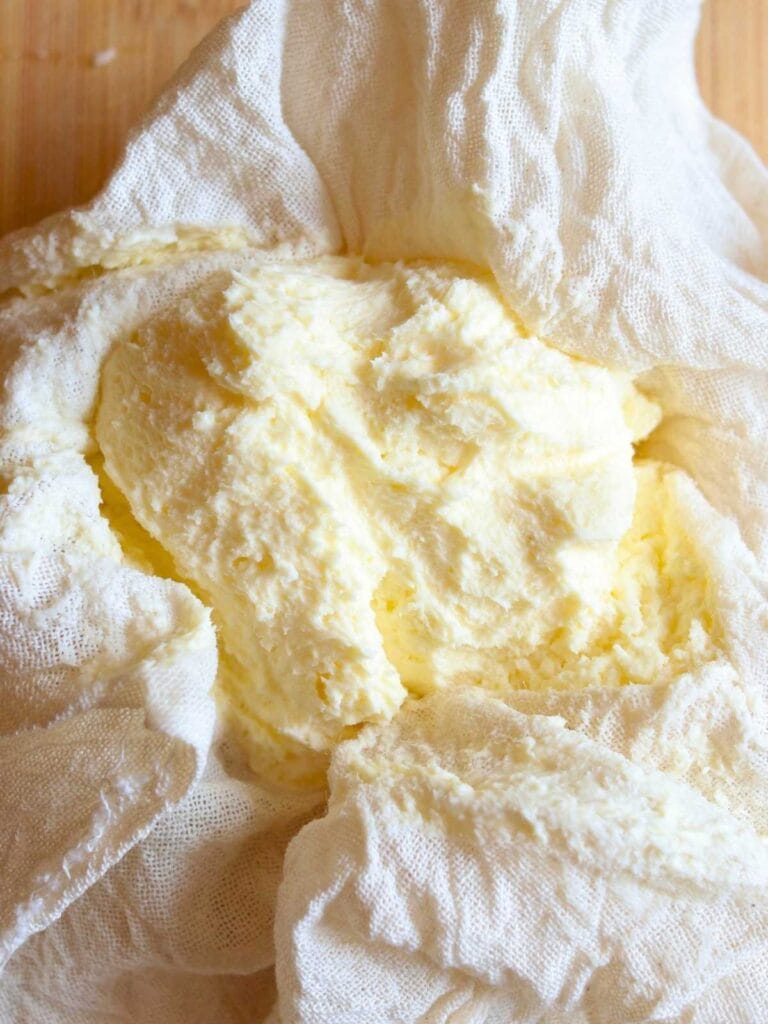
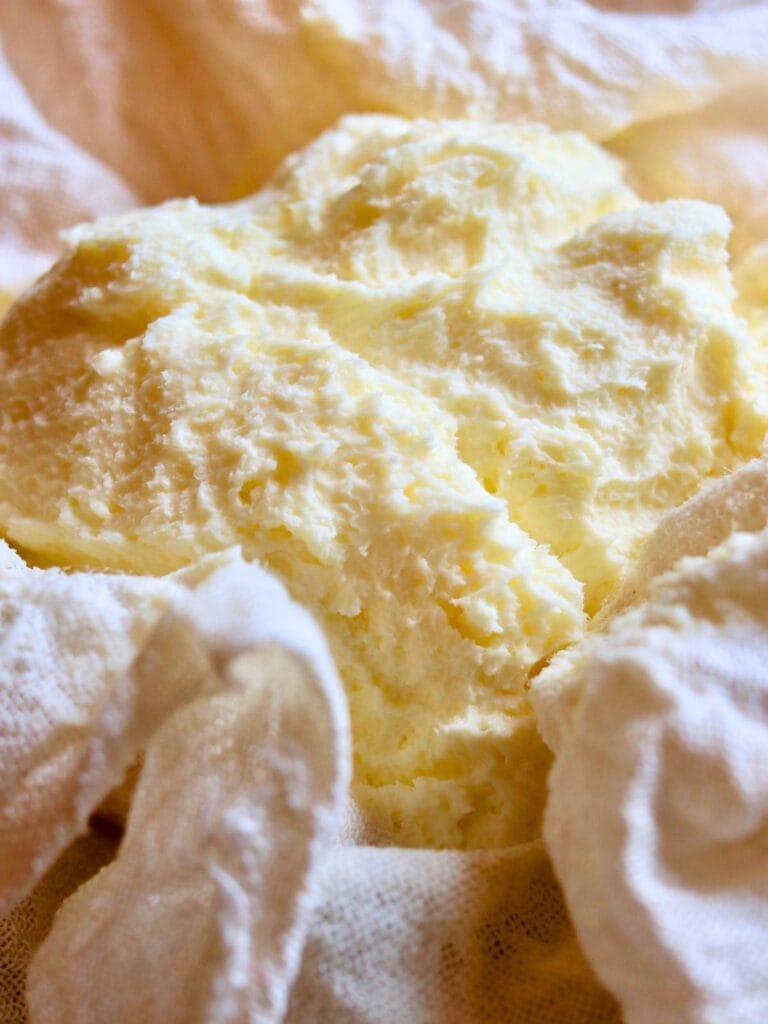
Step 5: Finally, scoop the butter into a cheesecloth and squeeze out any remaining liquid.
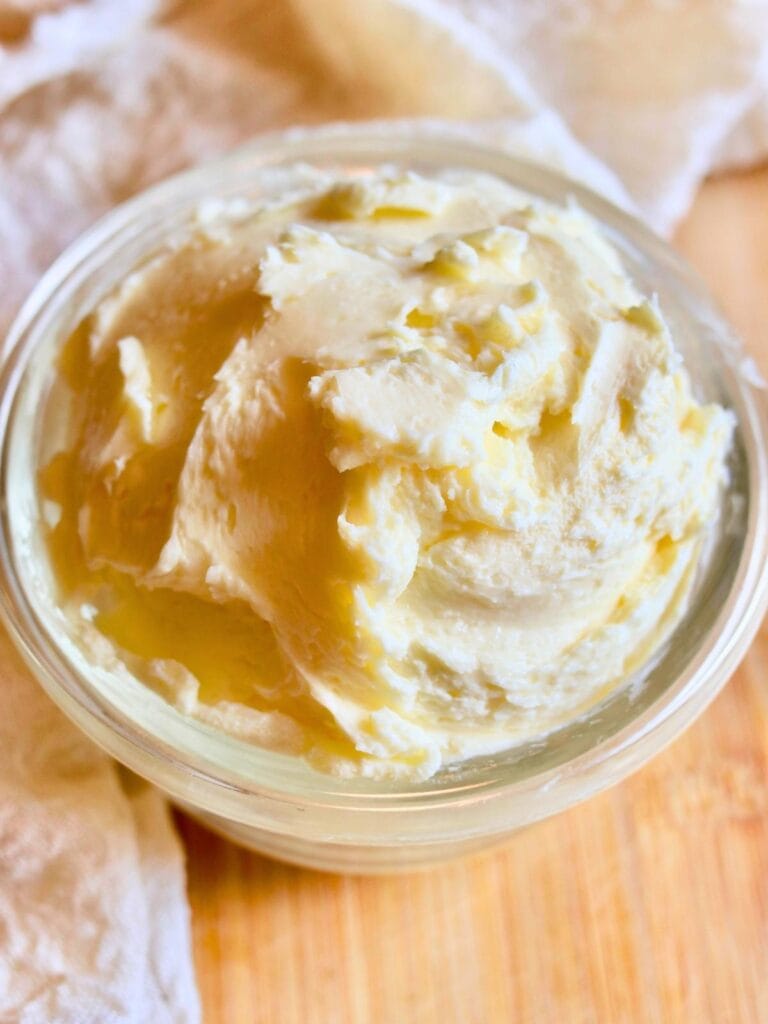
Step 6: Now you can enjoy your own homemade butter!
If you’re looking for more ways to use raw milk, check out my yogurt with raw milk and healthy ice cream!
Tips for Success
Let the milk chill at least 48 hours before skimming off the cream – If you try to skim the cream off sooner, it likely won’t be fully separated from the milk.
Rinse the butter well – Buttermilk spoils faster than butter, so the more buttermilk you rinse off, the longer it will last.
Add salt (if desired) after rinsing – If you add salt at the beginning, your buttermilk will also be salted.
How to Use Buttermilk
Traditionally, butter was made from cultured cream so the buttermilk had a sour flavor. These days, sweet cream butter (uncultured butter) is the most popular, so the buttermilk is not sour.
For this reason, sweet buttermilk from this recipe will not work in recipes calling for buttermilk. You can simply pour the buttermilk back into the container of milk, and use it like regular milk.
If you’re interested in making old-fashioned cultured butter and buttermilk, you can purchase an heirloom buttermilk starter from Cultures for Health.
FAQs
The amount of butter will depend on how much cream is in the milk, however typically it will take about 2 gallons to make a pound of butter. Most milk will have 2-3 cups of cream which will yield 1/3 – 1/2 pound of butter.
Homemade raw butter will last about 60 days in the fridge or 1 year in the freezer. If you prefer to leave it at room temperature, it’s best eaten within a couple of days.
A food processor of high-speed blender can turn cream into butter in about 5 minutes or less. Churning butter with a mixer or by hand takes significantly longer.
First, remove the cream from the milk and churn it in a food processor or blender until the liquid separates from the butter.
Yes, raw milk makes delicious butter that’s perfect for baking, cooking, and using as a condiment.
If you try this recipe, snap a photo and tag me on Instagram @violet_rightathome
Butter from Raw Milk (Food Processor/Blender Method)
Ingredients
- 3 cups cream
- 1/2 teaspoon salt optional
Instructions
- Pour the cream into a food processor or blender and blend until the butter separates from the milk. Then pour off the liquid buttermilk.3 cups cream
- Remove the food processor blade and pour enough cold water over the butter to fully cover it. Use a spatula to stir and smash the water into the butter to rinse off access buttermilk, and then pour off the water.
- Repeat steps 3 and 4 until the water is mostly clear when stirred into the butter.
- Place the blade back in the food processor, add salt if you would like, and turn it on for a few seconds to form the butter into a ball. (If you added salt, you'll need to let the food processor run a little longer to make sure it's thoroughly mixed.)1/2 teaspoon salt
- Scoop the butter into a cheesecloth and squeeze out any remaining liquid. Enjoy!
Notes
- To make sure the cream has fully separated, let the milk chill at least 48 hours before skimming off the cream.
- The time it takes for the butter to separate from the buttermilk will vary significantly depending on how powerful your food processor is. If you’re not sure if it’s ready, it’s probably not.
- Traditionally, butter was made from cultured cream so the buttermilk had a sour flavor. This recipe is for sweet cream butter (uncultured butter) so the buttermilk is not sour. For this reason, buttermilk from this recipe will not work in recipes calling for buttermilk. You can simply pour the buttermilk back into the container of milk, and use it like regular milk.
Nutrition
If you tried making your own butter, I’d love to hear how it turned out for you! Please make sure to come back and leave a comment and a ⭐️⭐️⭐️⭐️⭐️ rating.


I love making homemade butter with our raw milk! Let me know in the comments if you have any questions on how to do it yourself. I’d love to help!