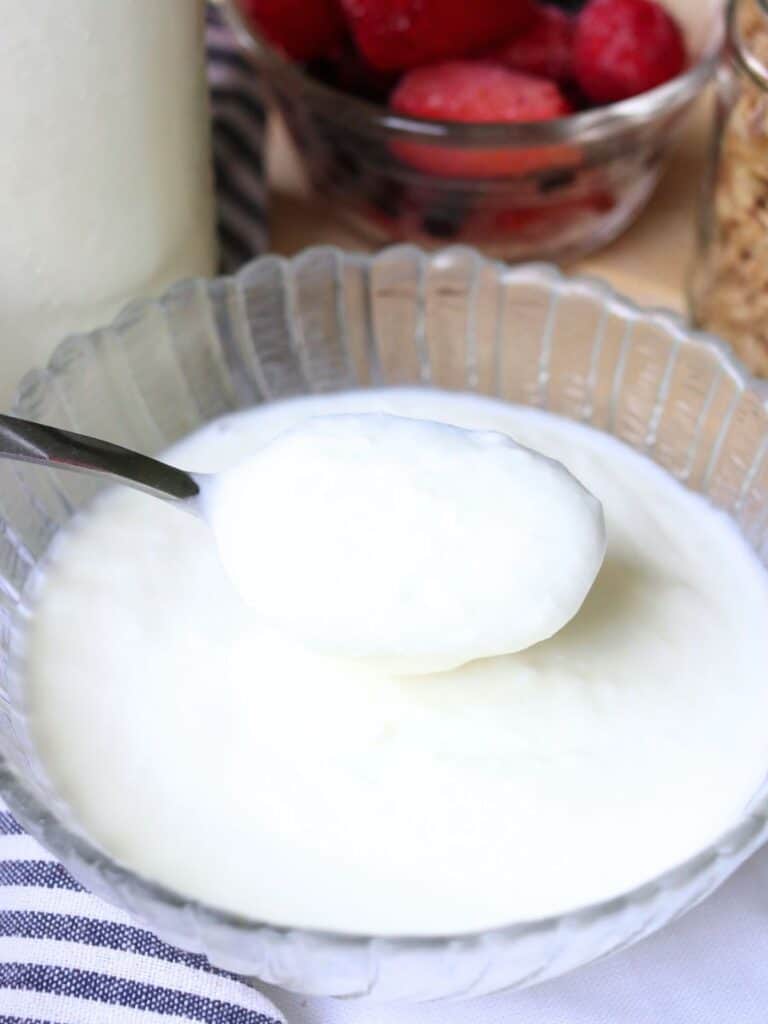
Knowing how to make yogurt from raw milk is a skill every homesteader and raw dairy-lover should have! This simple method makes the best smooth, creamy, and rich yogurt using only two ingredients and no special tools.
When I was growing up, my family never had a cow, but we usually found a way to buy fresh, raw milk. Now that I have my own family, finding a quality source of raw milk is a big priority, and I do my best to always keep it on hand.
Since it’s so much better than typical store-bought dairy, I love using it to make all my own dairy products such as raw milk butter and yogurt. After trying various techniques for fermenting dairy, I’m convinced that this is the best method for making rich, thick yogurt every time!
Why You’ll Love This Recipe
Better than store-bought – You’ll never find yogurt in the store with such a rich, creamy flavor!
Easy way to preserve milk – Yogurt lasts a little longer than fresh milk, so it’s the perfect way to preserve it.
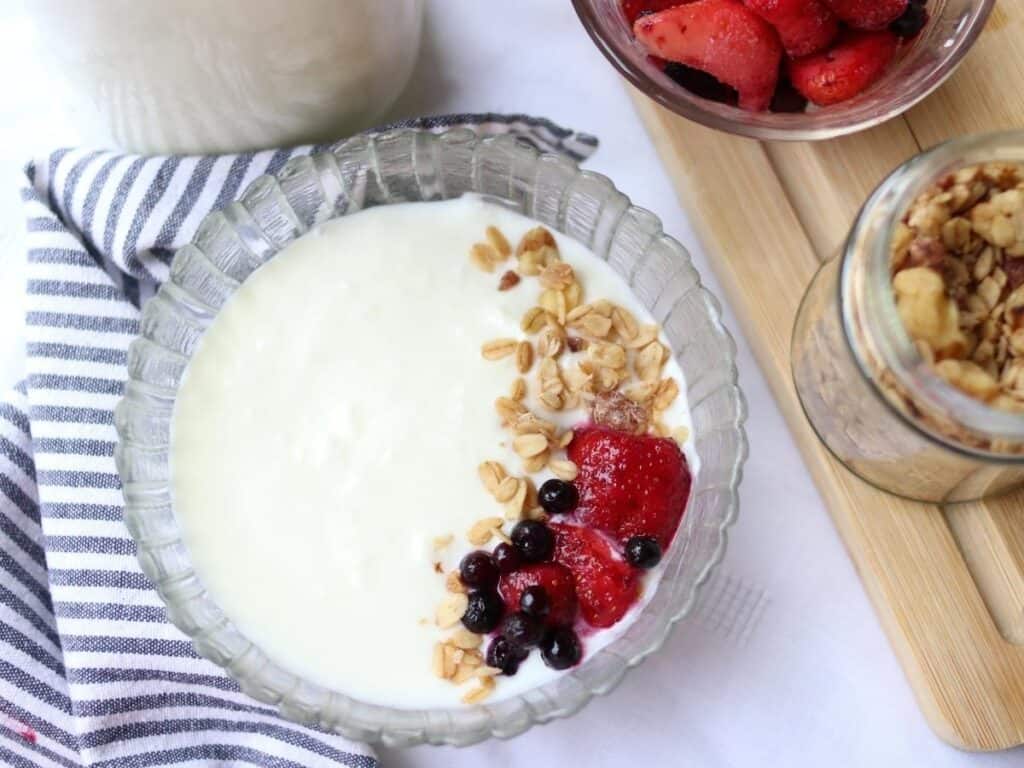
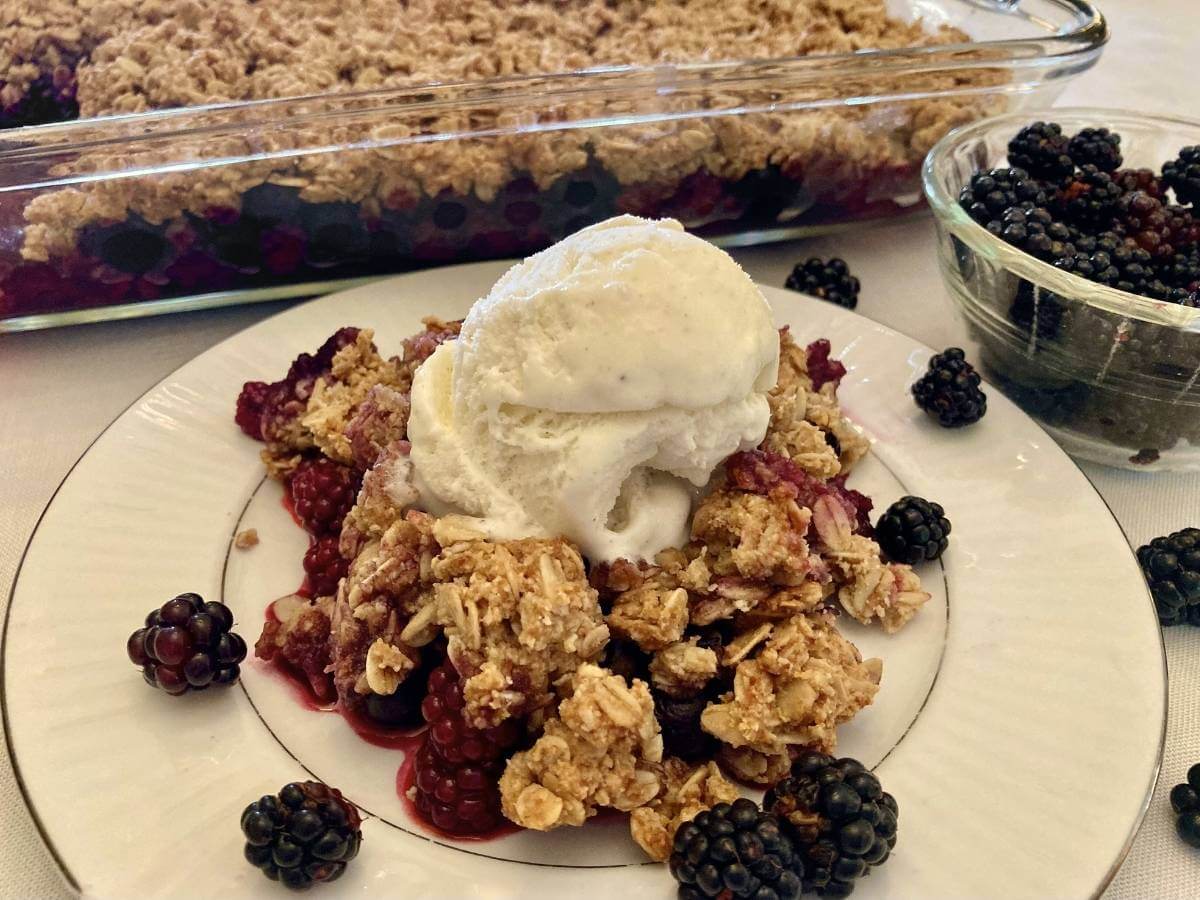
Healthy snack – Yogurt is a favorite snack or healthy breakfast for kids and adults alike! Use it to replace some of the milk in a ginger smoothie or eat it with this granola recipe (low-sugar) and berries.
Versatile food – Whether you love making yogurt bark, yogurt dill sauce, or using it for the best moist muffins (like my apple oat muffins), there are so many delicious and creative ways to eat yogurt!
Yogurt Starter Options
When making homemade yogurt you have three starter options, all of which have pros and cons.
Store-Bought Yogurt
You can use a small amount of plain store-bought yogurt to start your batch of raw milk yogurt. If you do, make sure that it has no additives, sweeteners, or flavors and contains live active cultures.
Pros:
- Easily obtained (you may already have some in your fridge)
- Doesn’t require you to maintain a starter
Cons:
- You have to purchase more for each batch you want to make. If you start your homemade yogurt with store-bought yogurt, you cannot use your homemade yogurt to start your next batch. It may seem to work, but the results will be unpredictable and get increasingly worse as time goes on.
- Various factors outside of your control (or knowledge) can determine how many live active cultures are actually in the starter yogurt. This can lead to unpredictable results.
Commercial Yogurt Starter
This is another popular method for making yogurt. You can often buy commercial yogurt starters at health food stores or online. Cultures for Health is my favorite brand for a reliable commercial starter.
Pros:
- There’s no need to check the ingredients for additives that may be in store-bought yogurt.
- You don’t need to worry if there are any live active cultures.
- Consistent results (if you are using the same ingredients and technique every time)
Cons:
- Using a commercial yogurt starter is the most expensive option for starting homemade yogurt.
- You have to purchase more for each batch of homemade yogurt you make.
Heirloom Yogurt Starter
This is my favorite type of yogurt starter! Cultures for Health has an heirloom Bulgarian starter that I use to start my yogurt, and I highly recommend it.
Pros:
- Lasts indefinitely. You can use each batch of homemade yogurt to start the next batch, and there’s no need to purchase more starter. If you want to be self-sufficient in your yogurt-making, heirloom starters are the way to go!
- Most affordable option to start yogurt. Since you never need to buy more starter, this is by far the cheapest method.
Cons:
- Requires upkeep of your starter. In order to keep making batch after batch of yogurt without buying a new starter, you have to make sure the yogurt is properly stored and not contaminated or you’ll ruin the starter. (A good tip for this is to as soon as your current batch of yogurt is done, pull out enough to start the next batch and store it separately from the rest of the yogurt.)
- You will need to make yogurt at least once a week in order to maintain the freshness of the starter. (There are a few tricks if you have to skip a week or two, but they can be unreliable.)
- Can lead to unreliable results if your starter gets contaminated or old.
Do I Have to Heat Raw Milk to Make Yogurt?
Technically, you can make yogurt without heating the milk as hot, however, it won’t turn out as well.
The bacteria naturally present in the raw milk will be so potent that they will compete with the bacteria in the yogurt starter. This leads to inconsistent results, and you will not be able to maintain an heirloom yogurt culture with this method.
The second reason for heating the milk is to denature the proteins which help the yogurt thicken properly. Don’t worry, even after heating, raw milk will still be non-homogenized and so much better than store-bought!
Tips for Thick Yogurt
This raw milk yogurt doesn’t have any thickeners that are often in store-bought yogurt, so it will naturally be slightly runnier. However, there are a few things you can do to help your yogurt thicken.
Try another starter – Different yogurt starters will make a difference in how yogurt thickens. You can try different brands of yogurt to use as a starter, use a commercial starter, or buy an heirloom starter. Do not try mixing starters as this can upset the bacteria balance and even create yogurt that is dangerous to eat.
Heat milk longer – Holding the milk at approximately 180 degrees for 30 minutes will denature the proteins and help the yogurt to thicken.
Strain the yogurt – Another way to thicken yogurt is to strain off the whey using a cheesecloth. If you use this method, don’t throw out the whey! There are many wonderful uses for it.
For more yogurt-making tips, check out my guide to homemade yogurt!
How to Store
Yogurt made with raw milk will keep for about two weeks in the fridge.
However, if you started your yogurt with an heirloom starter, you will need to make your next batch within one week for best results.
Can I Freeze Yogurt?
Yes, you can freeze yogurt, but it won’t have a good texture once it’s thawed. If you freeze it, it’s best to eat it still frozen (like frozen yogurt bark).
Also, keep in mind that freezing can impact the active cultures in it. While it won’t necessarily kill them all immediately, they will become dormant and decrease the longer the yogurt is frozen.
FAQs
Yes, just like other fermented foods, making yogurt is a safe process. If it smells good, tastes pleasantly sour, and has thickened at least slightly, it should be safe to eat.
Yes, the fermentation time for yogurt can be adjusted slightly based on your preference. Most people prefer the flavor between 8 and 12 hours, but others let it ferment for up to 24 hours!
This is often caused by fermenting slightly too hot or for too long. It can also be caused by heating the milk too quickly. You can simply whisk the lumps into the yogurt. It’s still safe to eat.
This is whey, and it’s a natural byproduct of making yogurt. I whisk it into my yogurt, but you can also strain it out with a cheesecloth. Excessive amounts of whey are often caused by jostling the yogurt before it’s set or fermenting it too hot or too long.
First, since this homemade yogurt has no thickeners like most store-bought yogurt does, it will naturally be runnier. It should, however, still be thicker than milk. If it’s still very much a liquid, try letting it ferment for at least 12 hours and then check again. If it still hasn’t set, most likely either your starter didn’t have enough active cultures or you didn’t ferment it at a high enough temperature.
Yes, raw milk makes delicious, rich and creamy yogurt perfect for breakfast or snacks!
Violet’s Tips for Serving
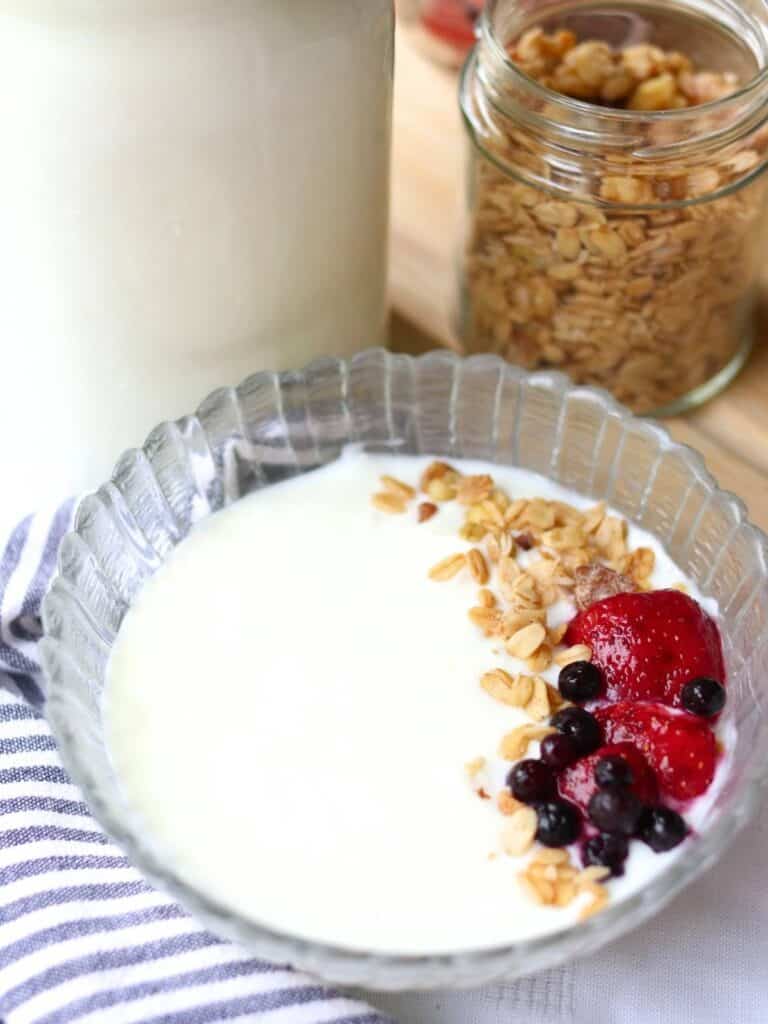
Yogurt makes delicious breakfast parfaits with this low-sugar granola and frozen berries! You can also add it to smoothies for a delicious protein and probiotic boost.
Tools You May Need
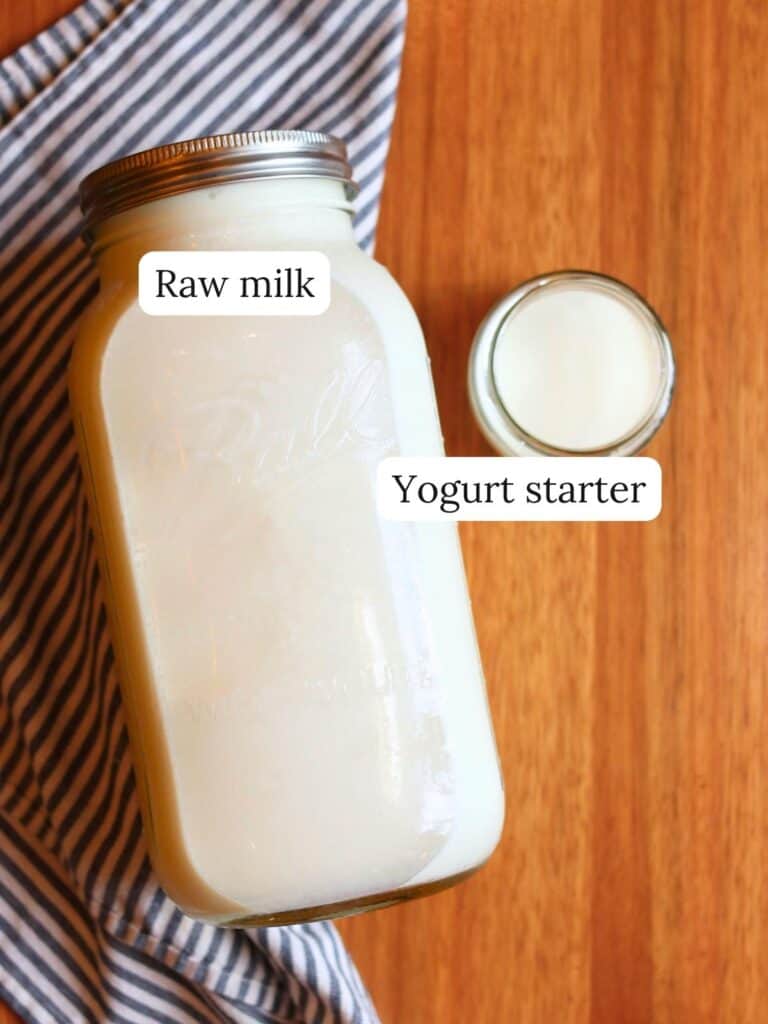
Ingredients
- Store-bought yogurt with active cultures that doesn’t have any flavorings or sweeteners.
- Homemade yogurt from your previous batch. Make sure that it’s not older than a week! Also, if you started your first batch from store-bought yogurt, you will likely only be able use your homemade yogurt as a starter for a few batches before it stops working.
- Powdered commercial or heirloom starter. Commercial starters are for one-time use. However, heirloom cultures will allow you to continue using each batch of yogurt to start the next indefinitely.
Step-By-Step Instructions
Step 1: First, preheat your oven to 180 degrees.
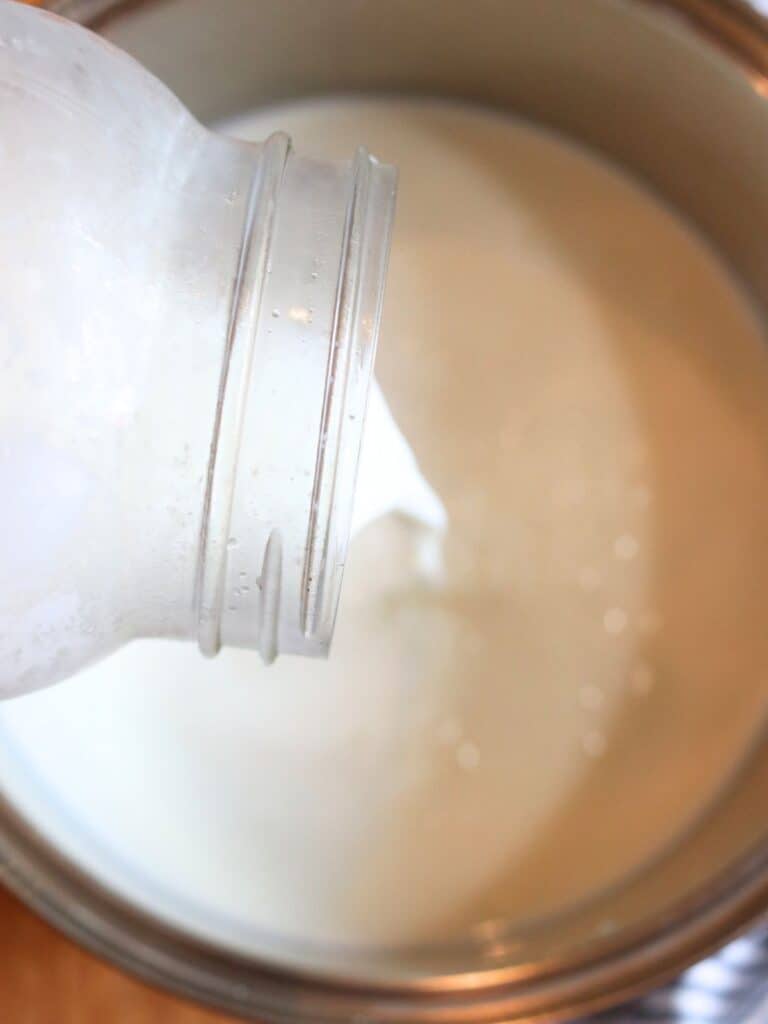
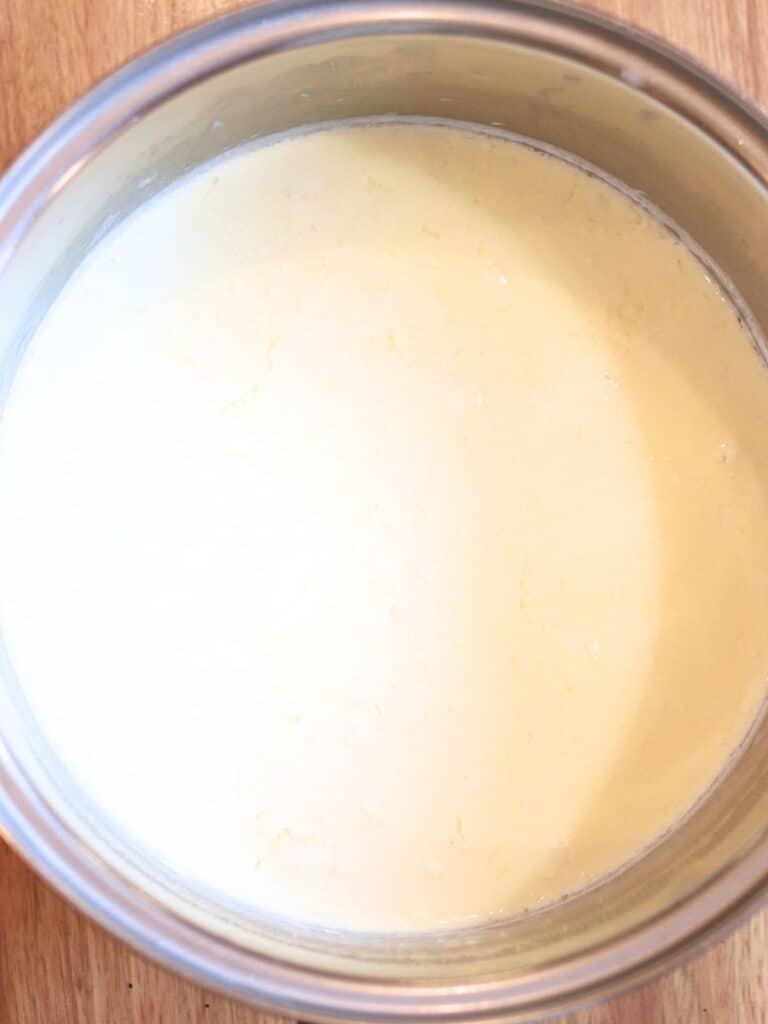
Then, pour the milk into a pot and heat slowly on the stovetop on medium-low heat, stirring frequently. Once it gets close to boiling and bubbles begin to form around the edges (180 degrees if you’re using a thermometer), place it in the oven for 30 minutes.
Step 2: After 30 minutes, turn off the oven and leave the door ajar so it can cool.
If you are using yogurt as a starter, go ahead and remove it from the fridge so it can come to room temperature.
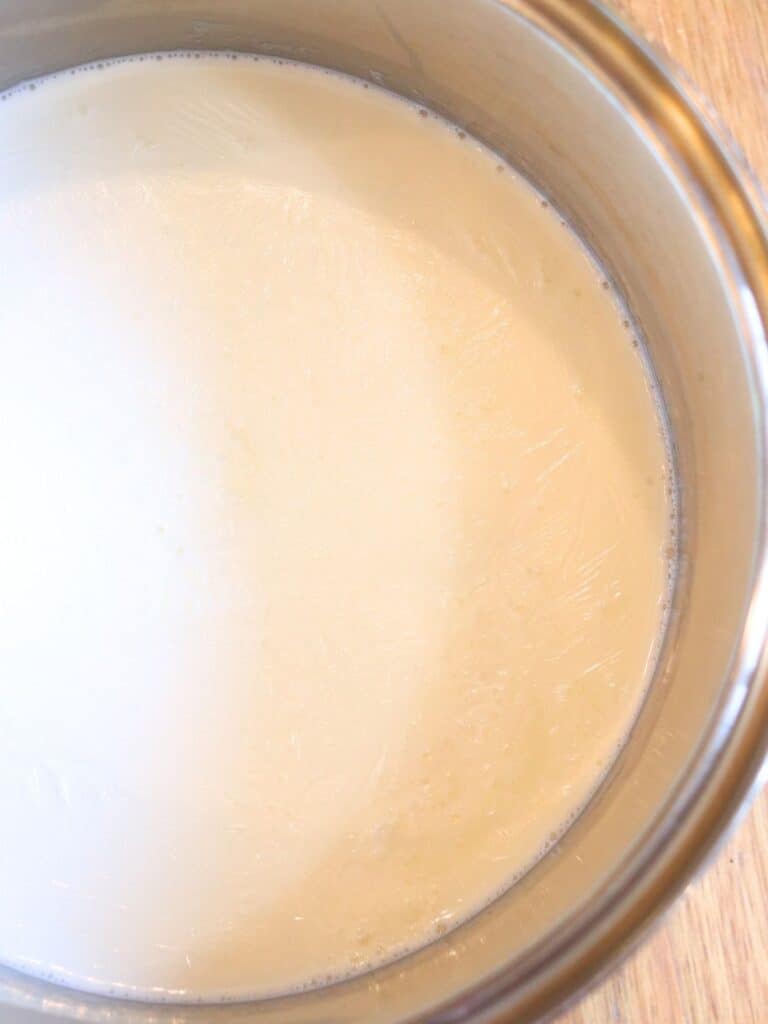
Remove the hot milk from the oven and let it cool without stirring until you can move your finger back and forth 10 times without getting burnt (it will still be pretty hot). This should be about 110 degrees.
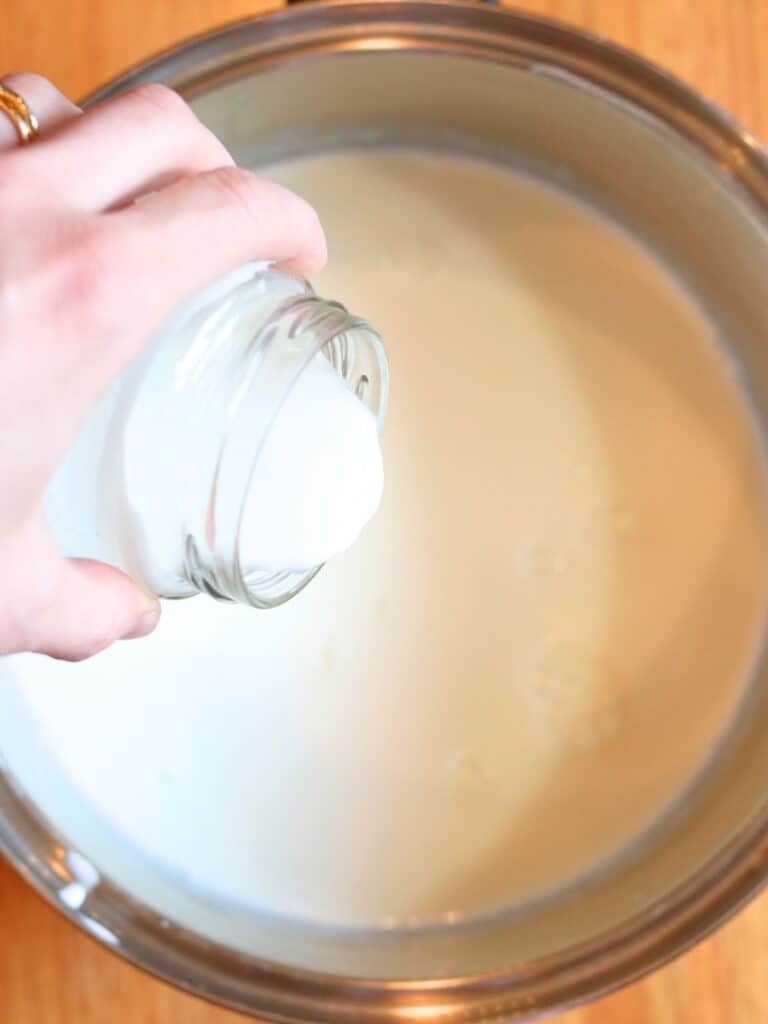
Step 3: Next stir in the room-temperature yogurt starter.
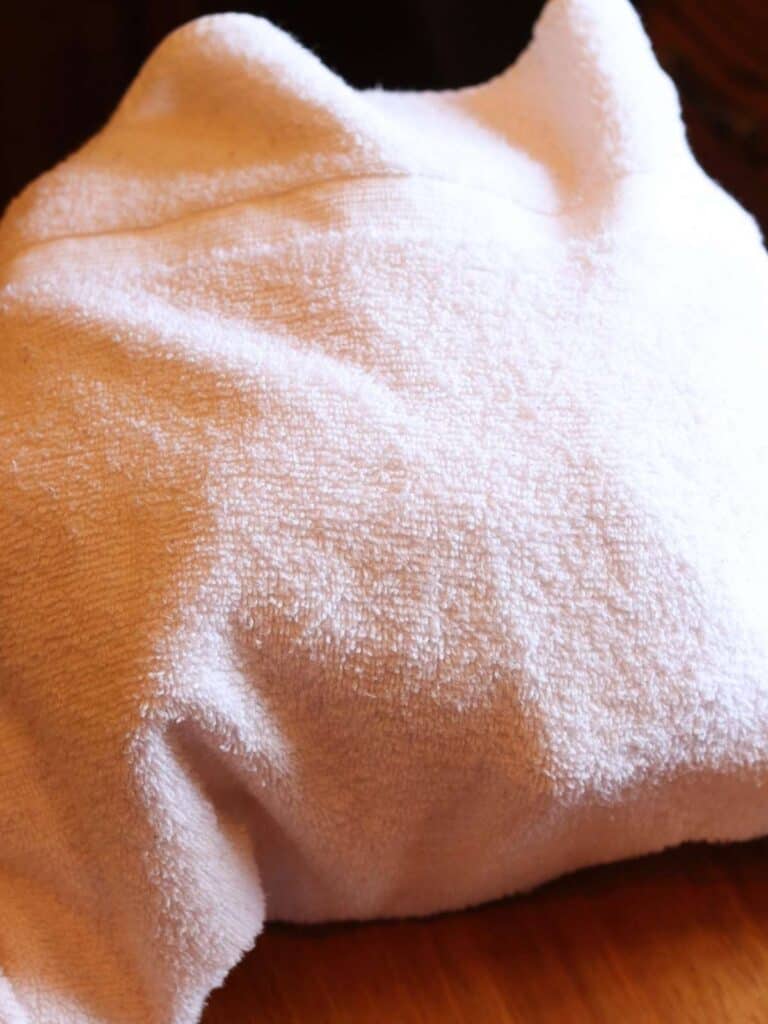
Step 4: Then, place the lid on the pot and wrap it in a large towel to help it stay insulated.
Put the pot of yogurt wrapped in the towel inside the oven, and turn on the oven light. Then let it ferment undisturbed for approximately 8-12 hours.
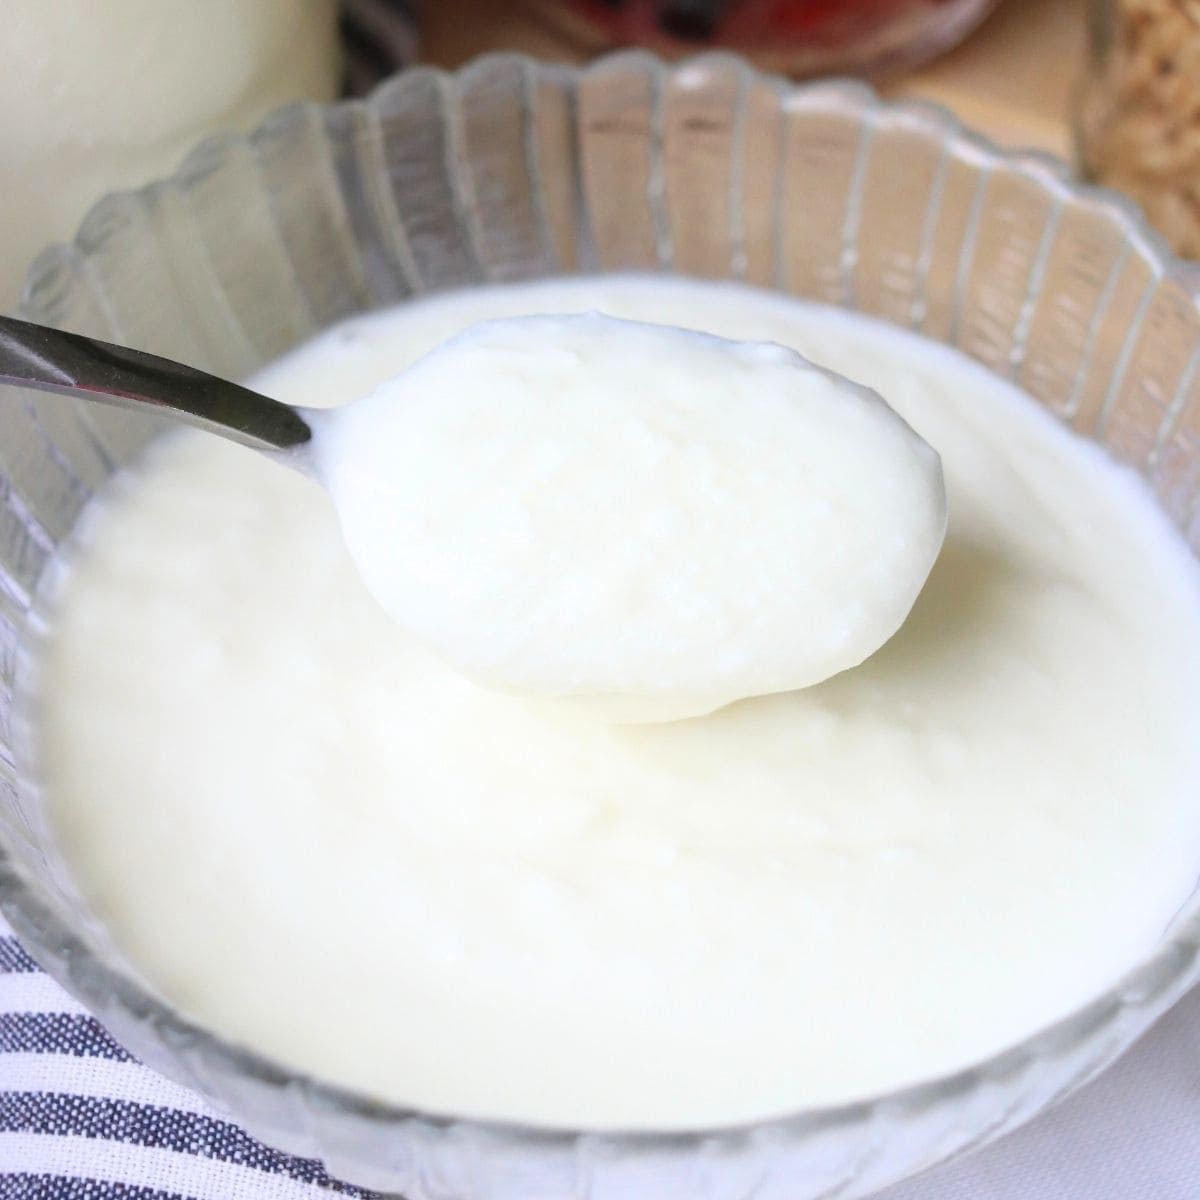
Step 5: Once the yogurt is does fermenting, remove it from the oven. There may be some liquid whey in the pot along with the yogurt, so whisk it into the yogurt until it’s smooth.
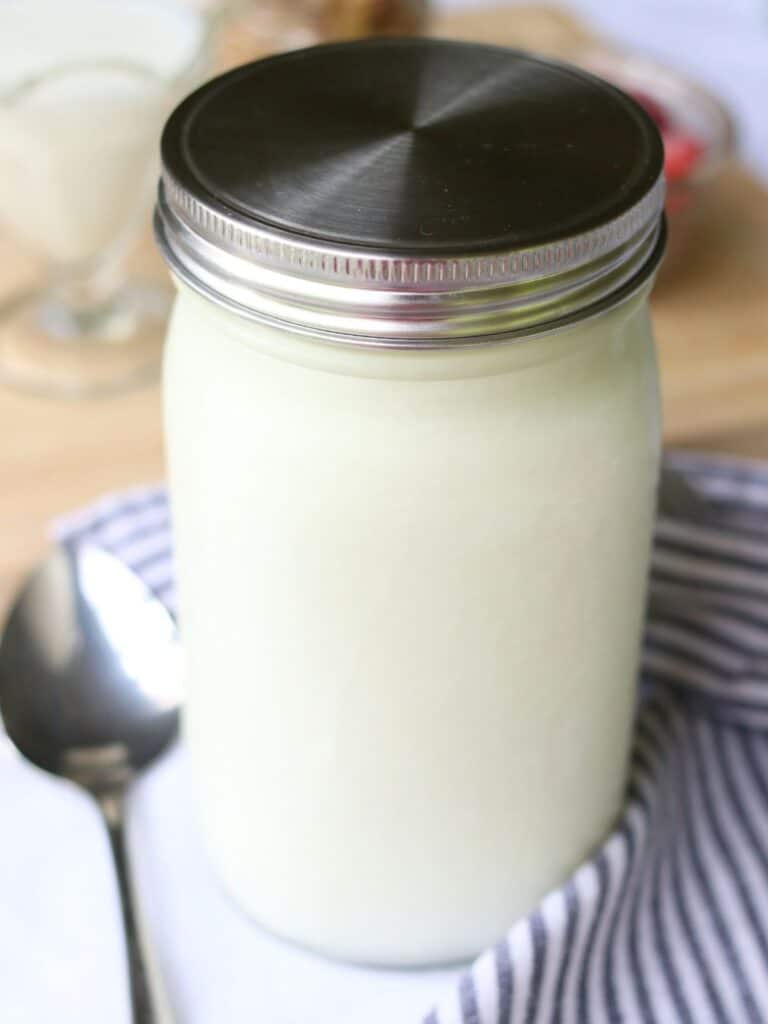
Step 6: Place the yogurt in an airtight container (such as a mason jar) in the fridge. As it sits in the fridge it will continue to thicken slightly for the first number of hours.
Enjoy your rich and creamy yogurt!
If you try this recipe, let me know in the comments! Tag me on Instagram @violet_rightathome
More Clean Eating Breakfast Recipes
Gluten-Free Blueberry Cheesecake German Pancakes
Oat Flour Banana Muffins (Gluten-Free)
Simple Banana & Date Oatmeal Cookies
Raw Milk Yogurt
Ingredients
- 1/2 gallon raw milk
- 1/4 cup yogurt or powdered starter
Instructions
- Preheat your oven to 180 degrees.
- Pour the raw milk into a pot and heat slowly on the stovetop on medium-low heat, stirring frequently.
- Once it gets close to boiling and bubbles begin forming around the edges, place it in the oven for 30 minutes.
- Turn off the oven, leaving the door ajar so it can cool.
- If you are using yogurt as a starter, remove it from the fridge so it can come to room temperature.
- Remove the hot milk from the oven, and let it cool without stirring until you can move your finger back and forth 10 times without getting burnt (it will still be pretty hot).
- Once the milk has cooled enough, stir in the room-temperature yogurt starter.
- Place the lid on the pot and wrap it in a large towel.
- Put the pot in the oven and turn on the oven light.
- Let the yogurt ferment undisturbed for approximately 8-12 hours.
- Remove the yogurt from the oven.
- There will likely be some liquid whey in the pot along with the yogurt, so whisk it into the yogurt until it's smooth.
- Place the yogurt in an airtight container in the fridge. As it sits in the fridge it will continue to thicken slightly for the first number of hours.
Notes
Raw milk yogurt starter options:
- Store-bought yogurt with active cultures that doesn’t have any flavorings or sweeteners.
- Homemade yogurt from your previous batch. Make sure that it’s not older than a week! Also, if you started your first batch from store-bought yogurt, you will likely only be able use your homemade yogurt as a starter for a few batches before it stops working.
- Powdered commercial or heirloom starter. Commercial starters are for one-time use. However, heirloom cultures will allow you to continue using each batch of yogurt to start the next indefinitely.
Nutrition
If you love this recipe for raw milk yogurt, please make sure to come back and leave a comment and a 5 star rating. I’d love to hear how it turned out for you!
Also, I’d love to have you part of the Right At Home community! Make sure to join my newsletter for all the latest clean eating recipes and clean living tips and DIYs.


I make this weekly because I never want to run out of this delicious yogurt! It’s one of my family’s main staples, and we eat it almost every day. Let me know if you have any questions on making your own yogurt! I’d love to help out!