

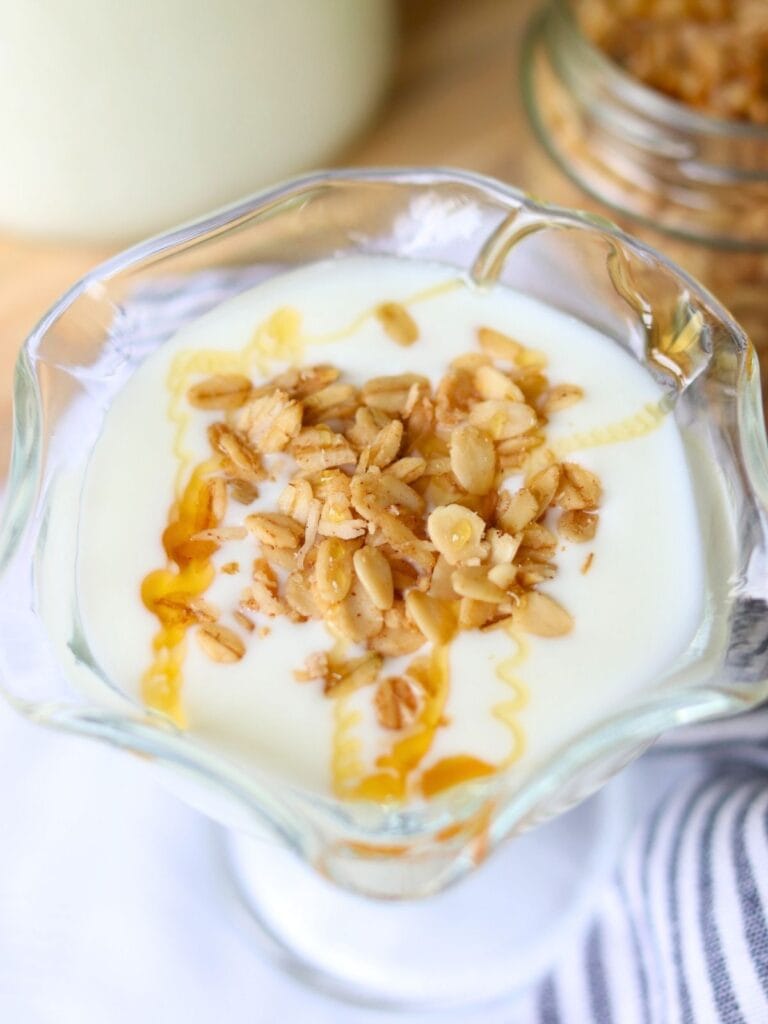
Nutrient-dense goat yogurt has a rich, tangy flavor and is simple and easy to make! It has a smooth, naturally creamy texture and makes the perfect healthy breakfast or snack.
Quick Look at the Recipe
- 🍽️ Flavor: Creamy and tangy
- ⏱️ Prep Time: 1 1/2 hours
- 🕒 Fermentation Time: 12 hours
- 👥 Yield: 1/2 gallon
- 🥣 Main Ingredients: Goat milk, yogurt starter
- 📋 Method: Lacto-fermentation
- 📖 Dietary Info: Gluten-free, egg-free, keto
- 👩🍳 Tip: Goat yogurt naturally has a thinner consistency, however, holding the milk at 180 degrees for 30 minutes helps it thicken without any additives.

An Old-Fashioned Ferment
Ever since we began our journey of working to heal my husband’s Crohn’s naturally, fermenting became one of our favorite ways to prepare food. Since many people (including my husband) don’t tolerate cow milk well, I wanted to create a rich, nutrient-dense goat yogurt as an alternative to dairy-free yogurt.
Not only is this yogurt absolutely delicious, but it’s easy to make without any special equipment. If our ancestors knew how to ferment for thousands of years, I figure I don’t need a yogurt maker either.
This is definitely one of my family’s favorite probiotic foods, and I think you’ll love it too!
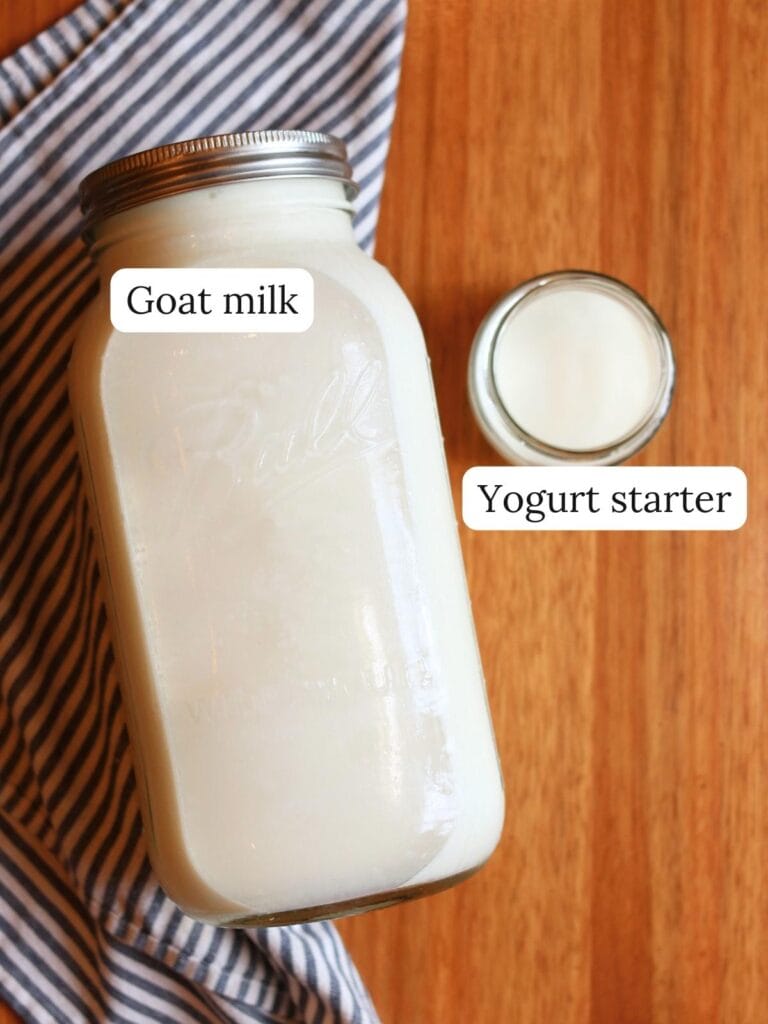
Ingredients
Note: For more details on types of starters, see my complete guide to making yogurt.
Tools Needed
Step-By-Step Instructions
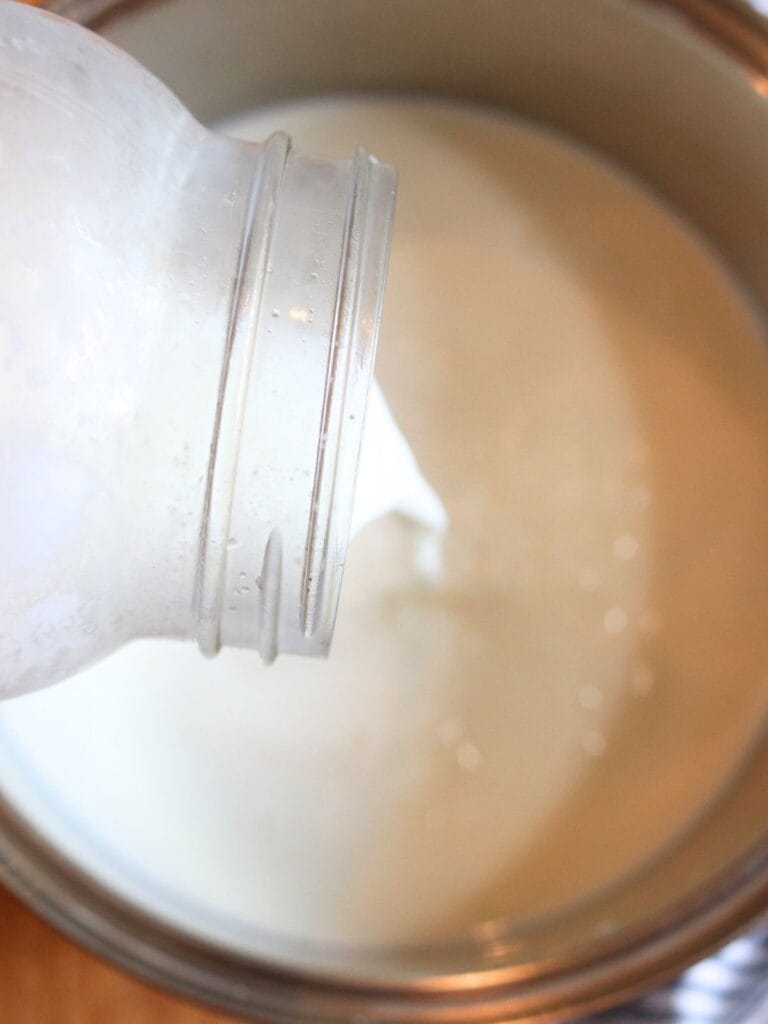
Step 1: First, preheat your oven to 180 degrees.
Then, pour the milk into a pot and heat slowly on the stovetop on medium-low heat, stirring frequently. Once it gets close to boiling and bubbles begin to form around the edges (180 degrees if you have a thermometer), place it in the oven for 30 minutes.
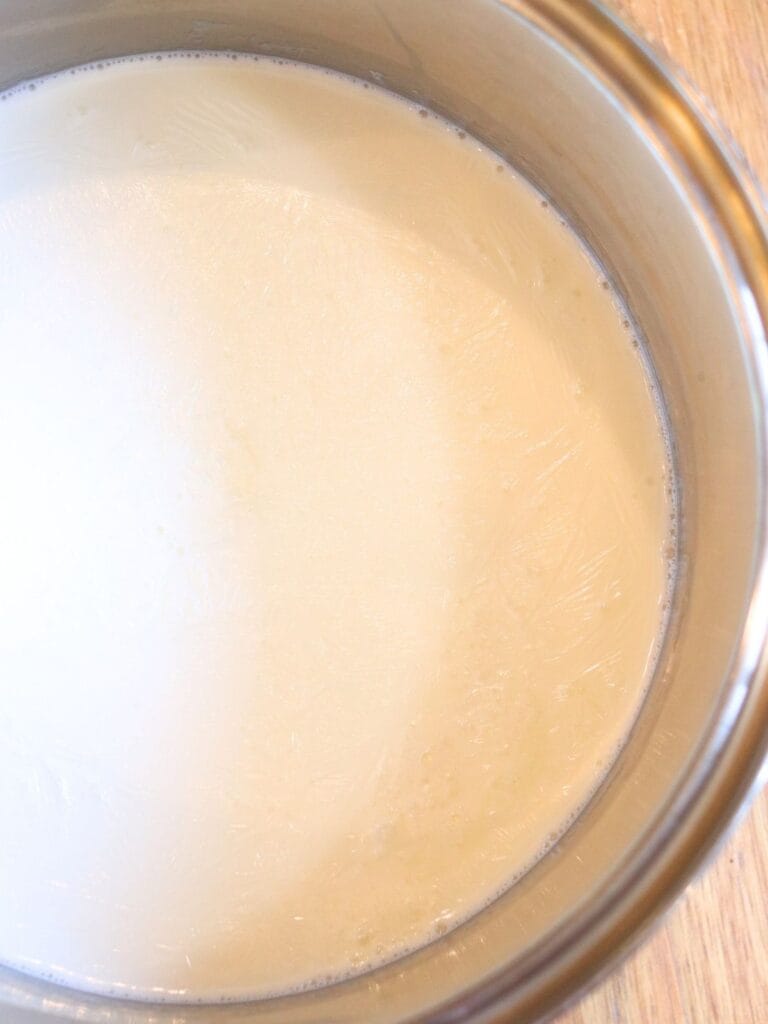
Step 2: After 30 minutes, turn off the oven and leave the door ajar so it can cool.
If you are using yogurt as a starter, go ahead and remove it from the fridge so it can come to room temperature.
Remove the hot milk from the oven and let it cool without stirring until you can move your finger back and forth 10 times without getting burnt (it will still be pretty hot). This should be about 110 degrees.
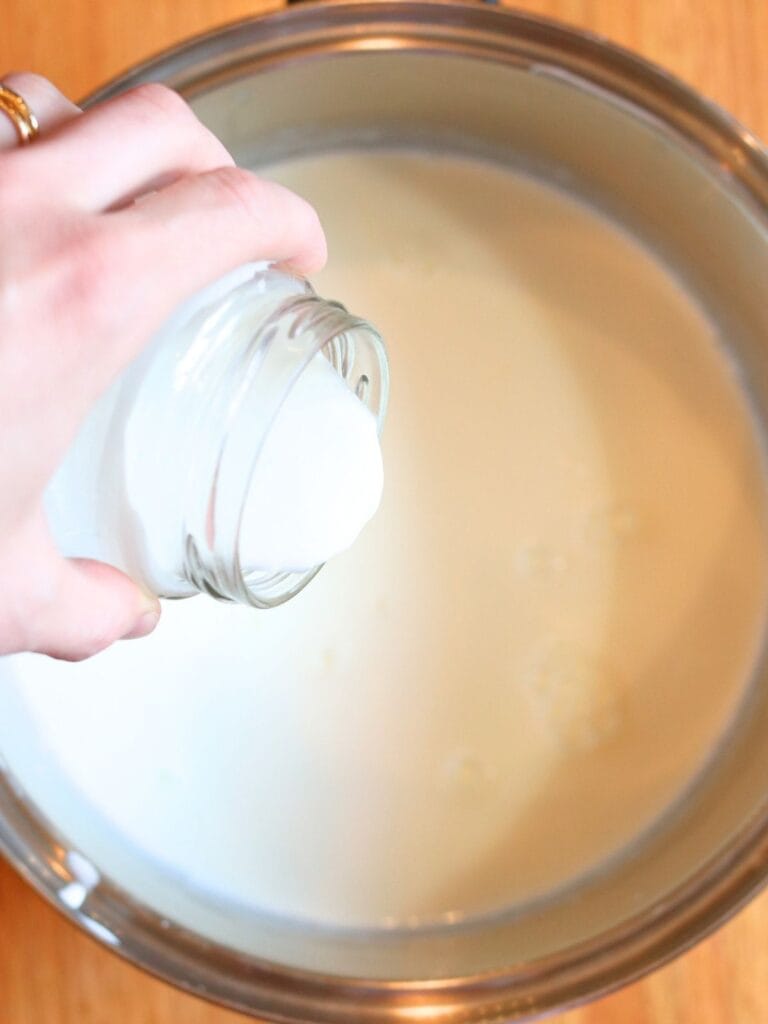
Step 3: Now stir in the room-temperature yogurt starter.
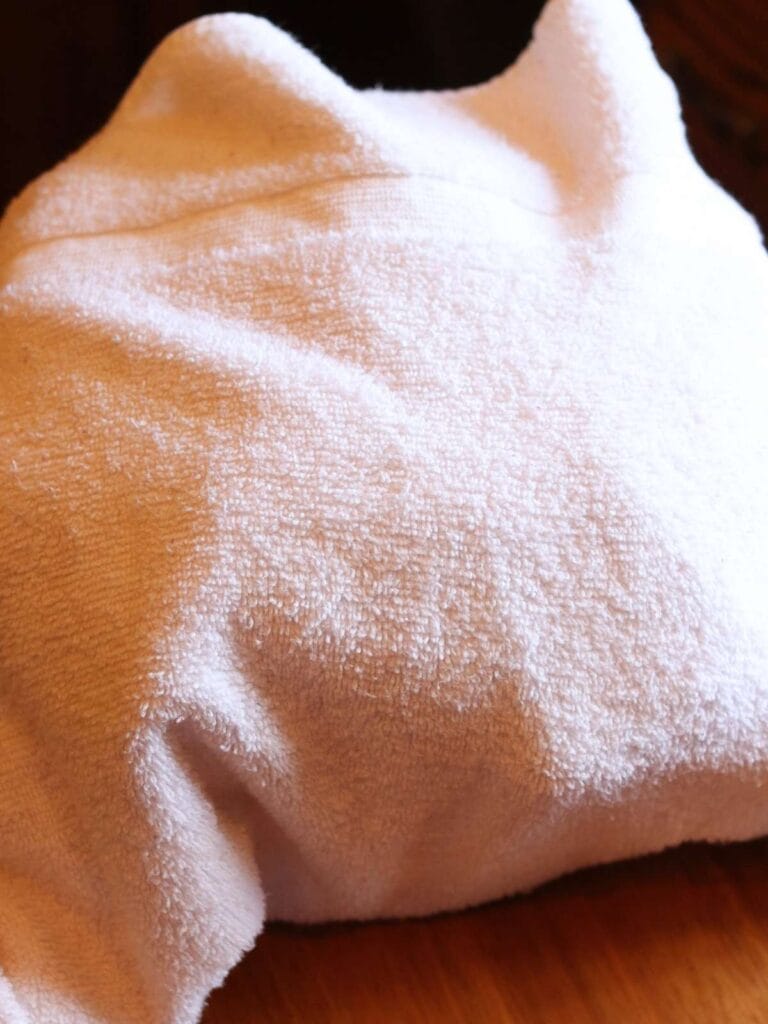
Step 4: Then, place the lid on the pot and wrap it in a large towel to help it stay insulated.
Put the pot of yogurt wrapped in the towel inside the oven, and turn on the oven light. Then let it ferment undisturbed for approximately 8-12 hours.
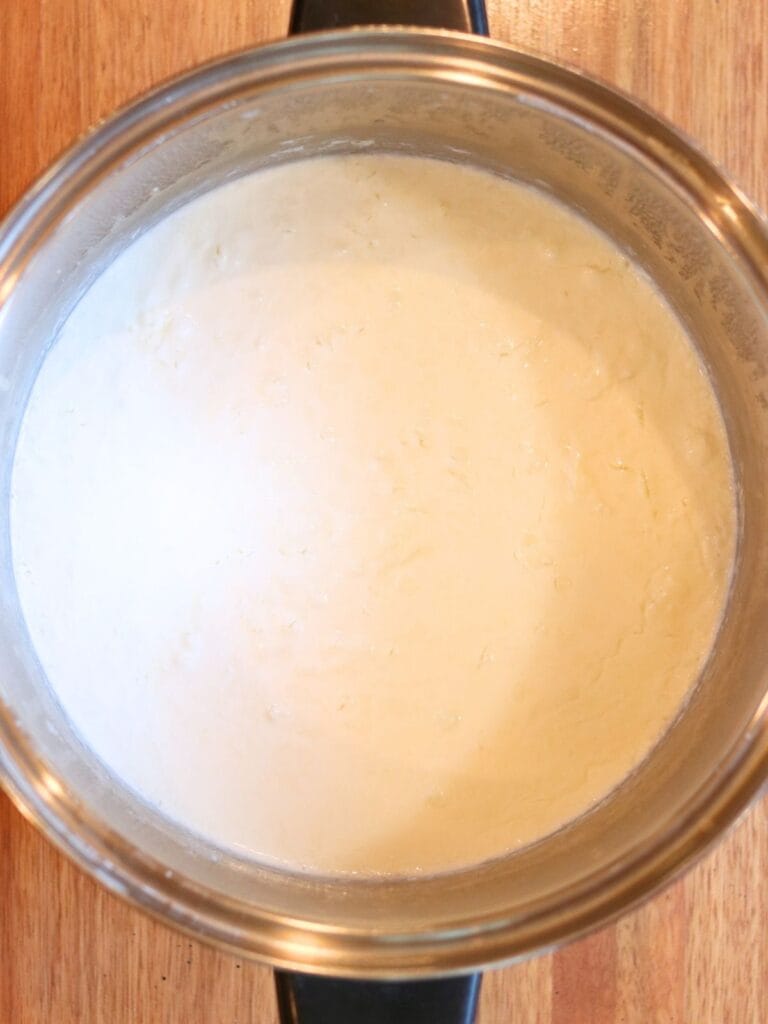
Step 5: Once the yogurt is does fermenting, remove it from the oven. There may be some liquid whey in the pot along with the yogurt, so whisk it into the yogurt until it’s smooth.
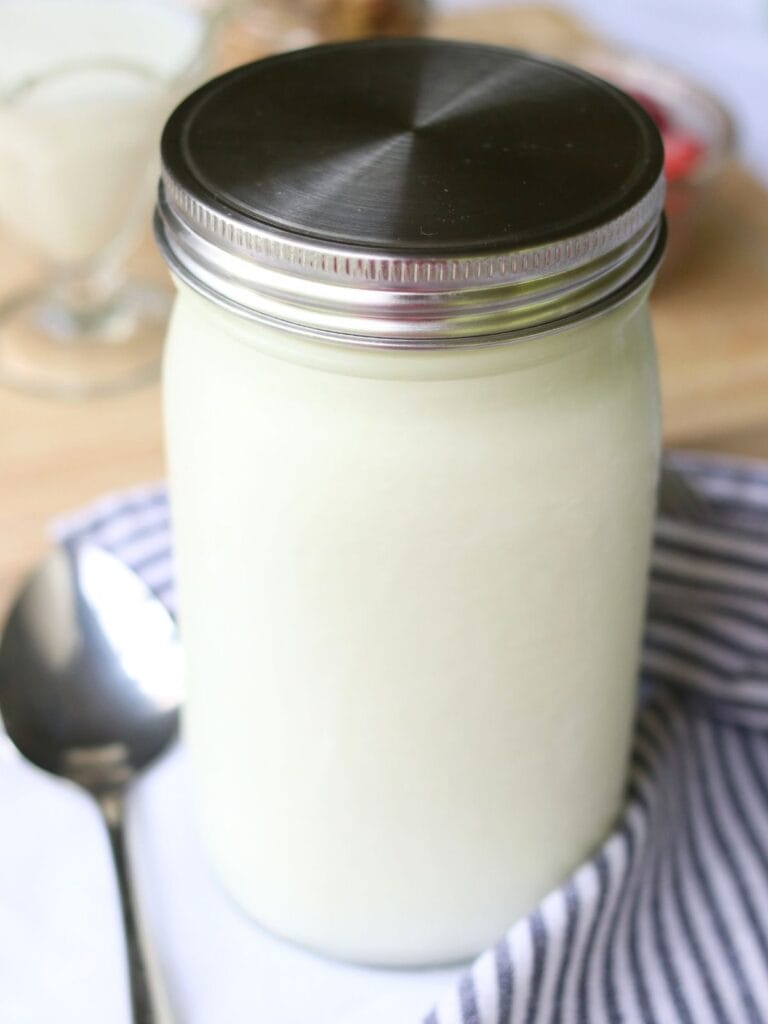
Step 6: Place the yogurt in an airtight container (such as a mason jar) in the fridge. As it sits in the fridge it will continue to thicken slightly for the first number of hours.
Enjoy your delicious homemade goat yogurt!
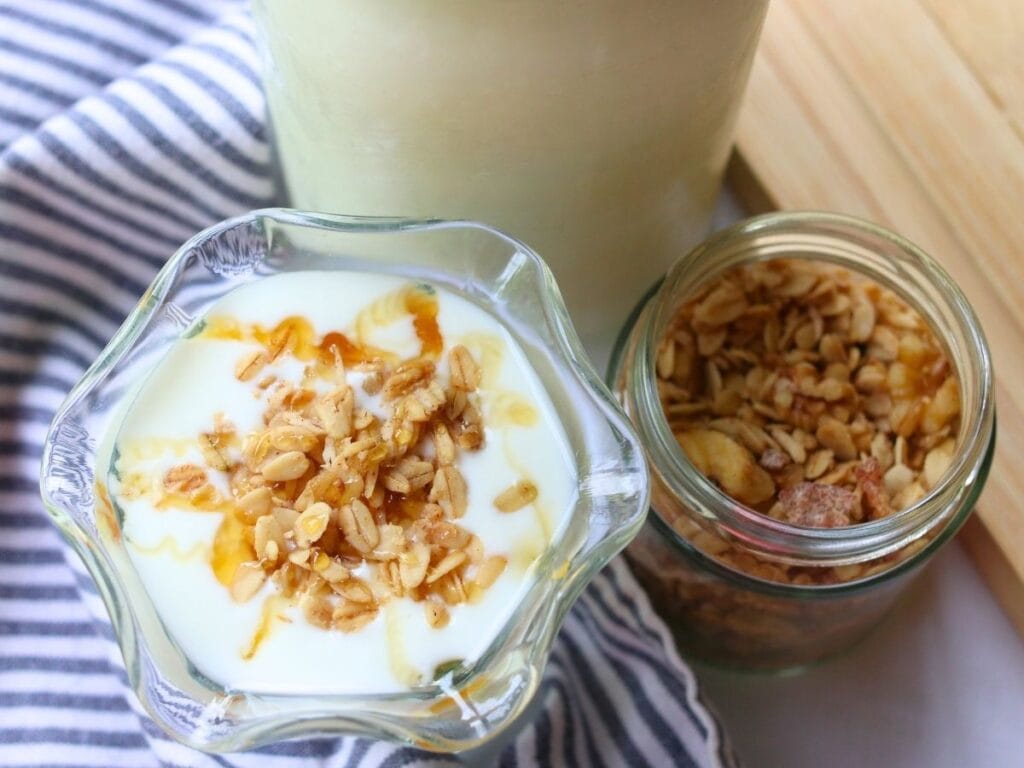
This yogurt is absolutely delicious topped with cinnamon granola or in sauces like lime crema!
Tips for Thick Yogurt
Goat yogurt is always thinner than cow milk yogurt and it doesn’t have any thickeners that are often in store-bought yogurt. This creates yogurt that is naturally runny and almost drinkable. However, there are a few things you can do to help your goat yogurt thicken.
Try another starter – Different yogurt starters will make a difference in how yogurt thickens. You can try different brands of yogurt to use as a starter, use a commercial starter, or buy an heirloom starter. Do not try mixing starters as this can upset the bacteria balance and even create yogurt that is dangerous to eat.
Heat the milk – Holding the milk at approximately 180 degrees for 30 minutes will denature the proteins and help the yogurt to thicken.
Strain the yogurt – Another way to thicken goat yogurt is to strain off the whey using a cheesecloth. If you use this method, don’t throw out the whey! There are many wonderful uses for it.
Use cow milk – If you’re not satisfied with thin yogurt, you can always use cow milk to create thick homemade yogurt.
FAQs
Goat yogurt will keep for about two weeks in the fridge.
However, if you started your yogurt with an heirloom starter, you will need to make your next batch within one week for best results.
Yes, you can freeze goat yogurt, but it won’t have the best texture once it thaws. If you freeze it, it’s best to eat it still frozen (like in yogurt bark).
Also, keep in mind that freezing can impact the active cultures in it. While it won’t necessarily kill them all immediately, they will become dormant and the numbers will decrease the longer the yogurt is frozen.
Yes, just like other fermented foods, making yogurt is a safe process. If it smells good, tastes pleasantly sour, and has thickened slightly, it should be safe to eat.
Yes, the fermentation time for yogurt can be adjusted slightly based on your preference. Most people prefer the flavor between 8 and 12 hours, but others let it ferment for up to 24 hours! I’ve even made 30-hour goat yogurt that was delicious!
This is often caused by fermenting slightly too hot or for too long. It can also be caused by heating the milk too quickly. You can simply whisk the lumps into the yogurt. It’s still safe to eat.
This is whey, and it’s a natural byproduct of making yogurt. I whisk it into my yogurt, but you can also strain it out with a cheesecloth. Excessive amounts of whey are often caused by jostling the yogurt before it’s set or fermenting it too hot or too long.
First, goat yogurt is naturally runny and it has no thickeners like most store-bought yogurt does. It should, however, still be thicker than milk. If it’s still very much a liquid, try letting it ferment for at least 12 hours and then check again. If it still hasn’t set, most likely either your starter didn’t have enough active cultures or you didn’t ferment it at a high enough temperature.
If you try this recipe, snap a photo and tag me on Instagram @violet_rightathome
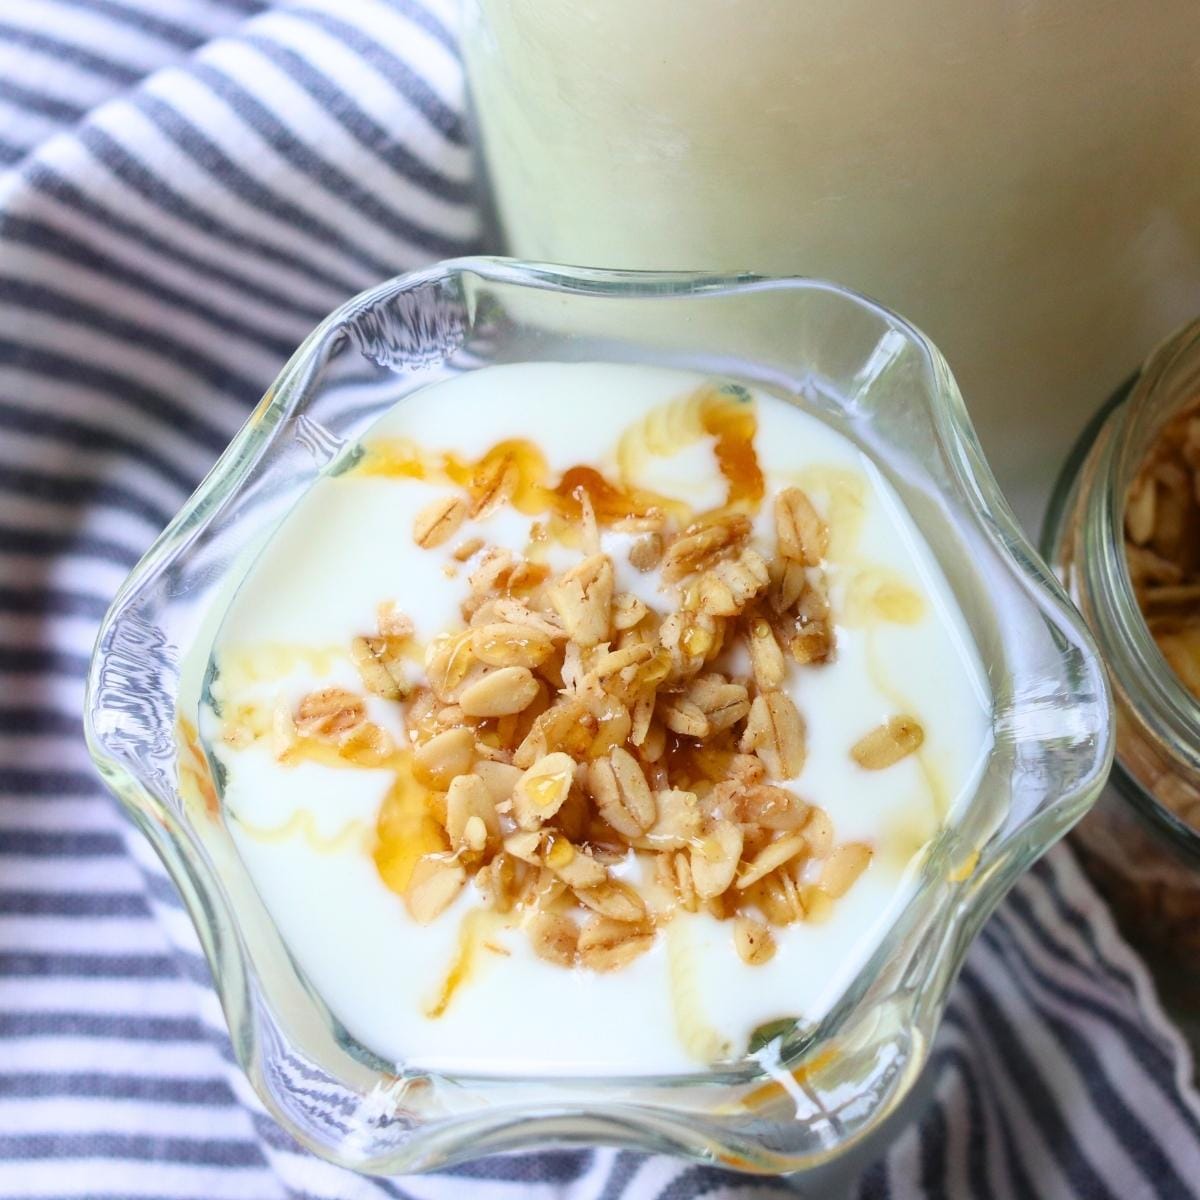
Goat Yogurt with Probiotics
Ingredients
- 1/2 gallon goat milk
- 1/4 cup yogurt or powdered starter
Instructions
- Preheat your oven to 180 degrees.
- Pour the goat milk into a pot and heat slowly on the stovetop on medium-low heat, stirring frequently. Once it gets close to boiling and bubbles begin forming around the edges, place it in the oven for 30 minutes.1/2 gallon goat milk
- Turn off the oven, leaving the door ajar so it can cool.
- If you are using yogurt as a starter, remove it from the fridge so it can come to room temperature.1/4 cup yogurt or powdered starter
- Remove the hot goat milk from the oven, and let it cool without stirring until you can move your finger back and forth 10 times without getting burnt (it will still be pretty hot).
- Once the milk has cooled enough, stir in the room-temperature yogurt starter.
- Place the lid on the pot and wrap it in a large towel. Then put the pot in the oven and turn on the oven light.
- Let the yogurt ferment undisturbed for approximately 8-12 hours.
- Remove the goat yogurt from the oven. There will likely be some liquid whey in the pot along with the goat yogurt, so whisk it into the yogurt until it's smooth.
- Place the yogurt in an airtight container in the fridge. As it sits in the fridge it will continue to thicken slightly for the first number of hours.
Notes
Goat yogurt starter options:
- Store-bought yogurt with active cultures that doesn’t have any flavorings or sweeteners.
- Homemade yogurt from your previous batch. Make sure that it’s not older than a week! Also, if you started your first batch from store-bought yogurt, you will likely only be able use your homemade yogurt as a starter for a few batches before it stops working.
- Powdered commercial or heirloom starter. Commercial starters are for one-time use. However, heirloom cultures will allow you to continue using each batch of yogurt to start the next indefinitely.
Nutrition
If you tried goat milk yogurt, I’d love to hear how it turned out for you! Please make sure to come back and leave a comment and a ⭐️⭐️⭐️⭐️⭐️ rating.





My whole family loves this goat yogurt! If you have any questions on making it, please let me know. I’d love to help out!
Yeah…it didn’t work.
Oh no! I’d love to help troubleshoot! When you say it “didn’t work,” what happened? Was the texture too thin, grainy, separated, or was the flavor off? Goat milk yogurt can be a little different from store-bought yogurt, especially when it comes to thickness, so I’m happy to help you figure out what happened and offer some tips for next time!