Rich, creamy, and delicious, homemade yogurt is a nourishing fridge staple anyone can make. Learn everything you need to know about making your own yogurt with just a couple simple ingredients, no yogurt maker or any other specials tools required (not even a thermometer)!
Quick Look at the Recipe
- 🍽️ Flavor: Rich, creamy, and slightly tangy.
- ⏱️ Prep Time: 1 hour 30 minutes
- 🫙 Fermentation Time: 8-12 hours
- 👥 Yield: 1/2 gallon
- 🥣 Main Ingredients: Milk, starter
- 📖 Dietary Info: Gluten-free, egg-free, keto
- 👩🍳 Tip: In this recipe, a slightly warm oven replaces a yogurt maker to create thick, creamy yogurt every time.

Old-Fashioned Yogurt Made Easy
We eat LOTS of yogurt, but when I first decided to learn to make it myself, I was overwhelmed. There were so many methods, most of which called for tools I didn’t have (or even want). But people have been fermenting dairy before electricity was even discovered, so I knew it couldn’t be that complicated.
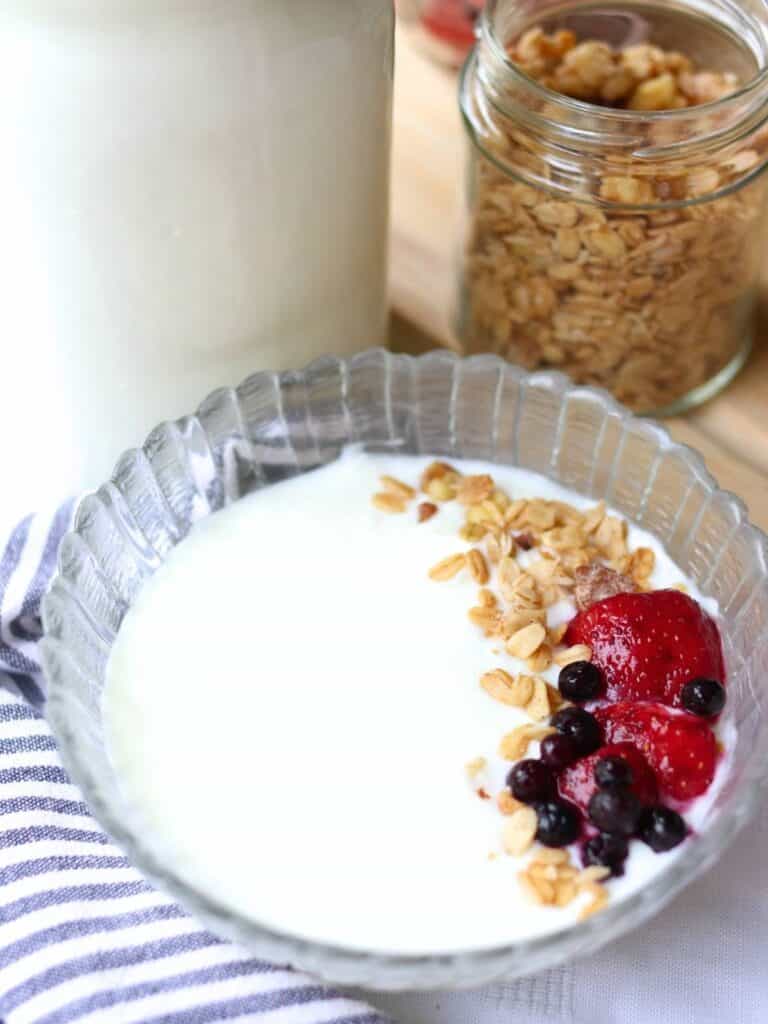
Through more research and hands-on testing, I learned that making yogurt is actually a simple process that can be accomplished a variety of ways. These days I make homemade yogurt weekly, and we love eating it with my favorite granola, in smoothies, with fruit, or just plain.
What Makes Homemade Yogurt Special?
- Healthy fridge staple perfect for adding probiotics to snacks, breakfast, or recipes.
- Rich, creamy flavor the whole family will love!
- Easy fermented food perfect for beginners and experienced fermenters alike.
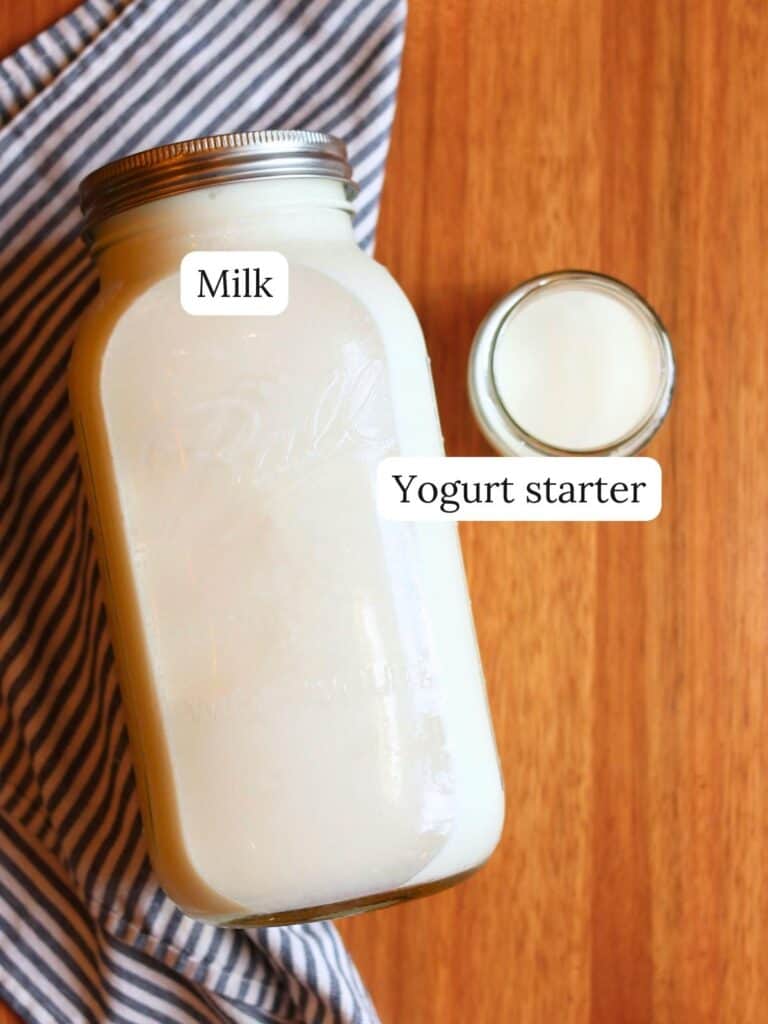
Ingredients
- Store-bought yogurt with active cultures that doesn’t have any flavorings or sweeteners.
- Homemade yogurt from your previous batch. Make sure that it’s not older than a week! Also, if you started your first batch from store-bought yogurt, you will likely only be able use your homemade yogurt as a starter for a few batches before it stops working.
- Powdered commercial or heirloom starter. Commercial starters are for one-time use. However, heirloom cultures will allow you to continue using each batch of yogurt to start the next indefinitely.
To learn more about starter options, see the yogurt starter details.
Tools Needed
Step-By-Step Instructions
Step 1: First, preheat your oven to 180 degrees.
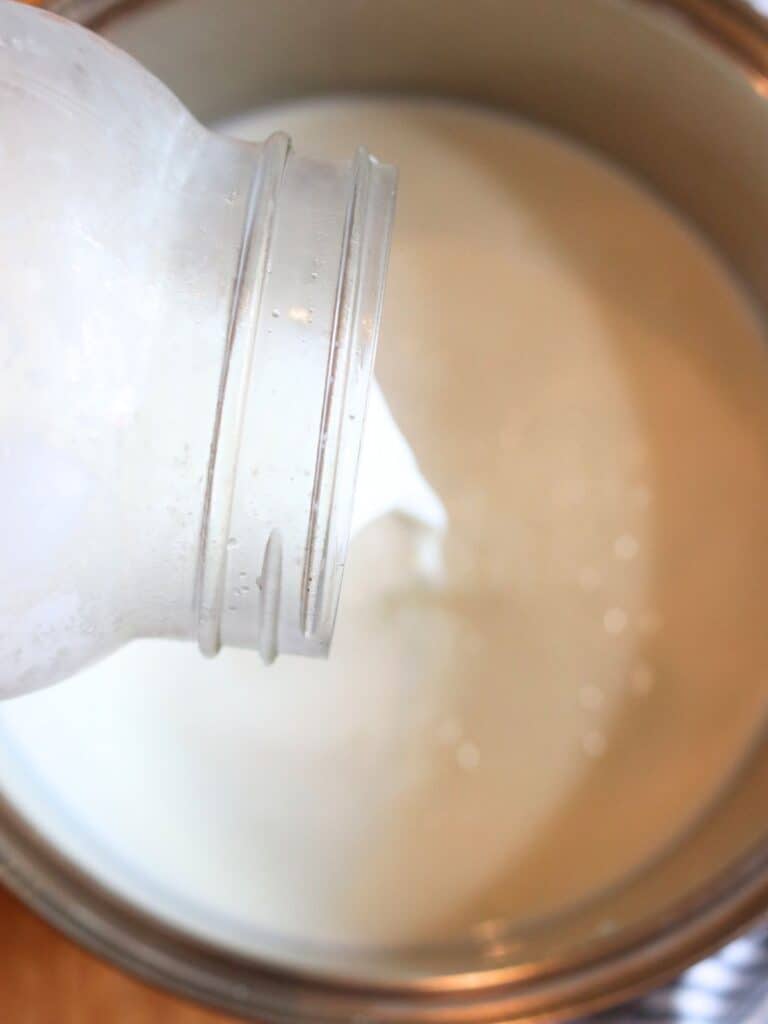
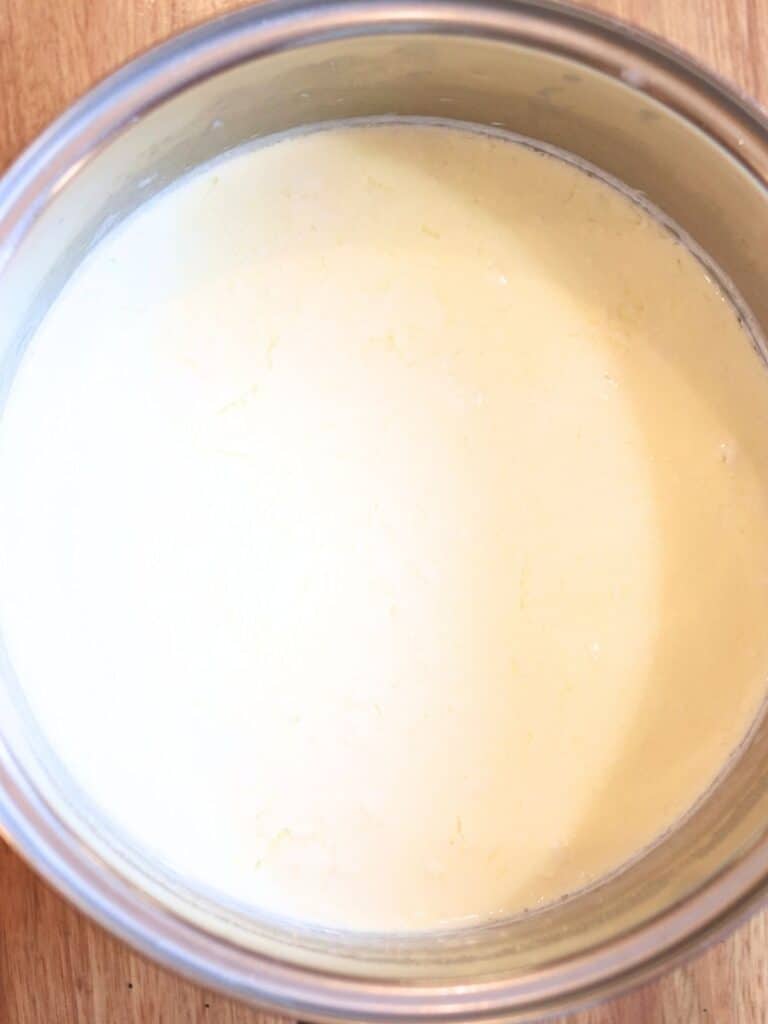
Then, pour the milk into a pot and heat slowly on the stovetop on medium-low heat, stirring frequently. Once it gets close to boiling and bubbles begin to form around the edges (180 degrees if you’re using a thermometer), place it in the oven for 30 minutes.

Step 2: After 30 minutes, turn off the oven and leave the door ajar so it can cool.
If you are using yogurt as a starter, go ahead and remove it from the fridge so it can come to room temperature.
Remove the hot milk from the oven and let it cool without stirring until you can move your finger back and forth 10 times without getting burnt (it will still be pretty hot). This should be about 110 degrees.
Chef’s Tip: Milk is easy to burn so, when you’re heating the yogurt, make sure to go slowly and stir frequently.
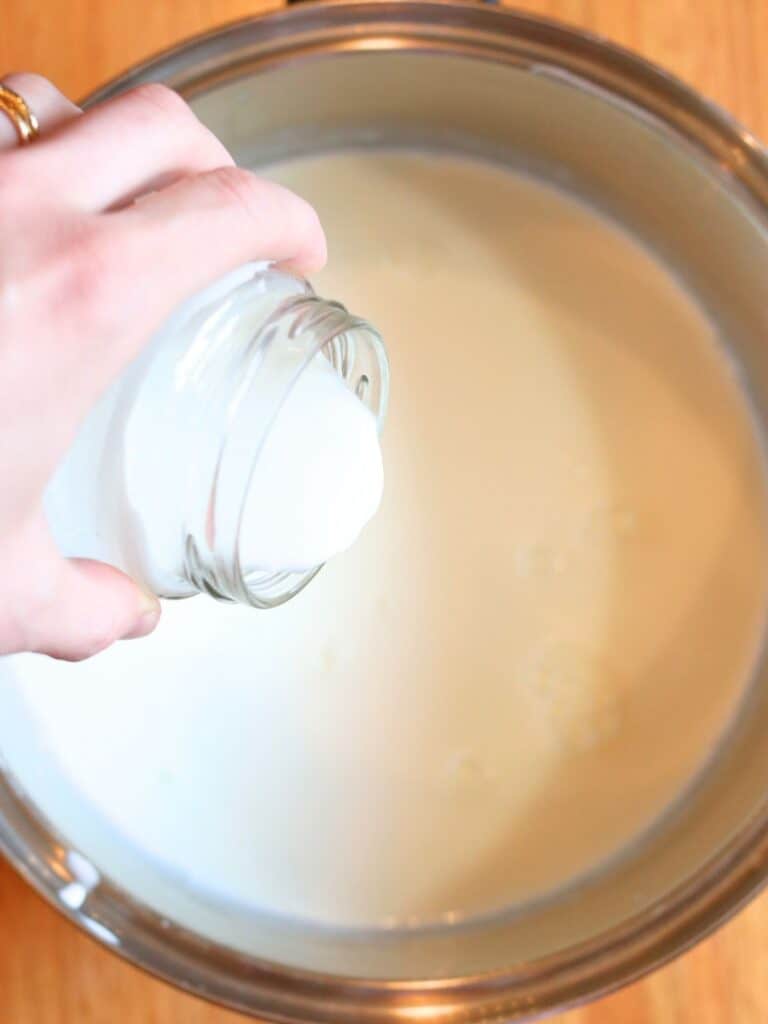
Step 3: Next stir in the room-temperature starter.

Step 4: Then, place the lid on the pot and wrap it in a large towel to help it stay insulated.
Put the pot of yogurt wrapped in the towel inside the oven, and turn on the oven light. Then let it ferment undisturbed for approximately 8-12 hours.
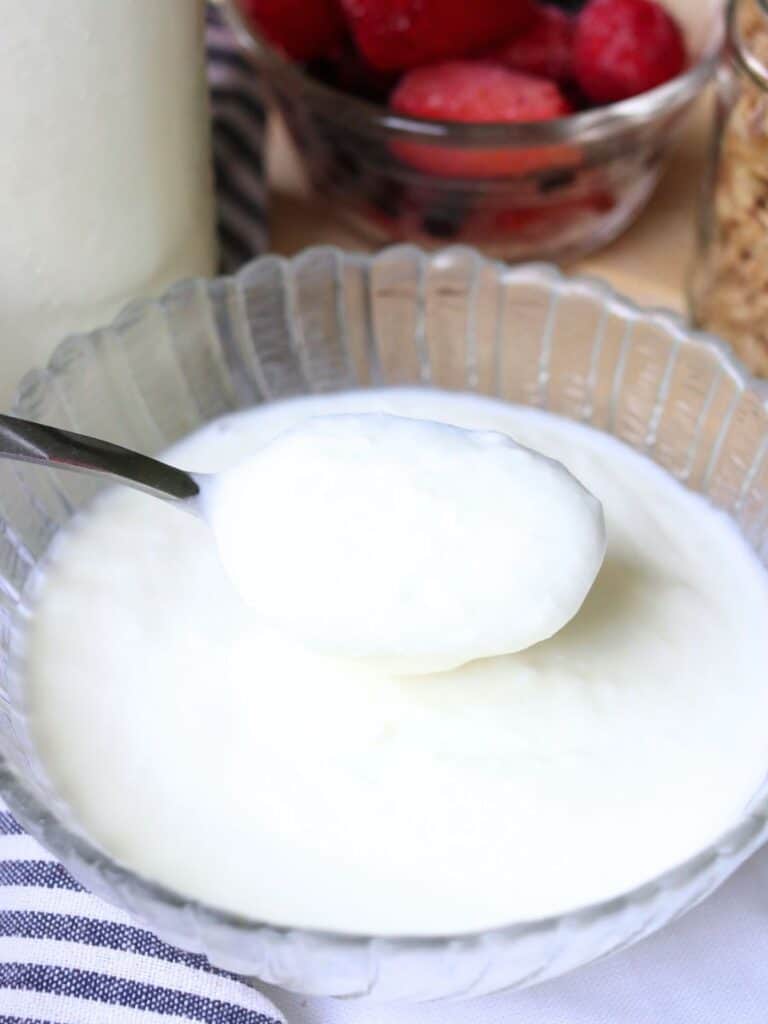
Step 5: Once the yogurt is does fermenting, remove it from the oven. There may be some liquid whey in the pot along with the yogurt, so whisk it into the yogurt until it’s smooth.

Step 6: Place the yogurt in an airtight container (such as a mason jar) in the fridge. As it sits in the fridge it will continue to thicken slightly for the first number of hours.
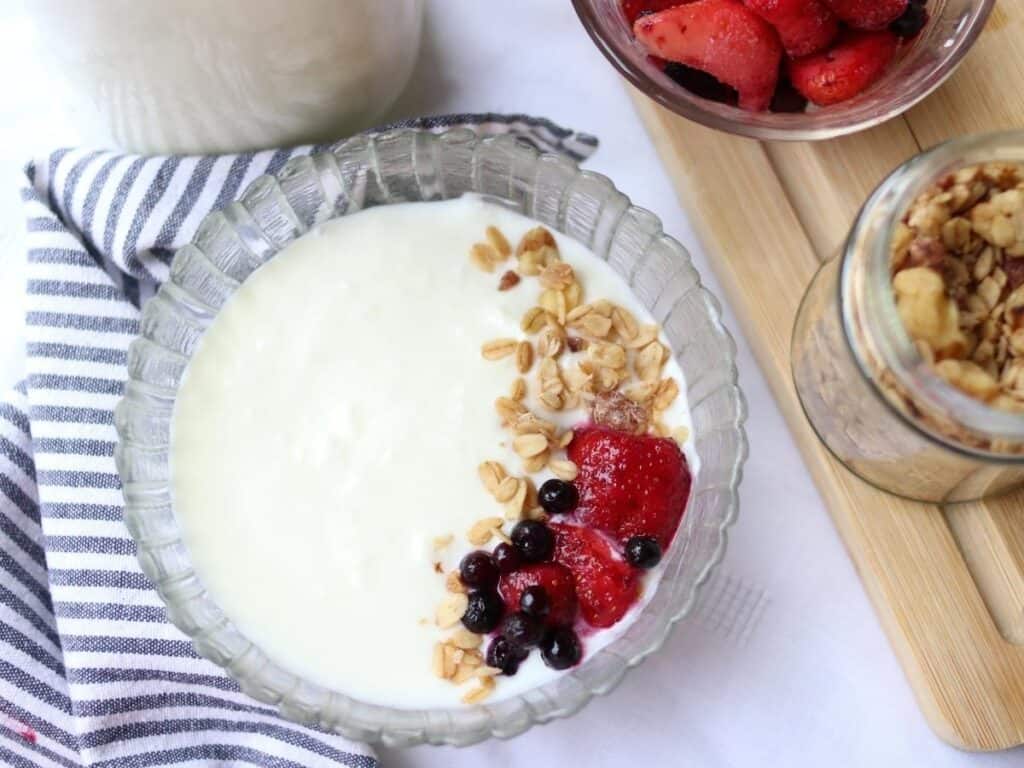
Enjoy your rich and creamy homemade yogurt!
Tips for Thick Yogurt
This homemade yogurt doesn’t have any thickeners that are often in store-bought yogurt, so it will naturally be slightly runnier. However, there are a few things you can do to help your yogurt thicken.
Try another starter – Different yogurt starters will make a difference in how yogurt thickens. You can try different brands of yogurt to use as a starter, use a commercial starter, or buy an heirloom starter. Do not try mixing starters as this can upset the bacteria balance and even create yogurt that is dangerous to eat.
If it’s one of your first few times using a powdered heirloom starter, try again – The bacteria in dried heirloom starters can take a few batches to reach their full yogurt-making potential. The early batches are safe to eat, but they’ll likely have a thinner consistency and mild flavor.
Increase fat content – Milk with higher amounts of fat will make thicker yogurt. Because of this, whole milk is a better choice than 2% or skim milk.
If you want your yogurt even thicker, you can also add heavy cream to your milk. Keep in mind that heavy cream will not sustain an heirloom starter culture as well as whole milk, so every few batches you will need to just use whole milk.
Heat milk longer – Holding the milk at approximately 180 degrees for 30 minutes will denature the proteins and help the yogurt to thicken.
Strain the yogurt – Another way to thicken yogurt is to strain off the whey using a cheesecloth. If you use this method, don’t throw out the whey! There are many wonderful uses for it.
What Type of Milk to Use for Making Yogurt
This recipe for classic yogurt uses regular whole milk. If it has been processed beyond pasteurization and/or homogenization (such as lactose-free milk), it will not work as well for yogurt.
While you can use low-fat or skim milk, the yogurt will have a much thinner, more drinkable consistency.
Other Types of Yogurt to Try
Yogurt Starter Options
When making homemade yogurt you have three starter options, all of which have pros and cons that are covered below.
Store-Bought Yogurt
You can use a small amount of plain store-bought yogurt to start your batch of homemade yogurt. If you do, make sure that it has no additives, sweeteners, or flavors and contains live active cultures.
Pros:
- Easily obtained (you may already have some in your fridge)
- Doesn’t require you to maintain a starter
Cons:
- You have to purchase more for each batch you want to make. If you start your homemade yogurt with store-bought yogurt, you cannot use your homemade yogurt to start your next batch. It may seem to work, but the results will be unpredictable and get increasingly worse as time goes on.
- Various factors outside of your control (or knowledge) can determine how many live active cultures are actually in the starter yogurt. This can lead to unpredictable results.
Commercial Yogurt Starter
This is another popular method for making yogurt. You can often buy commercial yogurt starters at health food stores or online. Cultures for Health is my favorite brand for a reliable commercial starter.
Pros:
- Doesn’t contain additives that may be in store-bought yogurt.
- You don’t need to worry if there are any live active cultures.
- Consistent results (if you are using the same ingredients and technique every time)
Cons:
- Using a commercial yogurt starter is the most expensive option for starting homemade yogurt.
- You have to purchase more for each batch of homemade yogurt you make.
Heirloom Yogurt Starter
This is my favorite type of yogurt starter! Cultures for Health has an heirloom Bulgarian starter that I use to start my yogurt, and I highly recommend it.
Pros:
- Lasts indefinitely. You can use each batch of homemade yogurt to start the next batch, and there’s no need to purchase more starter. If you want to be self-sufficient in your yogurt-making, heirloom starters are the way to go!
- Most affordable option to start yogurt. Since you never need to buy more starter, this is by far the cheapest method.
Cons:
- Requires upkeep of your starter. In order to keep making batch after batch of yogurt without buying a new starter, you have to make sure the yogurt is properly stored and not contaminated or you’ll ruin the starter. (A good tip for this is to as soon as your current batch of yogurt is done, pull out enough to start the next batch and store it separately from the rest of the yogurt.)
- You will need to make yogurt at least once a week in order to maintain the freshness of the starter.
- Can lead to unreliable results if your starter gets contaminated or old.
Does Making Homemade Yogurt Save Money?
Yes, making yogurt is a fantastic way to reduce your grocery budget.
When you make yogurt, the amount you end up with is only slightly less than the amount of milk you started with. With this in mind, to figure out how much you could save, simply compare the cost of the milk you buy with the cost of yogurt.
As an example, at the time of writing this article, at my local Walmart a gallon of organic whole milk is $7.87 a gallon. A quart of plain organic yogurt costs $5.17, so it would be $20.68 for a gallon. That’s a savings of over $12 a gallon!
Other Methods
This post includes instructions for making yogurt on the stovetop and fermenting in the oven, but here are a couple other popular methods.
Instant Pot – By utilizing the various heating settings, yogurt can be made from start to finish using only an Instant Pot!
Slow Cooker – This method is similar to using an Instant Pot, however, it does take a little longer since slow cookers don’t heat as fast.
Yogurt Maker – This is the simplest way to ferment yogurt. The only drawback is that it requires purchasing (and storing) a separate appliance that, depending on the model, may serve just a single purpose.
How to Flavor Yogurt
Yogurt should always be flavored after the fermentation process has been completed. Also, if you’re saving starter for your next batch, make sure to remove that before adding anything.
You can either mix the flavorings into the whole batch of yogurt or flavor each serving individually. You can choose one of the flavor options below or create your own.
Flavor Ideas
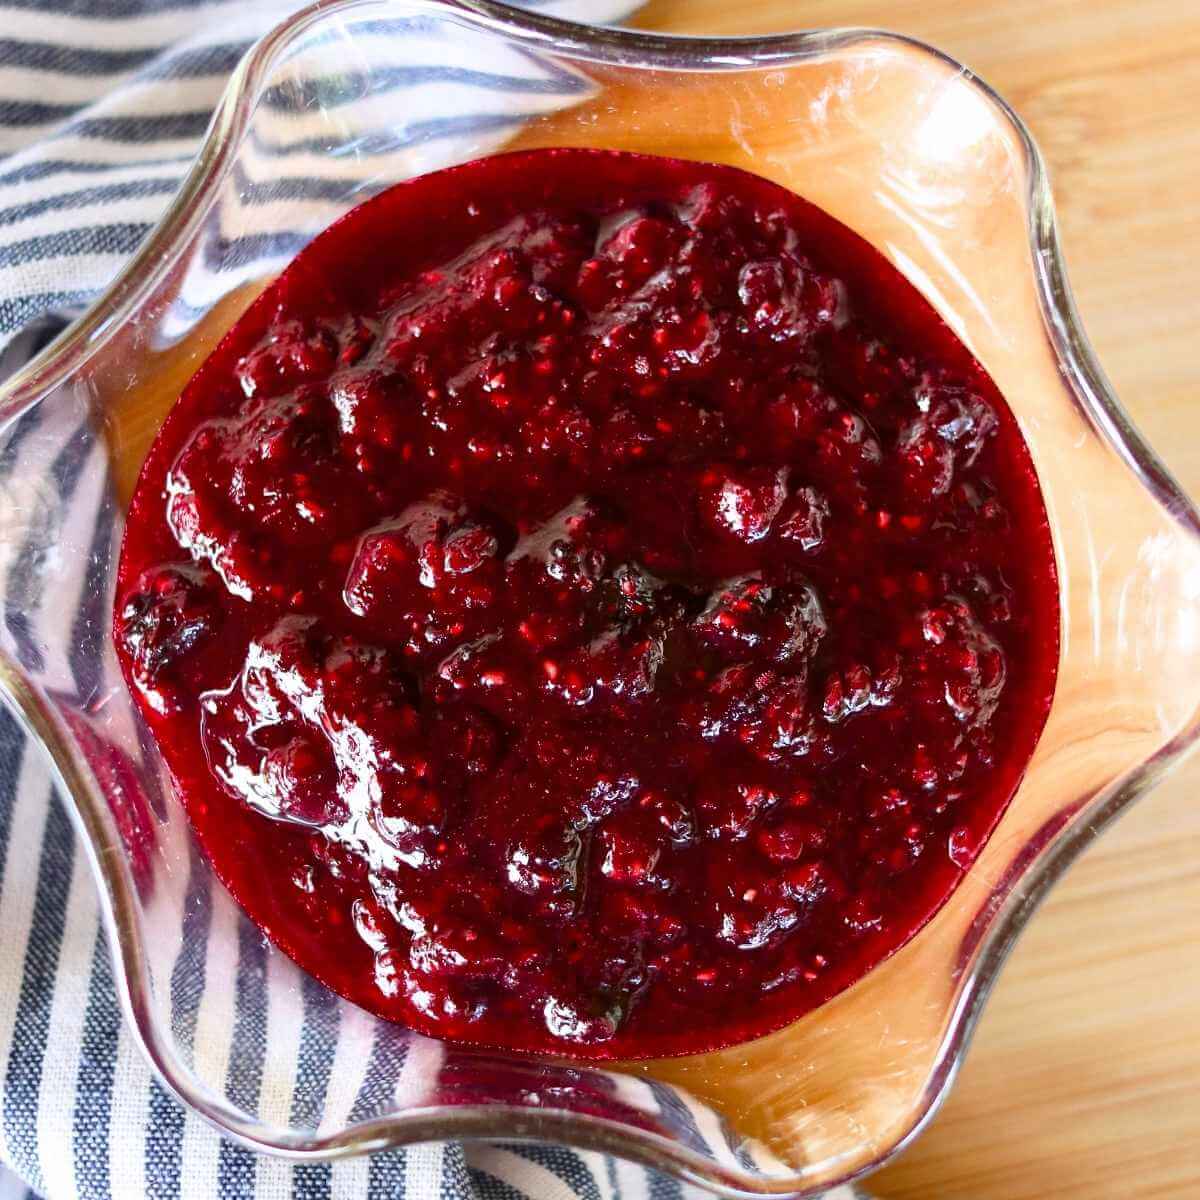
Fruit compote – This will give it a flavor similar to store-bought fruit yogurt. Try adding compote made with frozen berries, cranberry ginger compote, or apple cinnamon compote!
Vanilla – Add just a touch of vanilla extract plus a sweetener of your choice (raw honey and maple syrup are great healthier options).
Chocolate – Add cocoa powder and sweetener to taste. You can also include a small amount of vanilla for a richer flavor.
Pumpkin spice – Add pumpkin spice to taste and sweeten with maple syrup for a fun fall treat.

Ways to Use Yogurt
There are countless ways to enjoy yogurt, and here are some of my favorites.
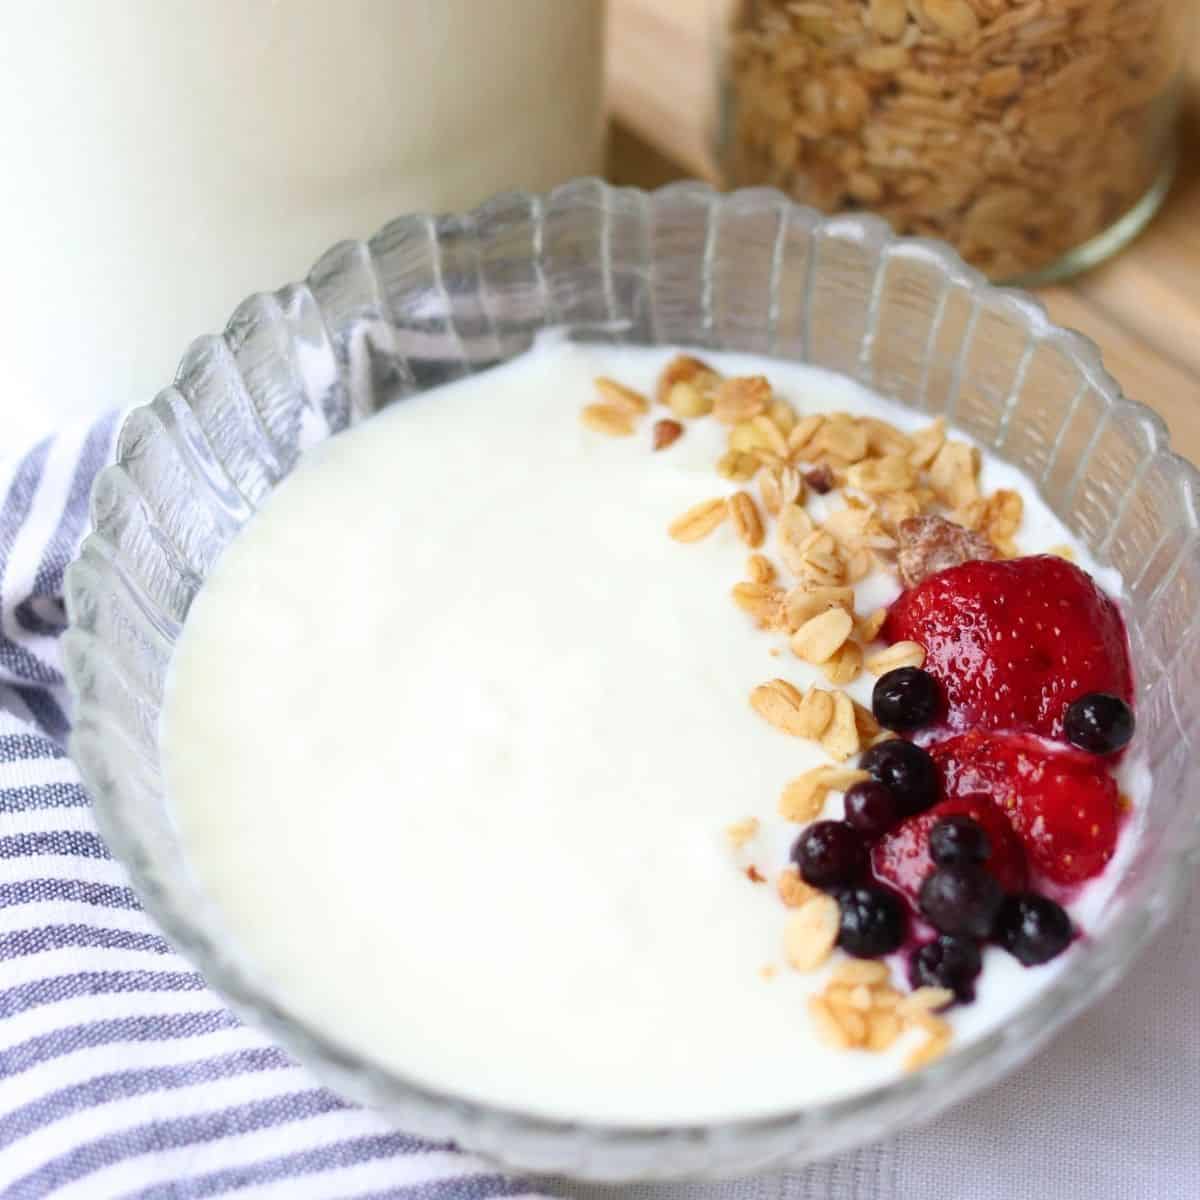
Parfaits – Top with healthy granola, fruit, and any other tasty add-ins for a nourishing treat.
Healthy smoothie addition – A great way to add probiotics to smoothies! Try substituting half of the milk for yogurt in a strawberry ginger smoothie or cranberry banana smoothie.
Homemade sauces and dips – Yogurt is a core ingredient in various condiments including Mediterranean dill sauce and lime crema.
Frozen yogurt bark – This is a fantastic way to make yogurt more fun for kids!
Baked goods add-in – Yogurt is an important ingredient adding richness and moisture to various recipes such as moist apple muffins.
FAQs
Homemade yogurt can be stored for about two weeks in the fridge.
Keep in mind that if you started your yogurt with an heirloom starter, you will need to make your next batch within one week for best results.
Yes, you can freeze yogurt, but it won’t have a good texture once it’s thawed. If you freeze it, it’s best to eat it still frozen (like yogurt bark).
Also, keep in mind that freezing can impact the active cultures in it. While it won’t necessarily kill them all immediately, they will become dormant and decrease the longer the yogurt is frozen.
Yes, just like other fermented foods, making yogurt is a safe process. If it smells good, tastes pleasantly sour, and has thickened at least slightly, it should be safe to eat.
Yes, the fermentation time for yogurt can be adjusted slightly based on your preference. Most people prefer the flavor between 8 and 12 hours, however, if you ferment it for 24 hours, it becomes virtually lactose-free.
This is often caused by fermenting slightly too hot or for too long. It can also be caused by heating the milk too quickly. You can simply whisk the lumps into the yogurt. It’s still safe to eat.
This is whey, and it’s a natural byproduct of making yogurt. I whisk it into my yogurt, but you can also strain it out with a cheesecloth. Excessive amounts of whey are often caused by jostling the yogurt before it’s set or fermenting it too hot or too long.
First, since this homemade yogurt has no thickeners like most store-bought yogurt does, it will naturally be runnier. It should, however, still be thicker than milk. If it’s still very much a liquid, try letting it ferment for at least 12 hours and then check again. If it still hasn’t set, most likely either your starter didn’t have enough active cultures or you didn’t ferment it at a high enough temperature.
Greek yogurt is simply regular yogurt that has been strained to remove some of the whey. To make it, pour the yogurt into a cheesecloth-lined strainer and let the excess liquid whey drain off.
If you try this recipe, let me know in the comments! Tag me on Instagram @violet_rightathome
Homemade Yogurt (without a Yogurt Maker)
Ingredients
- 1/2 gallon milk
- 1/4 cup yogurt or powdered starter
Instructions
- Preheat your oven to 180 degrees.
- Pour the milk into a large pot and heat slowly on the stovetop on medium-low heat, stirring frequently.1/2 gallon milk
- Once it gets close to boiling and bubbles begin to form around the edges (180 degrees if you're using a thermometer), place it in the oven for 30 minutes.
- Turn off the oven, leaving the door ajar so it can cool.
- If you are using yogurt as a starter, remove it from the fridge so it can come to room temperature.1/4 cup yogurt or powdered starter
- Remove the hot milk from the oven, and let it cool without stirring until you can move your finger back and forth 10 times without getting burnt (it will still be pretty hot). This should be about 110 degrees.
- Once the milk has cooled enough, stir in the room-temperature yogurt starter.
- Place the lid on the pot and wrap it in a large towel. Then put the pot in the oven and turn on the oven light.
- Let the yogurt ferment undisturbed for approximately 8-12 hours, then remove from the oven.
- There will likely be some liquid whey in the pot along with the yogurt, so whisk it together until it's smooth.
- Place the yogurt in an airtight container in the fridge. As it sits in the fridge it will continue to thicken slightly for the first number of hours.
Notes
Homemade yogurt starter options:
- Store-bought yogurt with active cultures that doesn’t have any flavorings or sweeteners.
- Homemade yogurt from your previous batch. Make sure that it’s not older than a week! Also, if you started your first batch from store-bought yogurt, you will likely only be able use your homemade yogurt as a starter for a few batches before it stops working.
- Powdered commercial or heirloom starter. Commercial starters are for one-time use. However, heirloom cultures will allow you to continue using each batch of yogurt to start the next indefinitely.
Milk options:
This recipe for traditional yogurt uses regular whole milk. If it has been processed beyond pasteurization and/or homogenization (such as lactose-free milk), it will not work as well for yogurt. While you can use low-fat or skim milk, the yogurt will have a much thinner, more drinkable consistency. Also, this recipe is not designed for dairy-free milks.Nutrition
If you tried this yogurt recipe, I’d love to hear how it turned out for you! Please make sure to come back and leave a comment and a ⭐️⭐️⭐️⭐️⭐️ rating.


My whole family loves this yogurt! I usually have to make a gallon a week!
Can you put canned fruit in yogurt and when should you add it?
Canned fruit is delicious in yogurt! If you’re planning to use some of your current batch of yogurt to start the next batch, make sure to pull some out to save as a starter before adding the fruit. Otherwise, you can add the fruit as soon as the yogurt is done fermenting.