

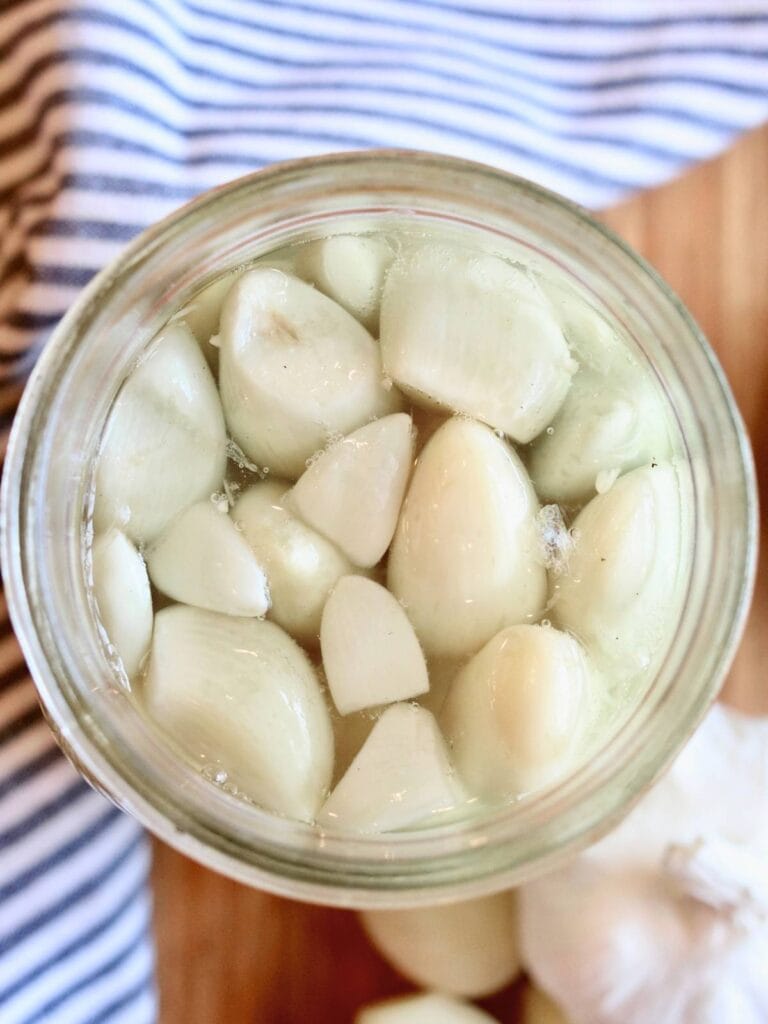
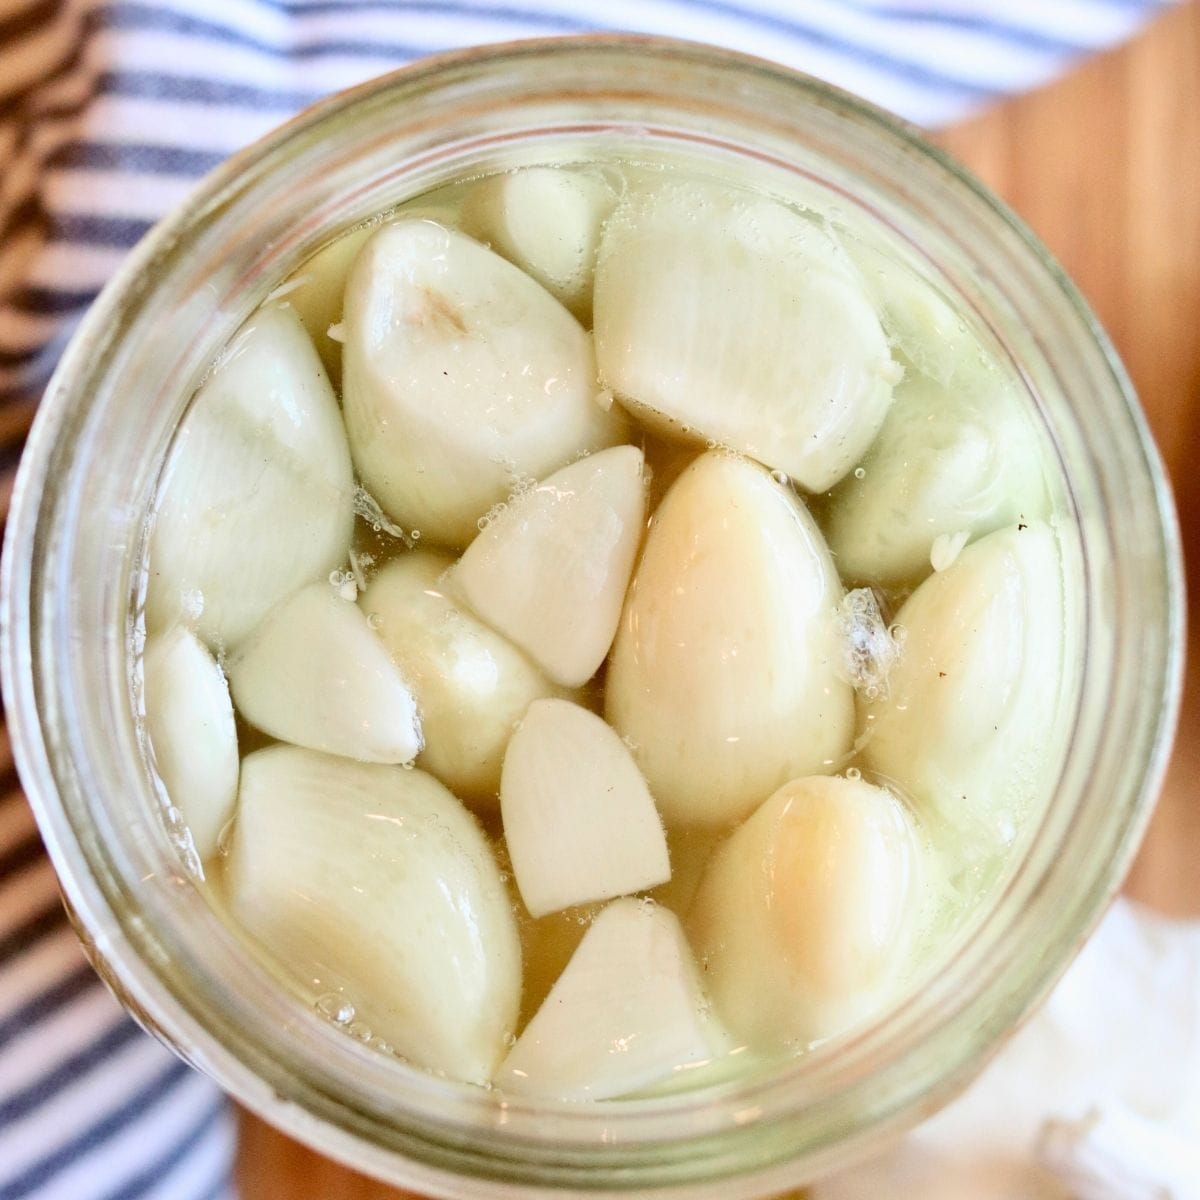
With its mild, tangy flavor, fermented garlic is an easy and delicious way to preserve fresh garlic. It‘s packed with wonderful probiotics and makes a fantastic addition to countless recipes!
Quick Look at the Recipe
- 🍽️ Flavor: Tangy and savory (milder than fresh garlic)
- ⏱️ Prep Time: 15 minutes
- 🫙 Fermentation Time: 3-8 weeks
- 👥 Yield: 1 quart
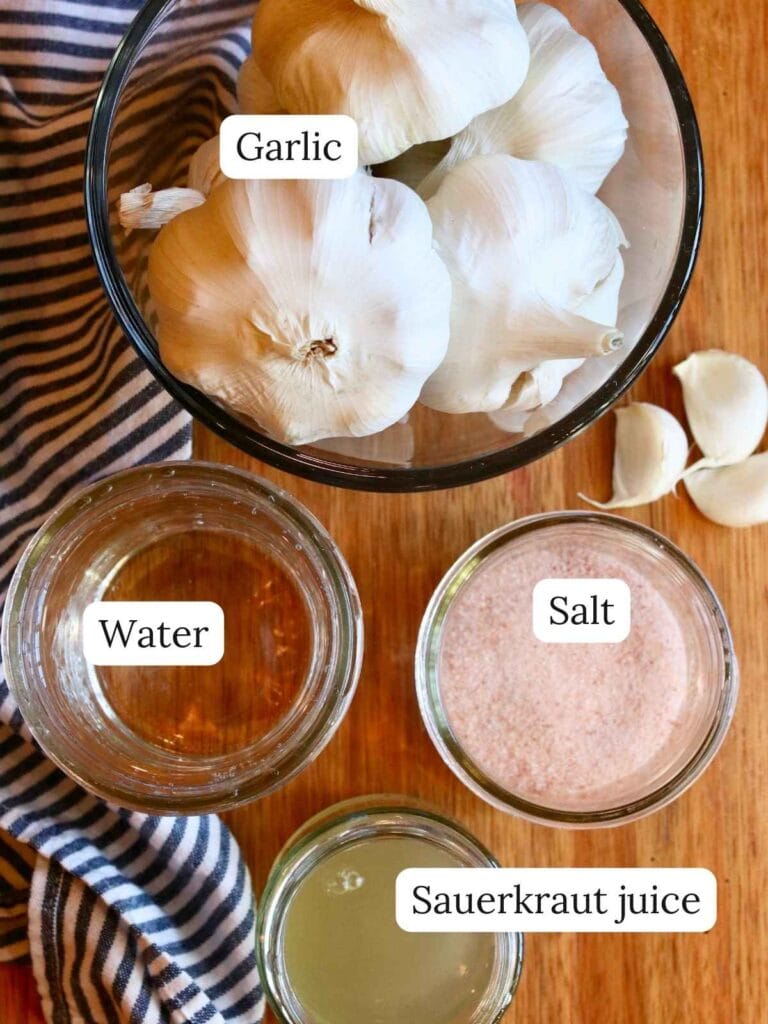
- 🥣 Main Ingredients: Garlic, sauerkraut juice, salt
- 📋 Method: Lacto-Fermentation
- 📖 Dietary Info: Gluten-free, dairy-free, egg-free, vegan
- 👩🍳 Tip: Sauerkraut juice kickstarts the fermentation process and helps prevent bad bacteria from growing.

If You Thought Regular Garlic Was Good…
As a busy mom who prioritizes ancestral foods, I do almost everything in bulk – grocery shopping, snack prep, freezer meals, you name it.
I love ordering 5-pound bags of garlic from Azure Standard, and fermenting it is one of my favorite ways to preserve it. (You can read my honest thoughts on Azure Standard.)
The process is simple, and it transforms raw garlic by adding probiotics and creating a mellow, tangy flavor while softening its sharp bite. This is one of those fermented staples you’ll always want to keep in your fridge!
Ingredients
Tools Needed
Step-By-Step Instructions
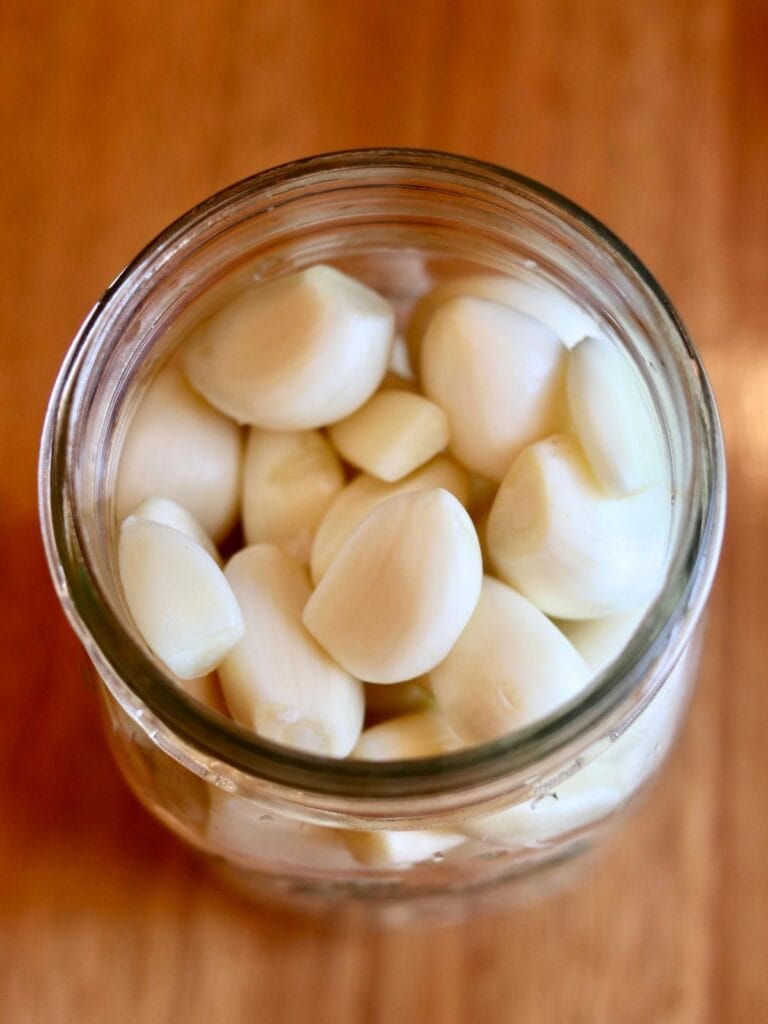
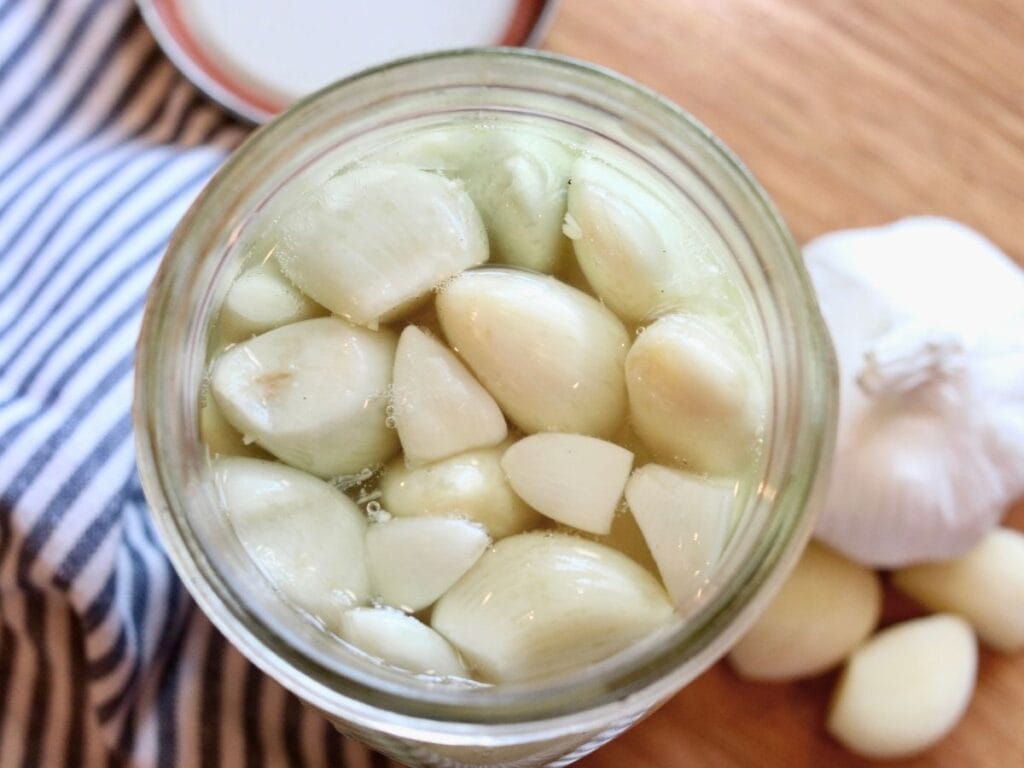
Step 1: First, place the peeled garlic cloves in a quart mason jar, making sure to leave 2-3 inches of space at the top.
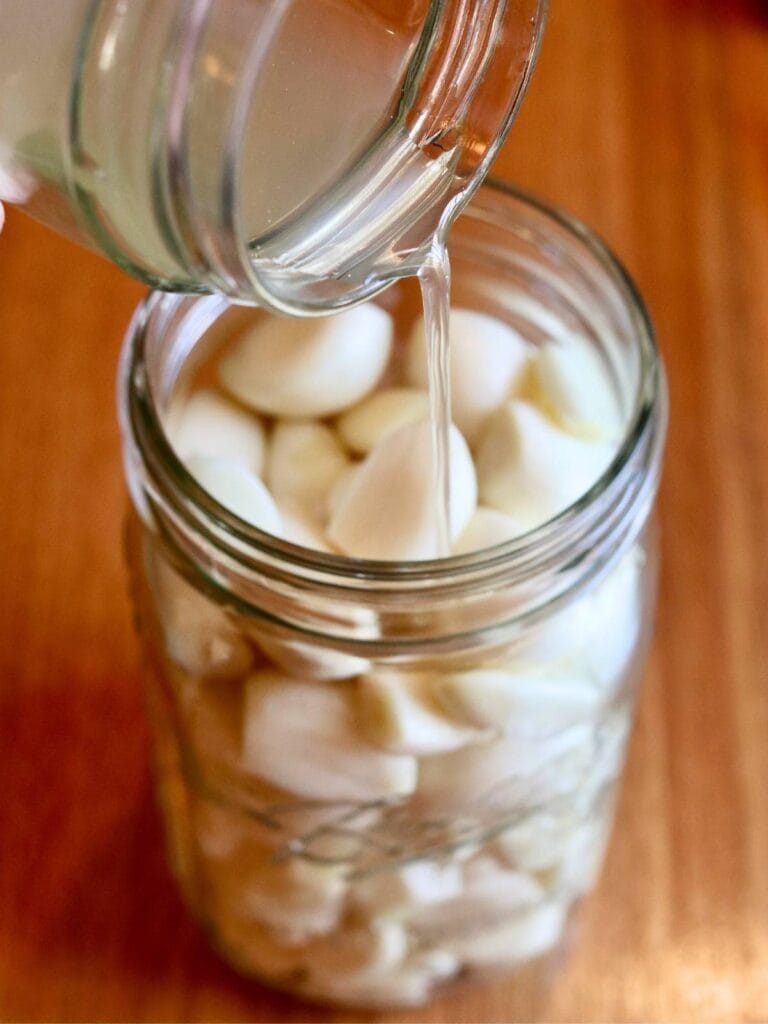
Step 2: Then pour the sauerkraut juice (or whatever type of starter you’re using) over top of the garlic.
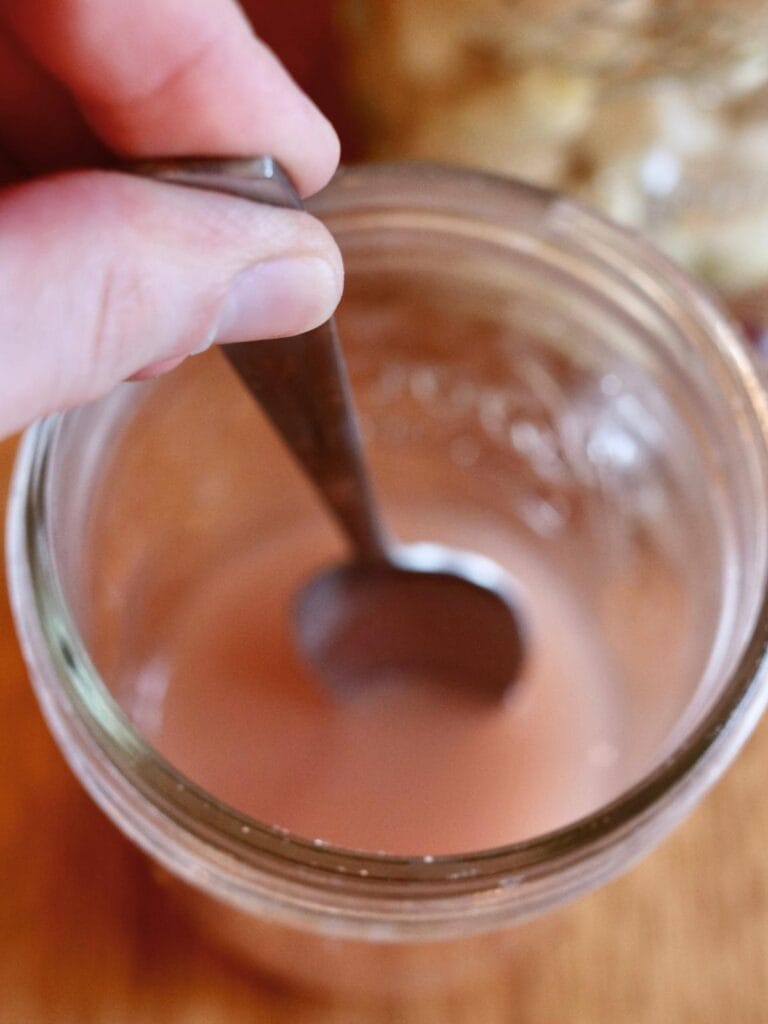
Step 3: In another container, dissolve the salt in 1/3 cup of hot water. Once the salt has dissolved, add the cold water to the jar to cool it down.
You want to make sure the saltwater is about room temperature before pouring it over the garlic or it could kill the good bacteria.
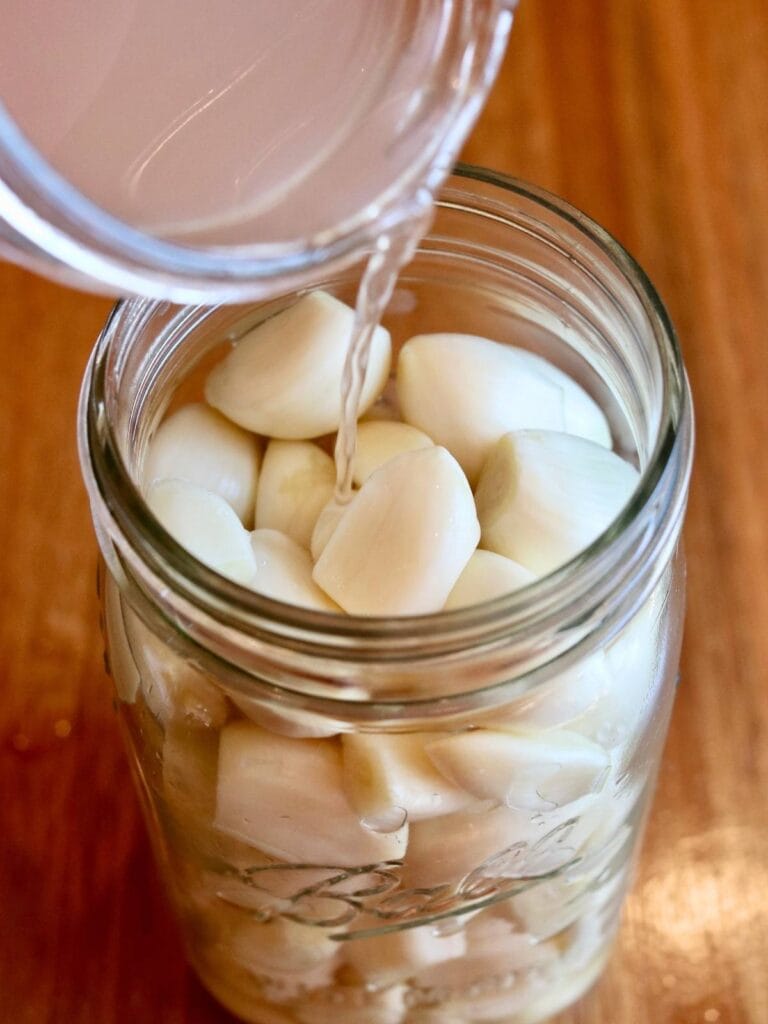
Step 4: Next pour the water into the jar with the garlic, covering all of the garlic and leaving about an inch of space at the top.
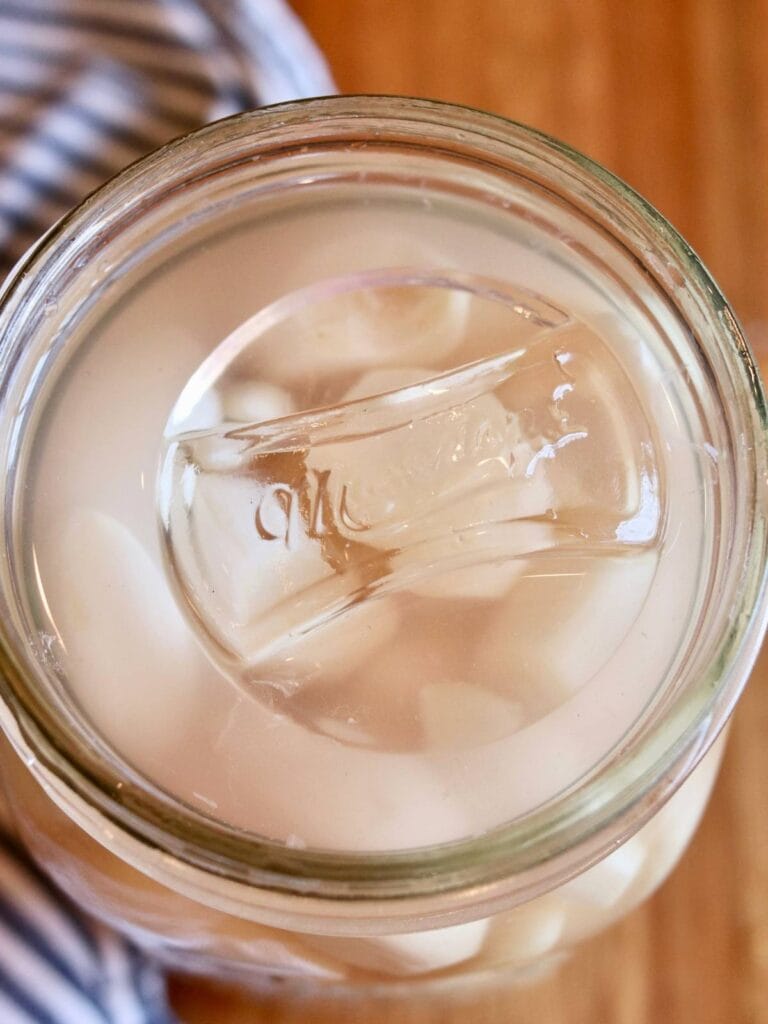
Step 5: Then place a fermentation weight on top of the garlic and screw on the lid. Put the jar in a dark location between 65 and 70 degrees.
Burp the jar daily to release the pressure caused by the fermentation process.
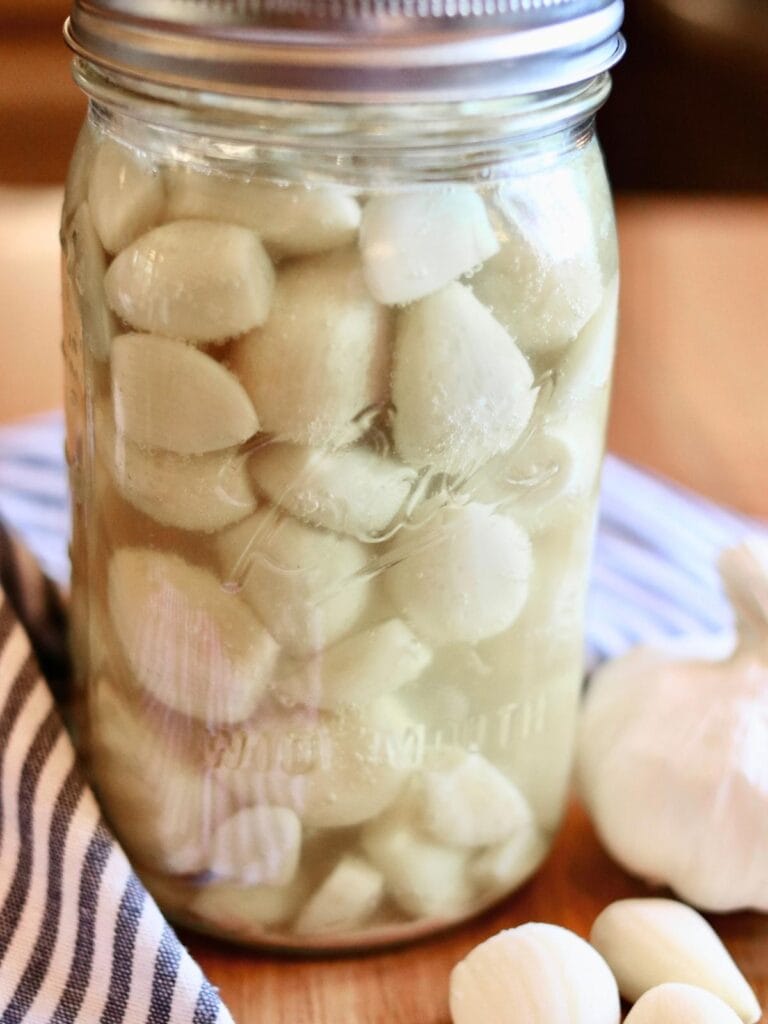
Step 6: Ferment the garlic for 3-8 weeks, depending on your taste preference. The longer it ferments, the milder the flavor will become.
Once you’re happy with it, place the jar in the fridge. As it sits in the fridge, the flavors will continue to slowly develop even more.
If you’re looking for more fermented recipes, check out my fermented peppers and homemade sauerkraut!
Tips for Success
Discard any damaged cloves – Damaged garlic cloves can harbor unwanted bacteria, so they’re not ideal for fermentation. Using them may disrupt the microbial balance and potentially spoil the entire batch of fermented garlic. However, if only a few cloves in a bulb are affected, you can simply remove those and use the remaining good cloves.
Keep it cool – Garlic ferments best between 65 and 70 degrees. If it’s much warmer than 70 degrees, you can wrap the jar in a damp towel to keep it cool.
Be patient – Garlic needs to ferment for 3 weeks minimum, and it can ferment for up to a couple of months.
For more tips on successful fermentation, check out my complete guide to fermenting!
What’s the Easiest Way to Peel Garlic?
When peeling garlic for fermenting, you need to be careful not to damage the garlic. After testing various methods, this is the easiest way I’ve found to peel garlic without crushing or smashing it.
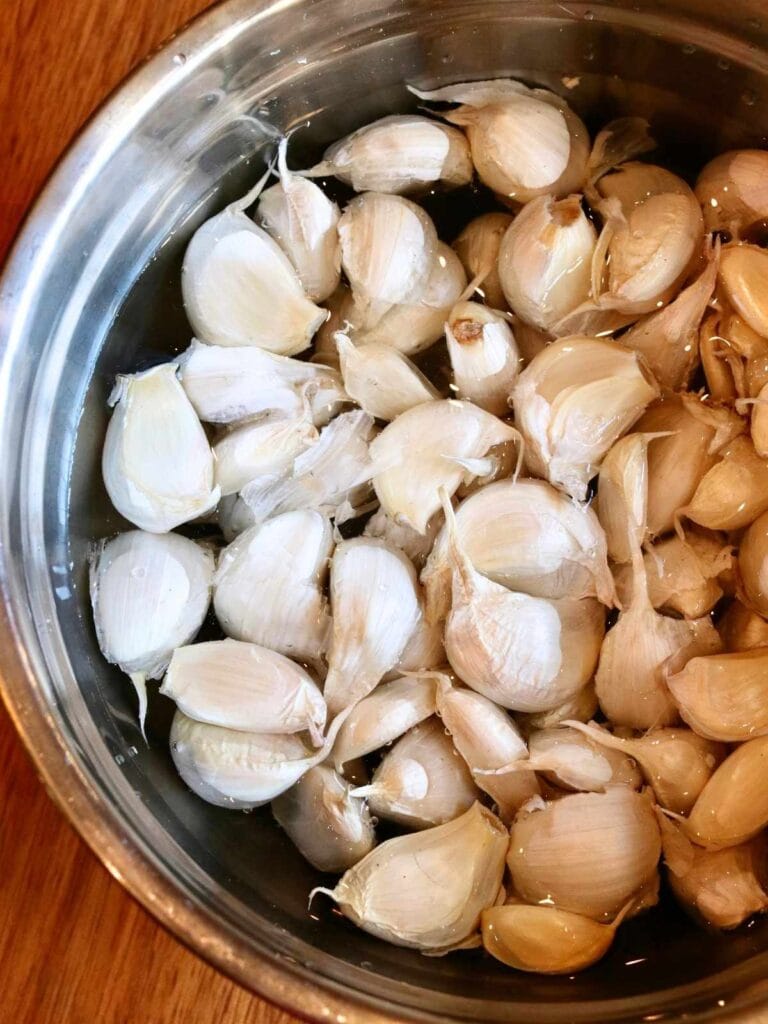
Step 1: First, separate the garlic cloves from the bulbs. Then place them in a bowl filled with water and let them soak for 20-30 minutes.
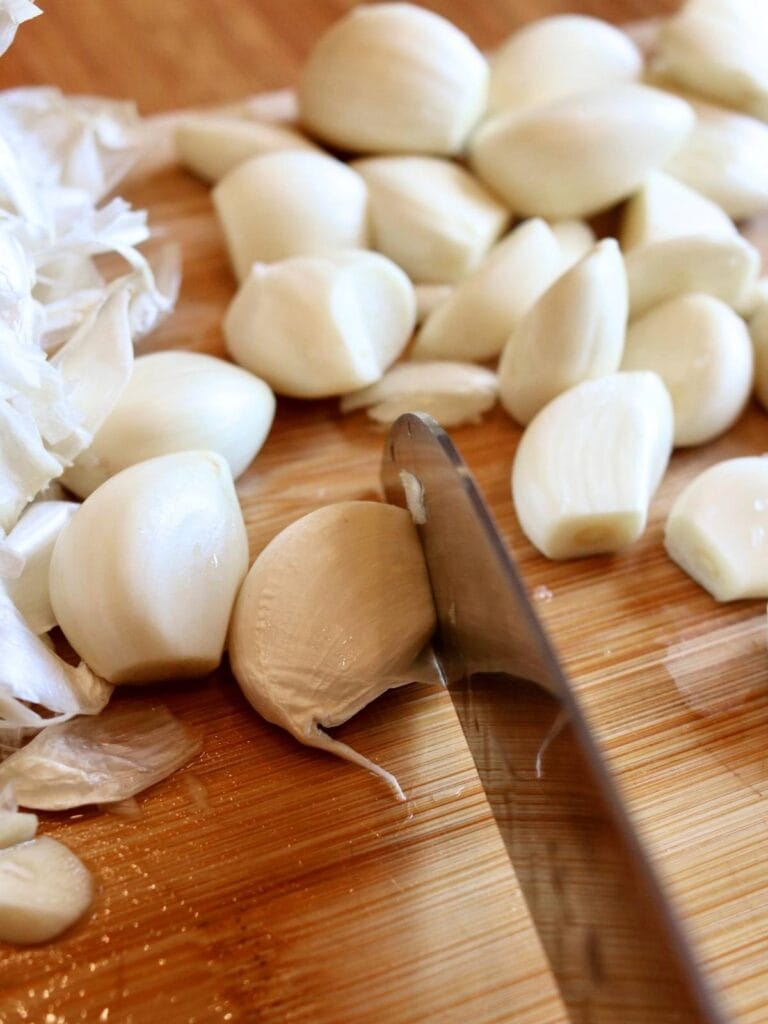
Step 2: After the garlic has soaked, use a sharp knife to chop off the root end.
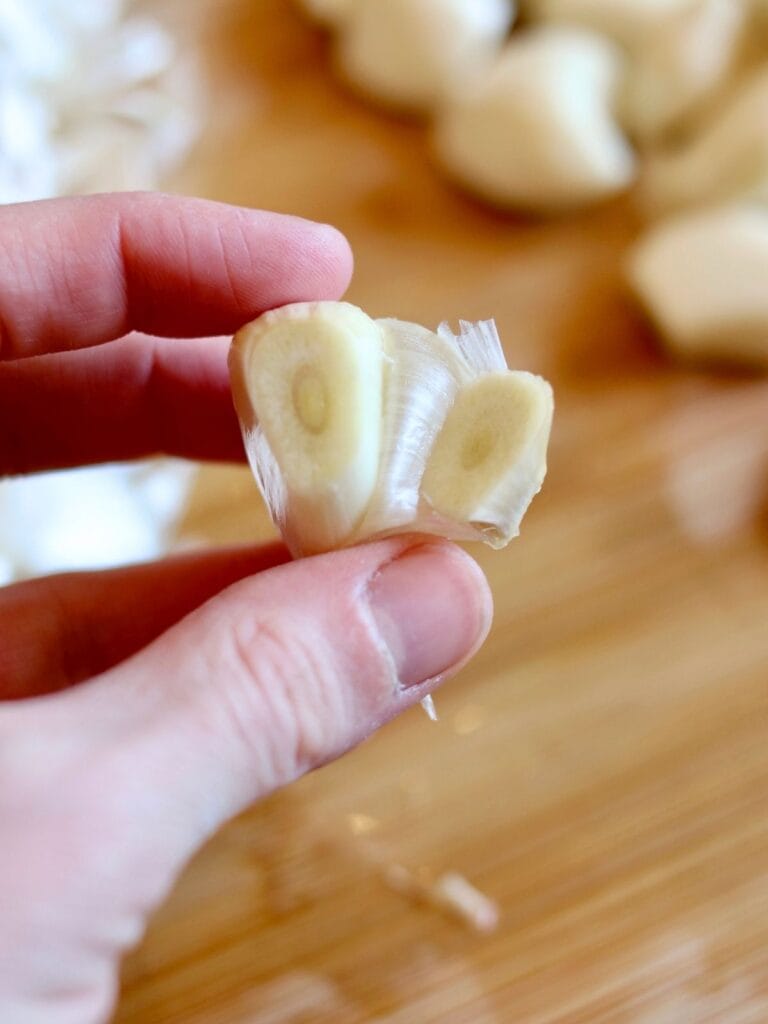
Step 3: Then peel the garlic clove with your fingers. The skin should easily slide off for the most part.
Violet’s Tips for Serving
I love using fermented garlic in place of raw garlic. It’s delicious in vegetables, meat, potatoes, soaked quinoa, salad dressings, and just about anywhere you’d normally use garlic.
To preserve its probiotics and enzymes, add it to foods after cooking.
FAQs
You can store fermented garlic in the fridge for up to a year. As it sits in the fridge, it will continue to slowly ferment and the flavors will keep developing.
No, freezing fermented garlic destroys many of the probiotics and enzymes.
Yes! Lacto-fermentation is one of the safest ways to preserve garlic. There is no risk of botulism due to the lactic acid created when fermenting garlic using this method.
The fermentation process can create an enzyme reaction that turns garlic shades of blue-green. However, the garlic is still safe to eat as long as it tastes, smells, and looks good otherwise.
If you try this recipe, snap a photo and tag me on Instagram @violet_rightathome
No-Fail Fermented Garlic (with Sauerkraut Juice)
Equipment
Ingredients
- 5 large garlic bulbs cracked and peeled
- 3 cups of water divided
- 2 tablespoons sauerkraut juice
- 4 teaspoons salt
Instructions
- Place the peeled garlic cloves in a quart mason jar, leaving 2-3 inches of space at the top and pour the sauerkraut juice over the garlic.5 large garlic bulbs, 2 tablespoons sauerkraut juice
- In another jar, dissolve the salt in 1/3 cup of hot water. Once the salt has dissolved, add the rest of the water cold to the jar to cool it down.⅓ cups of water, 4 teaspoons salt, 2 ⅔ cups of water
- Pour the saltwater into the jar with the garlic, covering all of the garlic and leaving about an inch of space at the top.
- Place a fermentation weight on top of the garlic and screw on the lid.
- Put the jar in a dark location between 65 and 70 degrees. Burp the jar once a day to release pressure caused by fermentation.
- Ferment the garlic for 3-8 weeks, depending on your taste preference. The longer it ferments, the milder the flavor will become.
- Once it's done fermenting, store in the fridge.
Notes
Easiest way to peel garlic without damaging
- Separate the garlic cloves from the bulbs. Then place them in a bowl filled with water and let them soak for 20-30 minutes.
- Use a sharp knife to chop off the root end.
- Peel the garlic clove with your fingers. The skin should easily slide off for the most part.
Other Notes
- To avoid introducing bad bacteria, make sure your garlic is fresh and undamaged.
- If the temperature in your home is much warmer than 70 degrees, you can wrap the jar in a damp towel to keep it cooler while it’s fermenting.
Nutrition
If you tried fermenting garlic, I’d love to hear how it turned out for you! Please make sure to come back and leave a comment and a ⭐️⭐️⭐️⭐️⭐️ rating.


I love making fermented garlic! If you have any questions on this recipe, let me know in the comments. I’d love to help out!
This is so neat!! Thanks
You’re welcome!