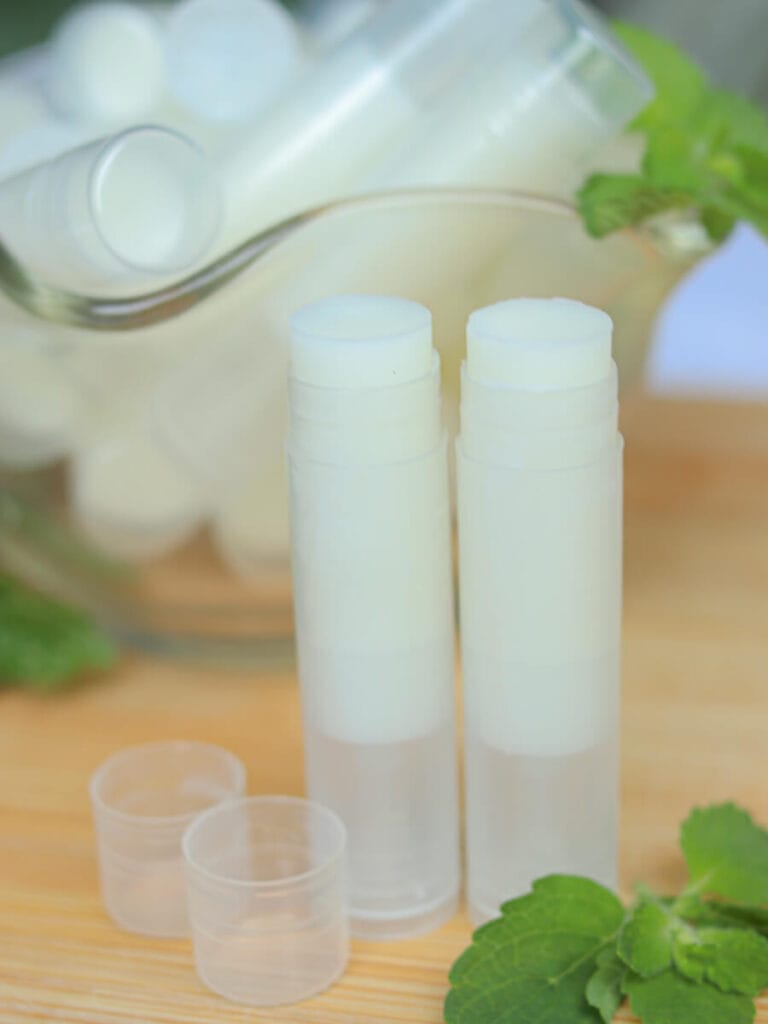
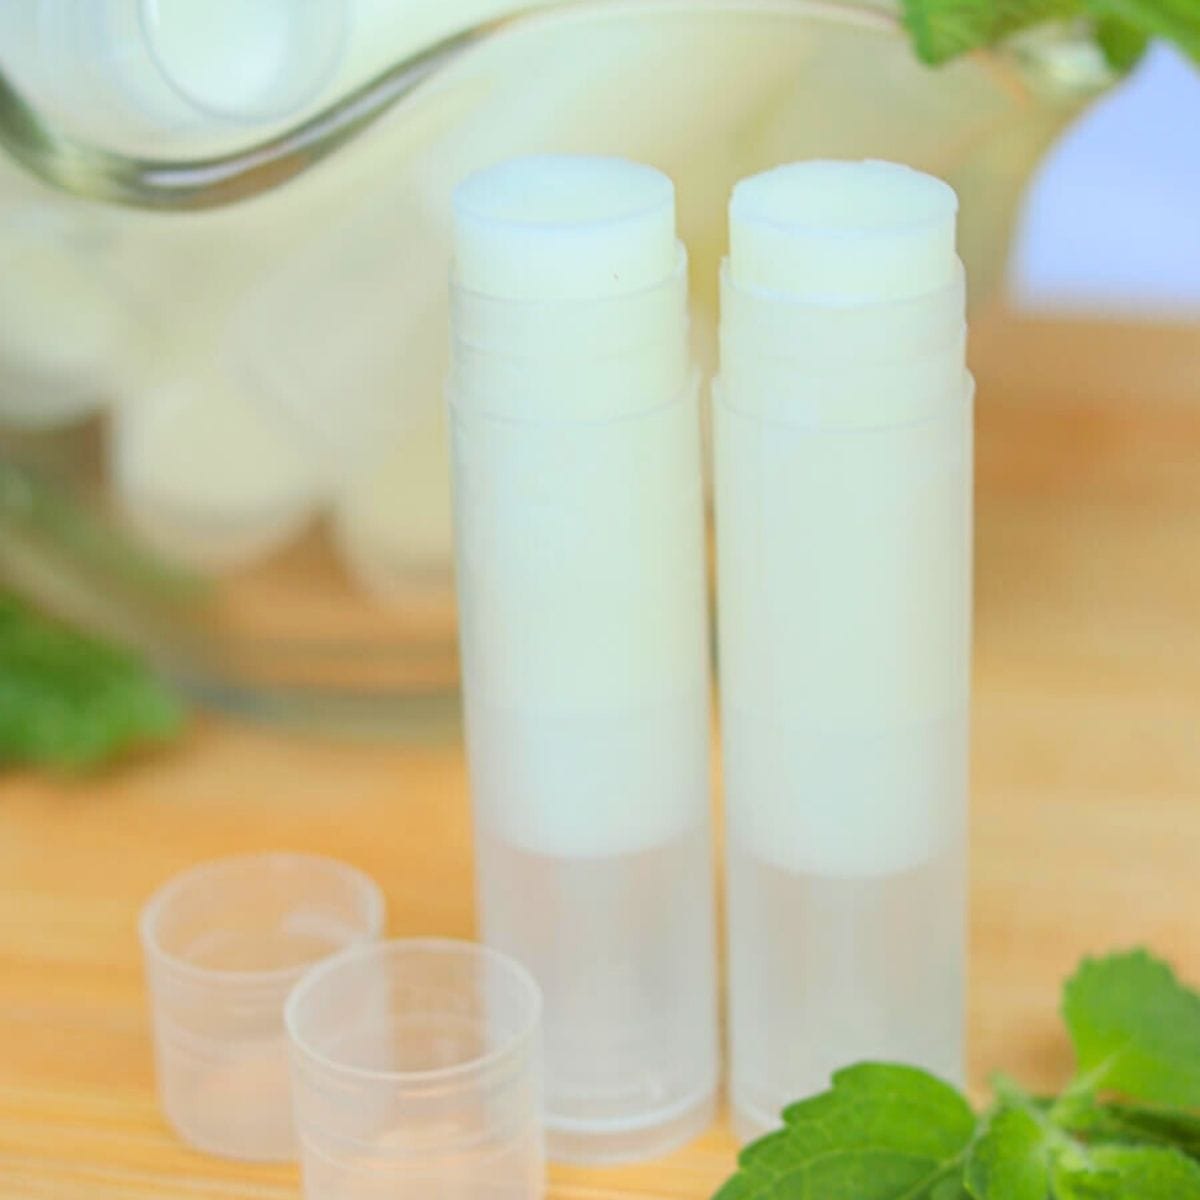
Simple and nourishing, this homemade lip balm will help you say goodbye to chapped lips for good! It comes together quickly and is made with natural, healthy ingredients.
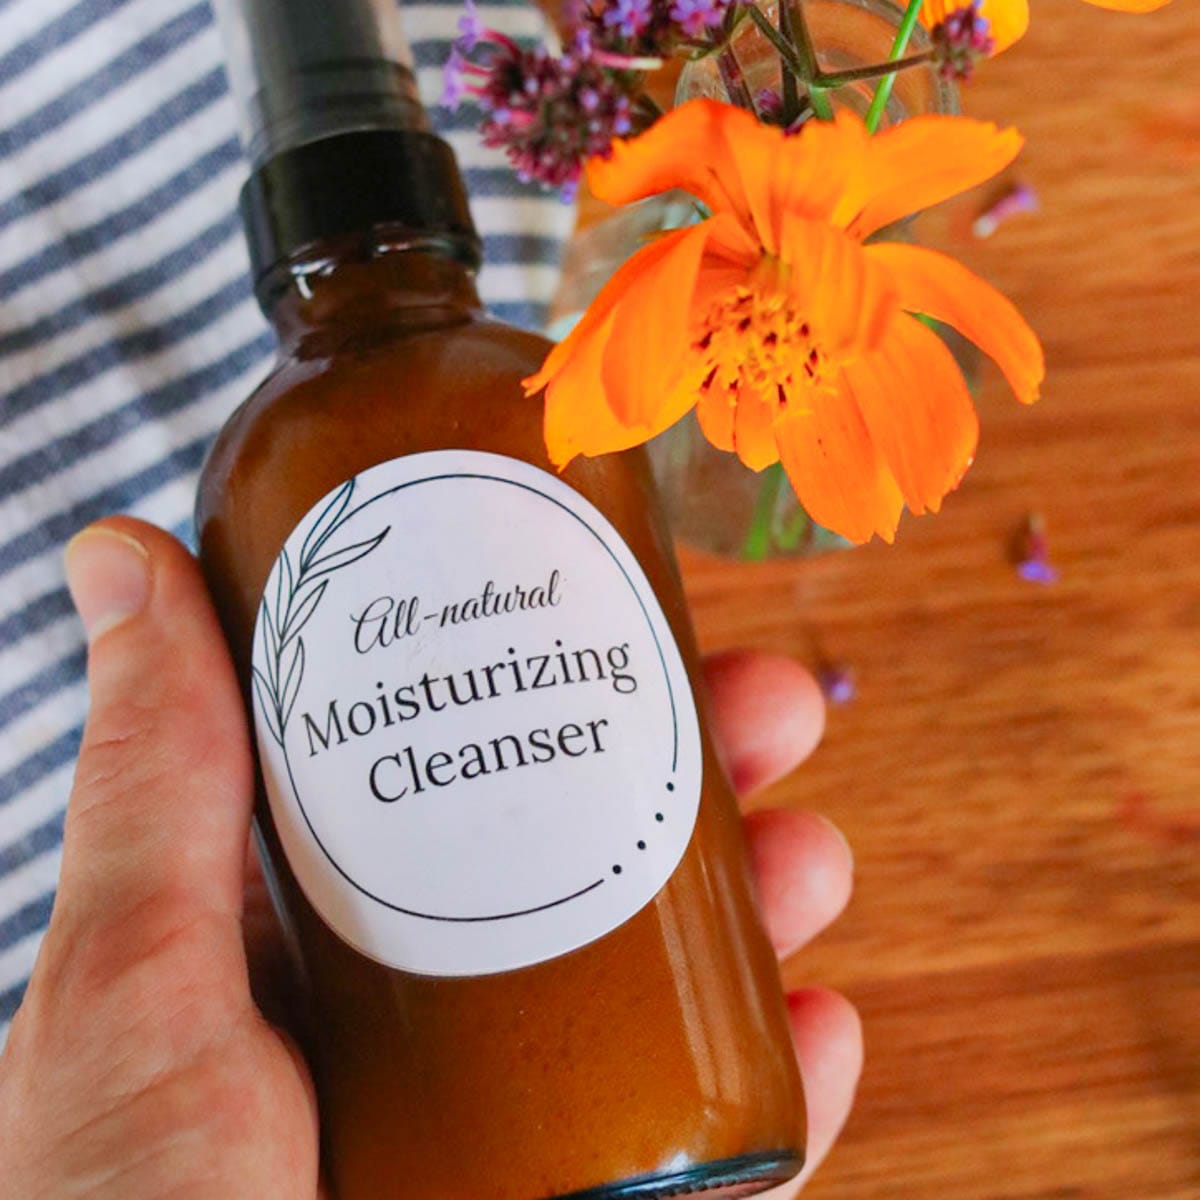
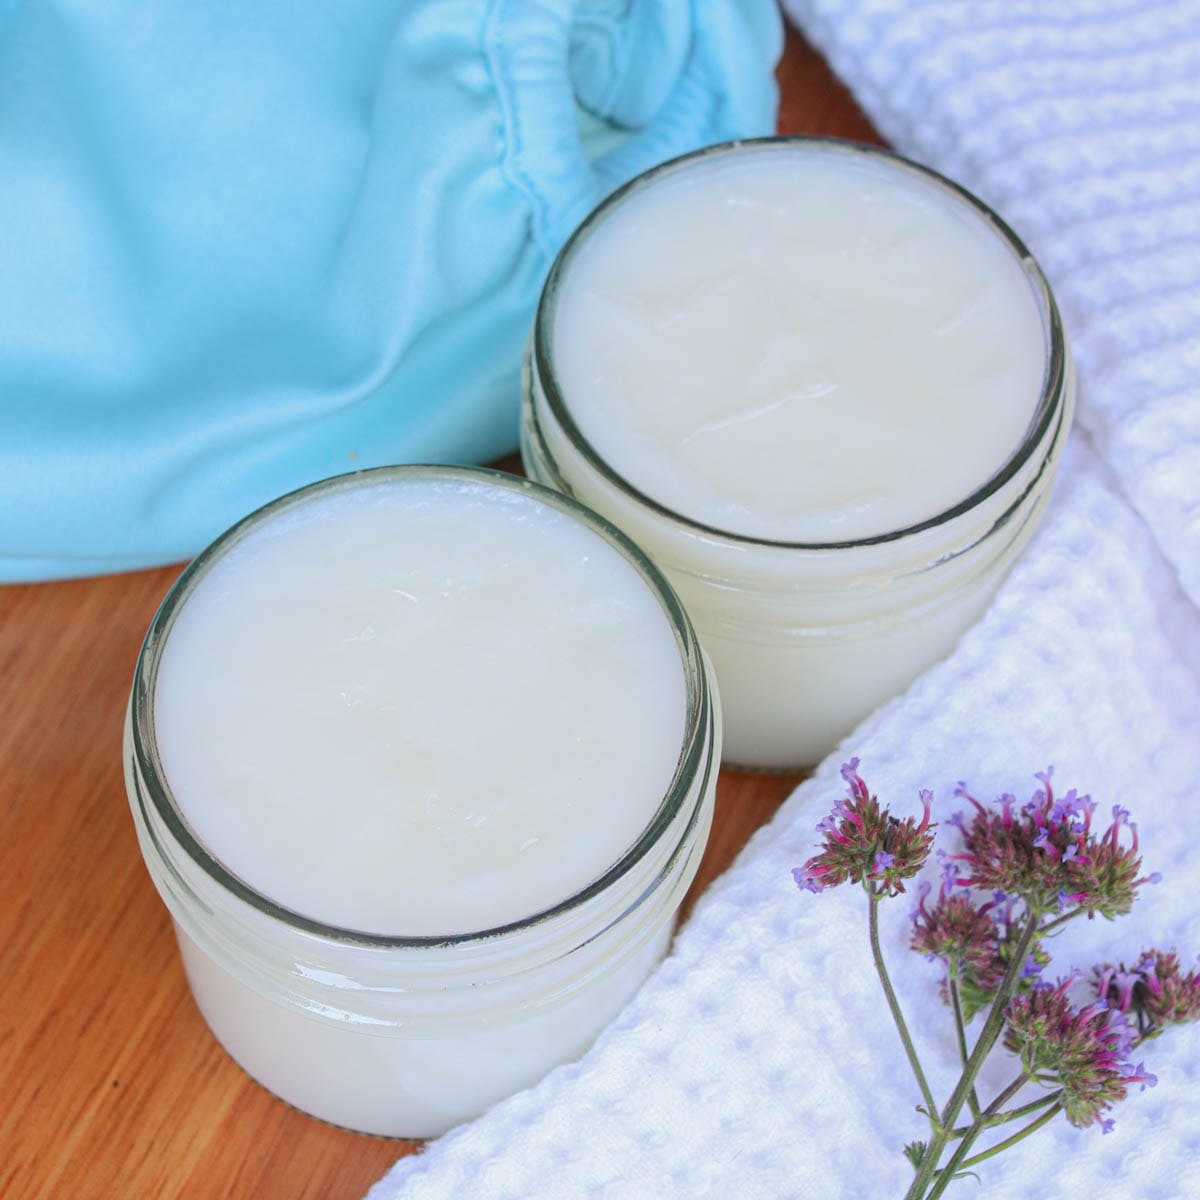
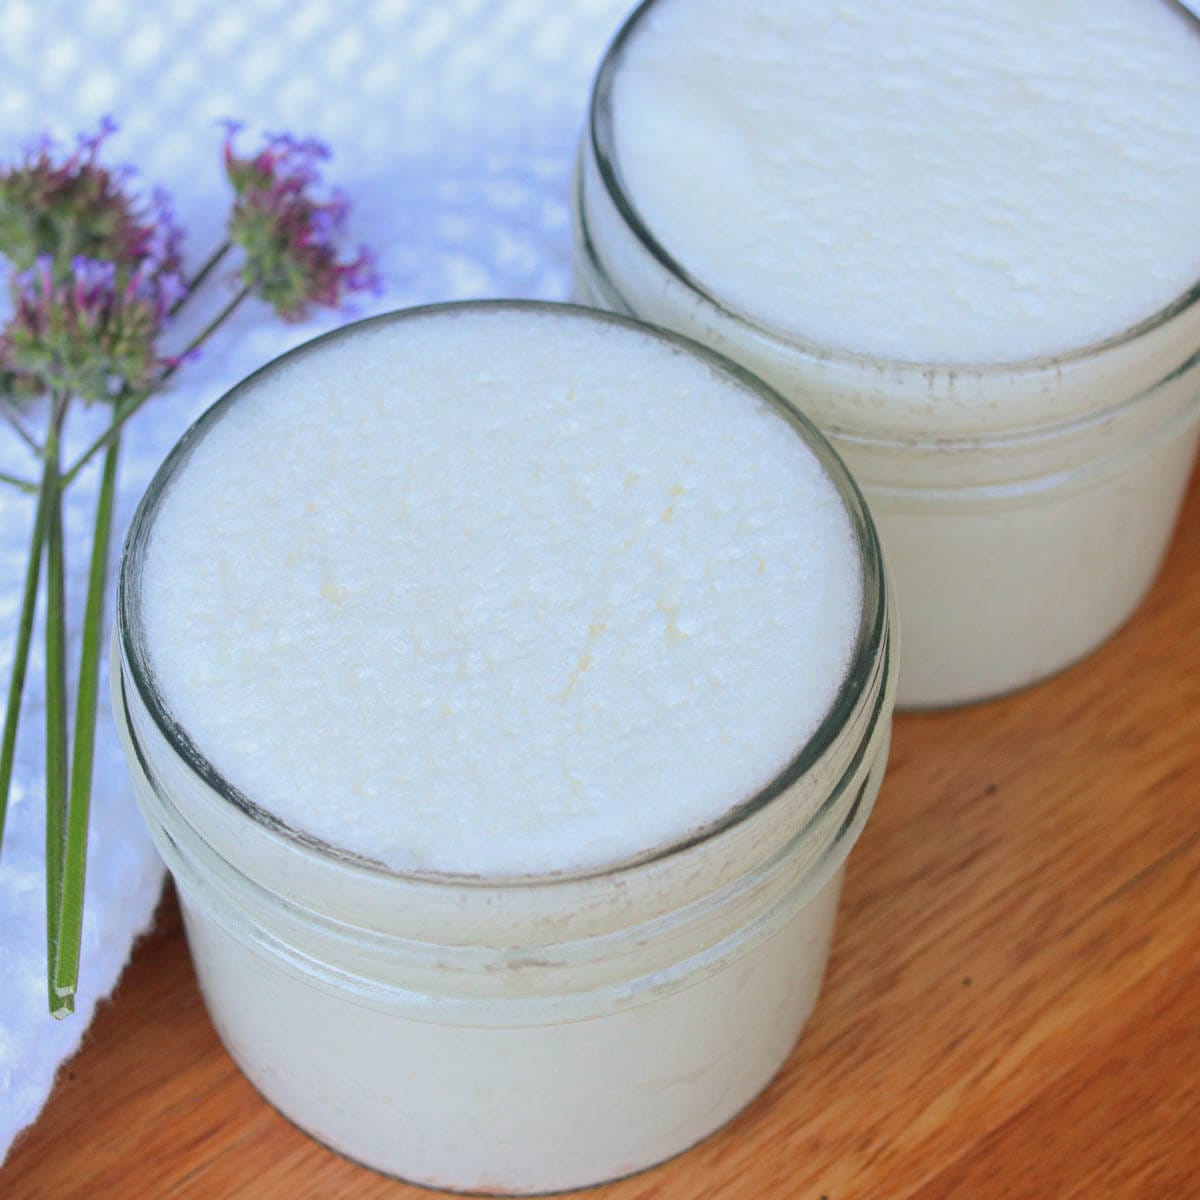
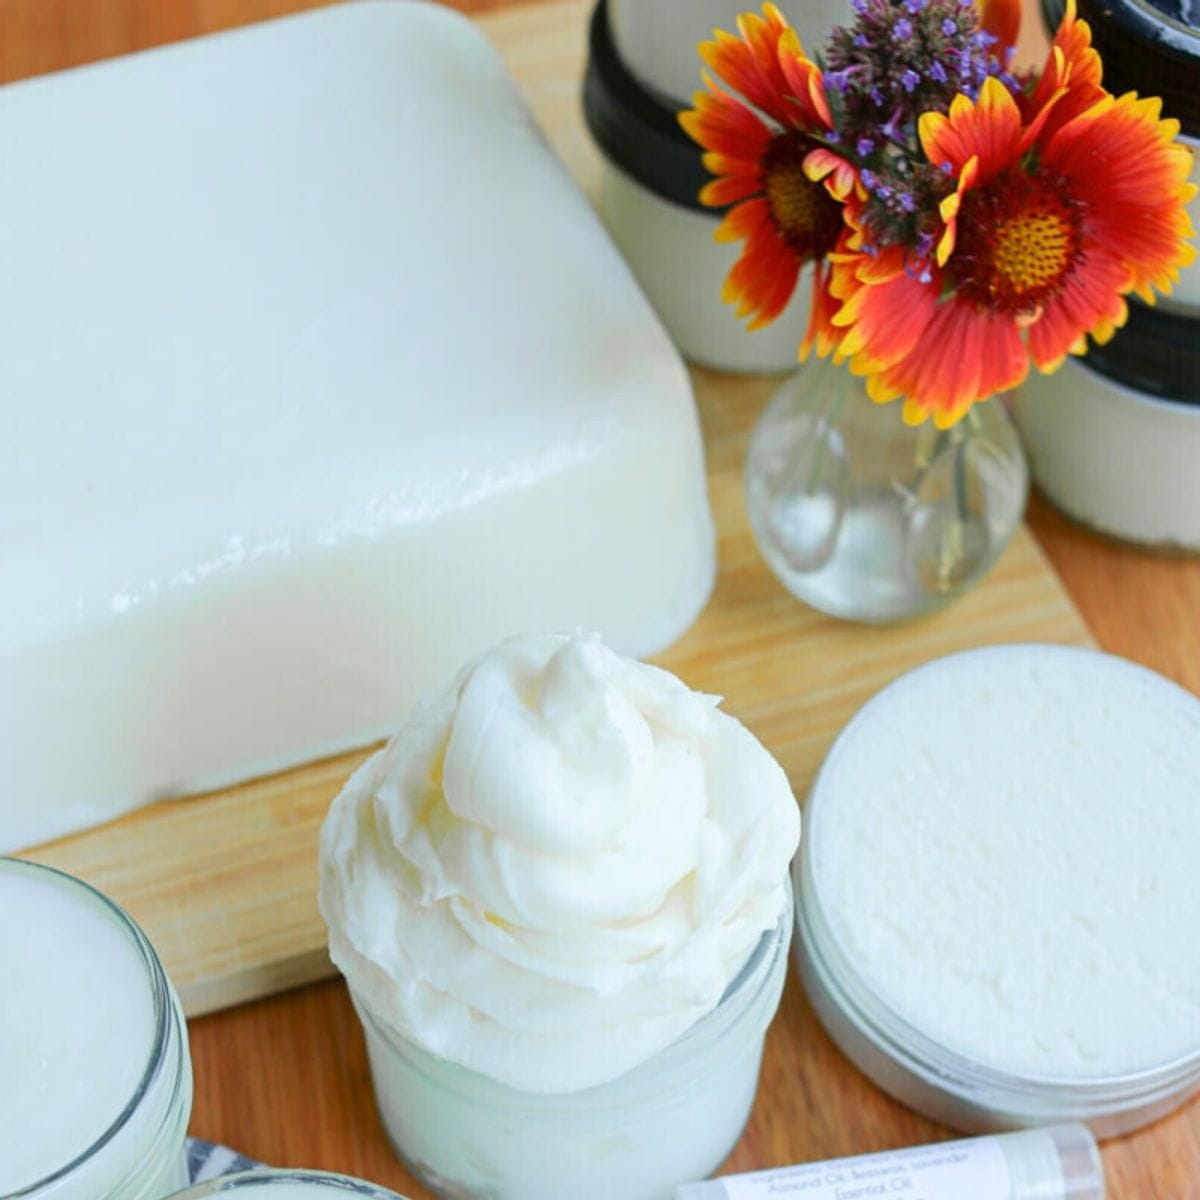
I’ve always loved creating my own clean skincare products! A number of years ago I started with my tallow balm recipe, and these days I make everything from homemade face wash to DIY sugar scrub.
Out of all these, lip balm is one of the most fun DIYs to make. I love experimenting with various scents, and it makes the perfect gifts as well!
Why You’ll Love this DIY
Natural ingredients – This lip balm uses 4 simple, healthy ingredients that will nourish and moisturize your lips.
Long-lasting moisture – Specially formulated with tallow for added moisture, you can be done with chapped lips for good!
Quick & easy – In just half an hour, you’ll have homemade lip balm to use and gift!
How to Store
Homemade lip balm is shelf-stable and can be stored in a cool, dark location for up to a year. Depending on the quality of your tallow, it can last much longer. (I have seen tallow lip balm last at room temperature for 3 years!)
Ready to Craft Your Own Line of Tallow Skincare?
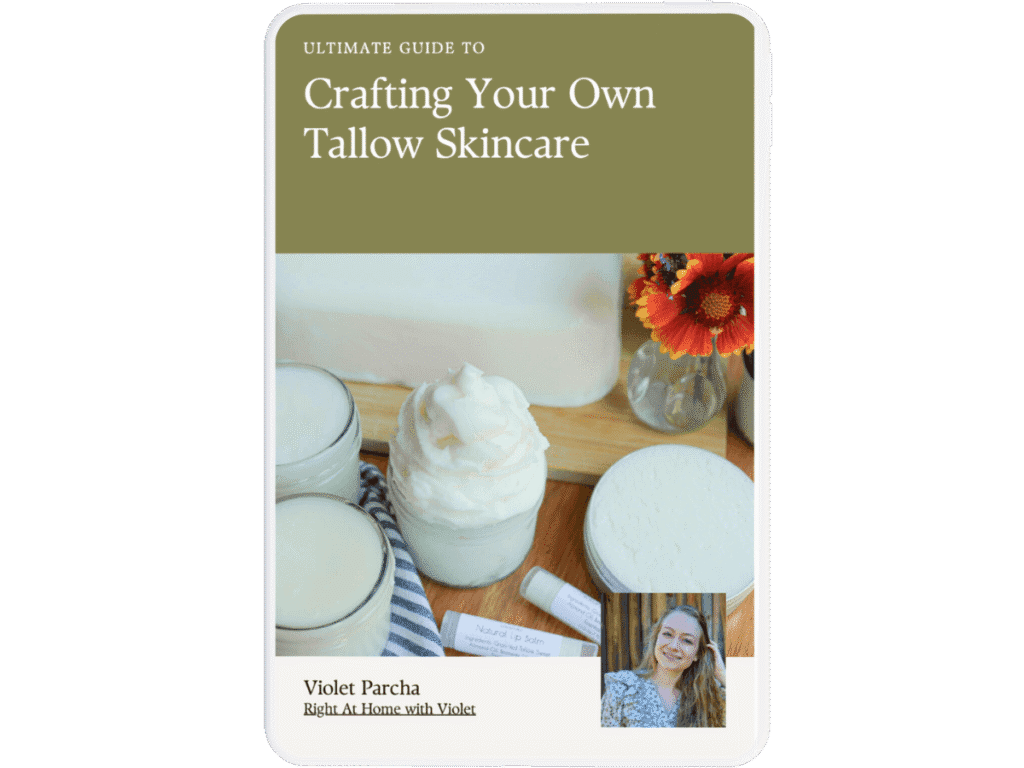
Download my ebook Ultimate Guide to Crafting Your Own Tallow Skincare and get ready to experience naturally radiant skin!
Tips for Success
Use a double boiler – If you melt the ingredients too quickly, you can burn them which may lead to a darker color and bad smell. Melting the ingredients in a bowl over a pot of boiling water also works if you don’t have a double boiler.
Avoid contamination with water – Water in lip balm can cause mold to grow, so make sure to avoid getting any water in it during the melting process.
Swap other essential oils – I used rose essential oil for this lip balm, however, you can use any type of skin-safe essential oil or essential oil blend. You can even leave out the essential oil if you prefer unscented lip balm.
Cool at room temperature – Once the lip balm has been poured into the tubes, let it set at room temperature for a smoother finish.

FAQs
Yes, if you prefer, you can put the lip balm in small tins. This is actually slightly easier than using tubes since you don’t need a filling tray or heat gun.
Yes, this lip balm is specifically formulated to use tallow, and it has not been tested with any substitutions.
Violet’s Favorite Tip
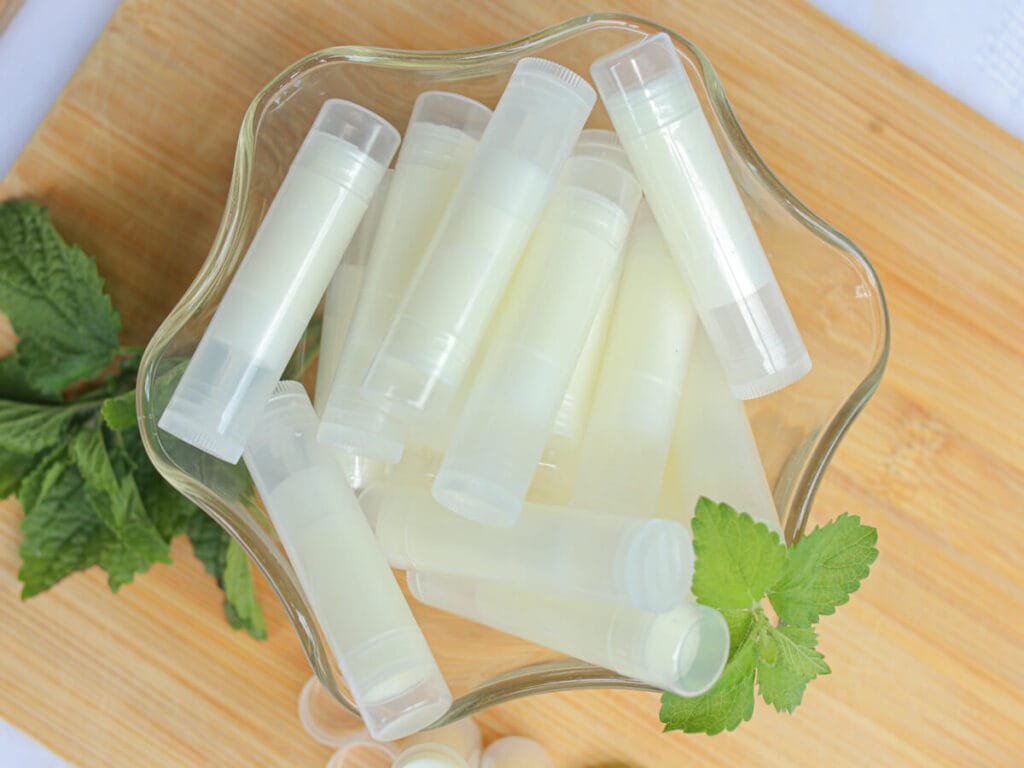
This recipe makes a large batch, so you can save some for gifting! They make fantastic stocking stuffers or additions to gift baskets.
Tools You May Need
Note: If you prefer, you can pour the lip balm into small metal tins instead of using lip balm tubes. If you do this, you don’t need a heat gun or filling tray.
This post contains affiliate links which means I earn a small commission at no extra cost to you. See my full disclosure here.
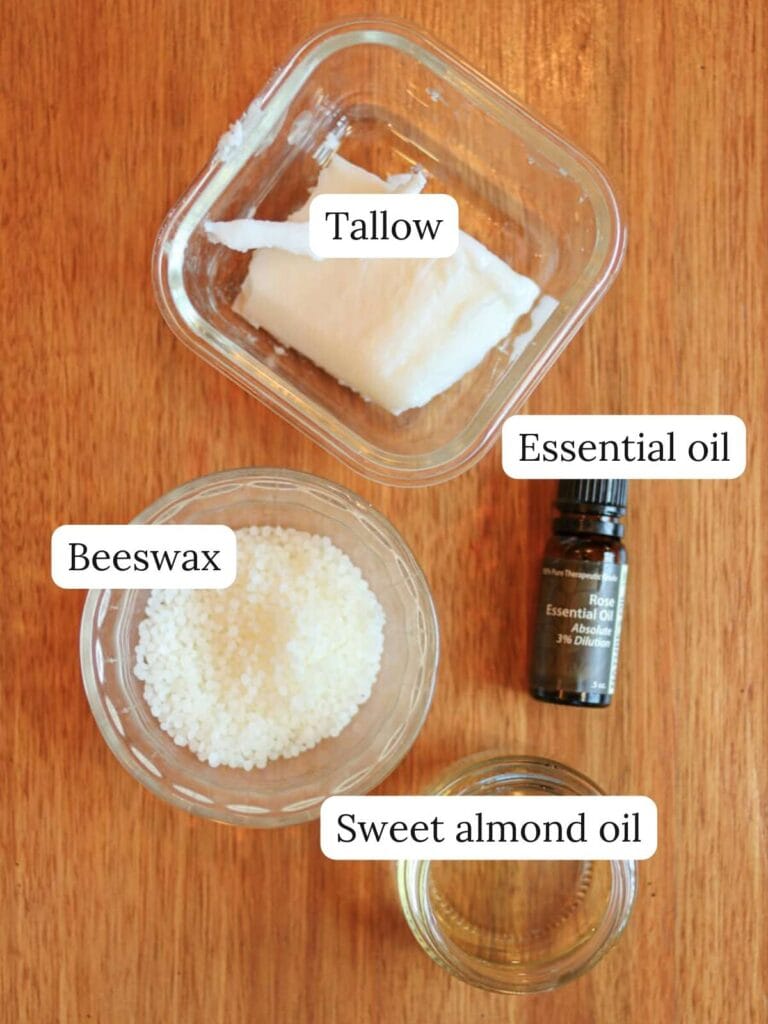
Ingredients
Step-By-Step Instructions
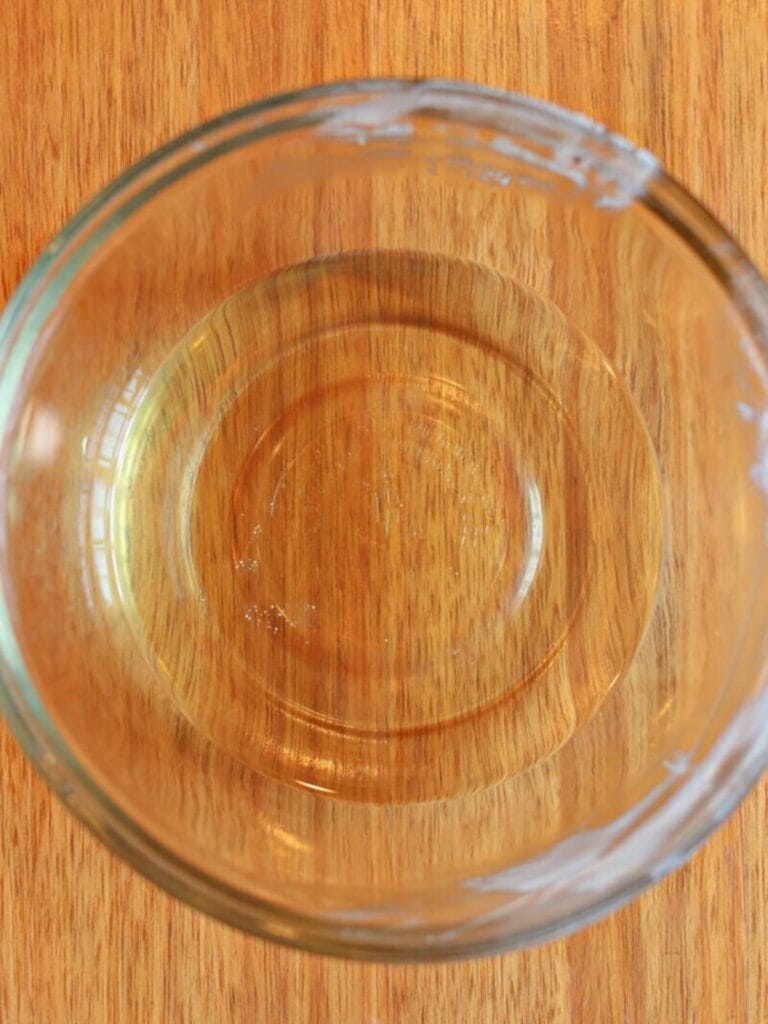
Step 1: In a mixing bowl, combine your melted tallow, melted beeswax, sweet almond oil, and essential oil.
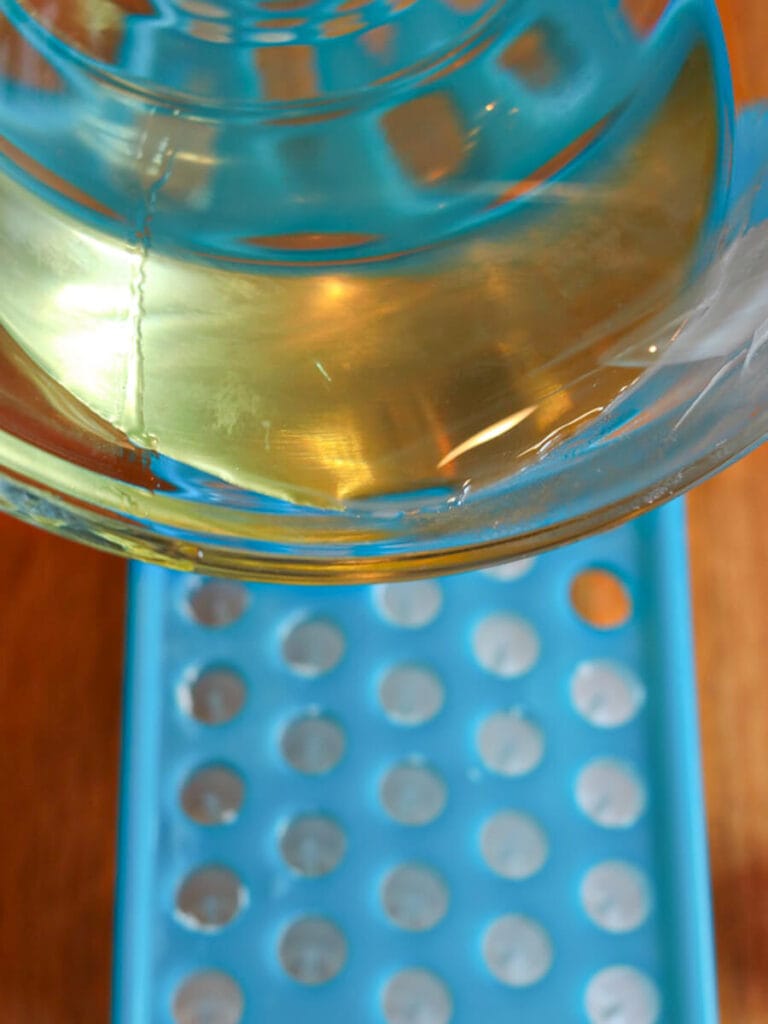
Step 2: Place the lip balm tubes in the filling tray, and gently pour the mixture into them. Then scrape away the excess using the spatula.
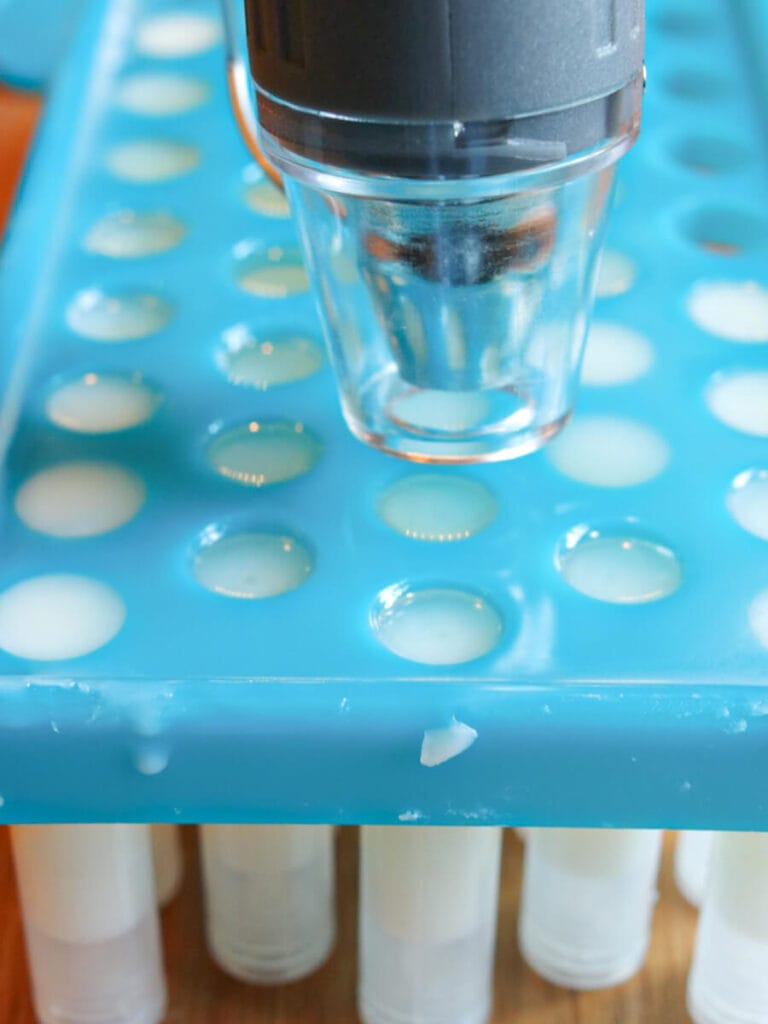
Step 3: Using the low heat setting on your heat gun, smooth out the tops and release any air bubbles that have become trapped in the lip balm.
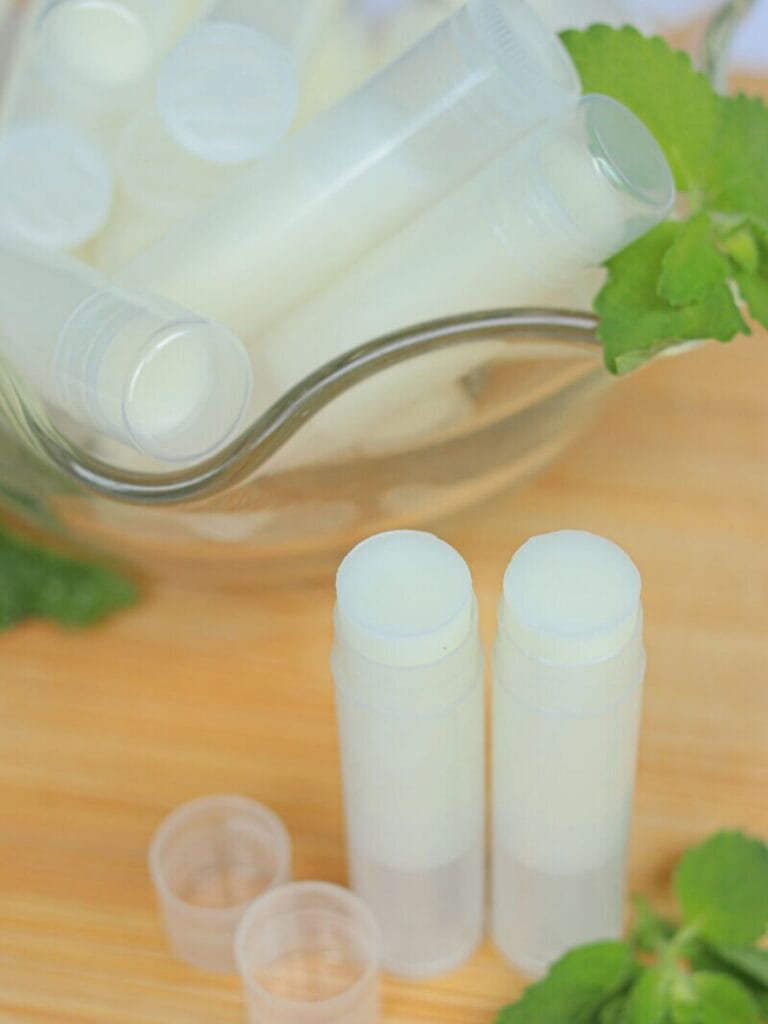
Step 4: Let the lip balm set for at least half an hour before removing the tubes from the tray and putting on the lids.
Use daily or as-needed to smooth and prevent chapped lips!
If you try this recipe, let me know in the comments! Tag me on Instagram @violet_rightathome
More Clean Skincare DIYs
Homemade Lip Balm with Tallow
Equipment
Ingredients
- 2 tablespoons + 1 teaspoon tallow melted
- 1 tablespoon beeswax melted
- 1 tablespoon sweet almond oil
- 1/4 teaspoon skin-safe essential oil
Instructions
- In a mixing bowl, combine your melted tallow, melted beeswax, sweet almond oil, and essential oil.2 tablespoons + 1 teaspoon tallow, 1 tablespoon beeswax, 1 tablespoon sweet almond oil, 1/4 teaspoon skin-safe essential oil
- Place the lip balm tubes in the filling tray, and gently pour the mixture into them. Then scrape away the excess using the spatula.
- Using the low heat setting on your heat gun, smooth out the tops and release any air bubbles that have become trapped in the lip balm.
- Let the lip balm set for at least half an hour before removing the tubes from the tray and putting on the lids.
Notes
- Homemade lip balm is shelf-stable and can be stored in a cool, dark location for up to a year.
If you love this tallow lip balm, please make sure to come back and leave a comment and a 5 star rating. I’d love to hear how it turned out for you!
Also, I’d love to have you part of the Right At Home community! Make sure to join my newsletter for all the latest clean eating recipes and clean living tips and DIYs.

This is my all-time favorite lip balm, and I always make sure to keep one in my purse and a few around the house. It works so well for dry lips! Let me know if you have any questions on making it, and I’ll reply to you as soon as I can.