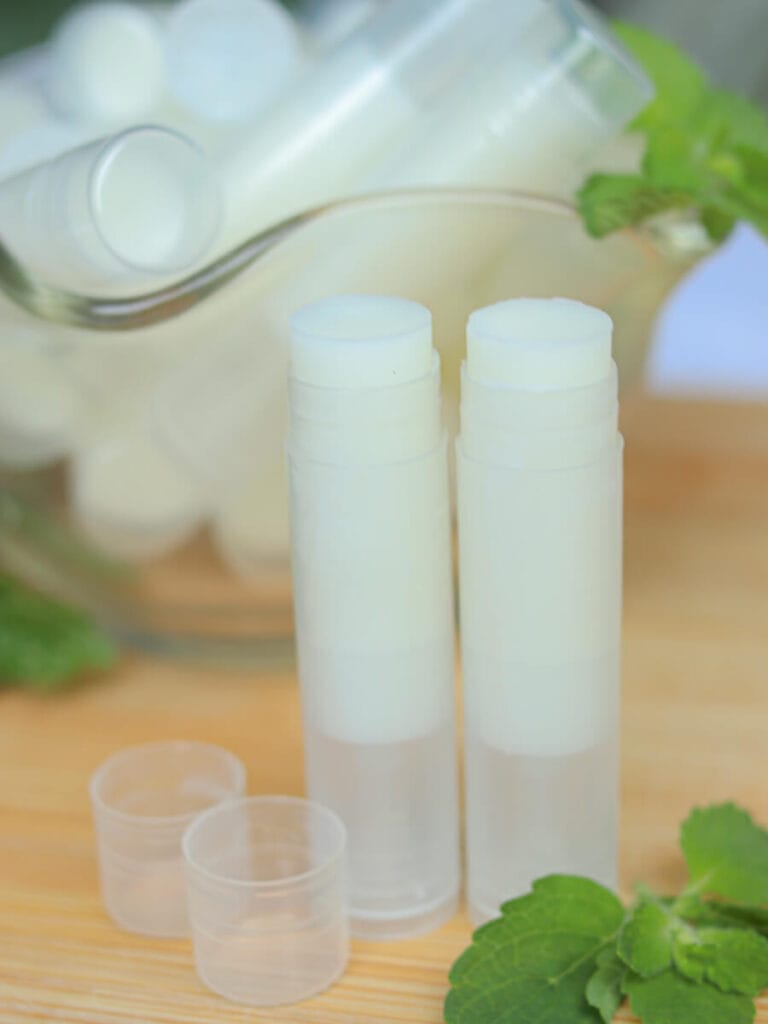
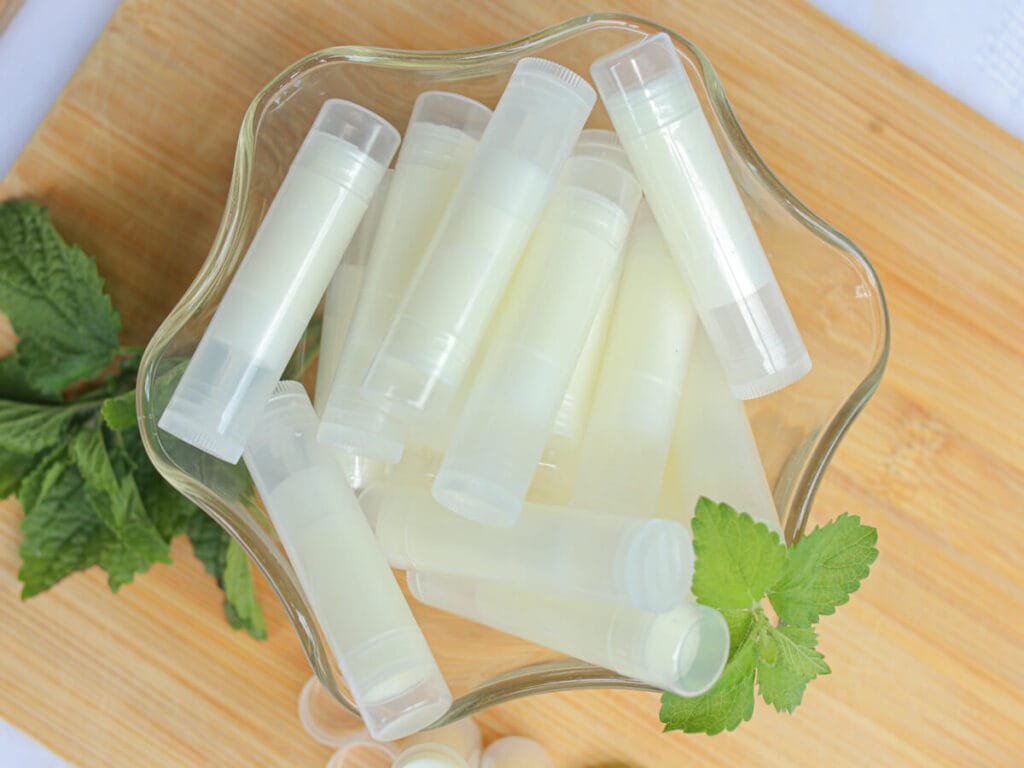
Simple and nourishing, this homemade lip balm will help you say goodbye to chapped lips for good! It comes together quickly and is made with natural, healthy ingredients.
Quick Look at the DIY
- ⏱️ Prep Time: 30 minutes
- 👥 Yield: 10 tubes
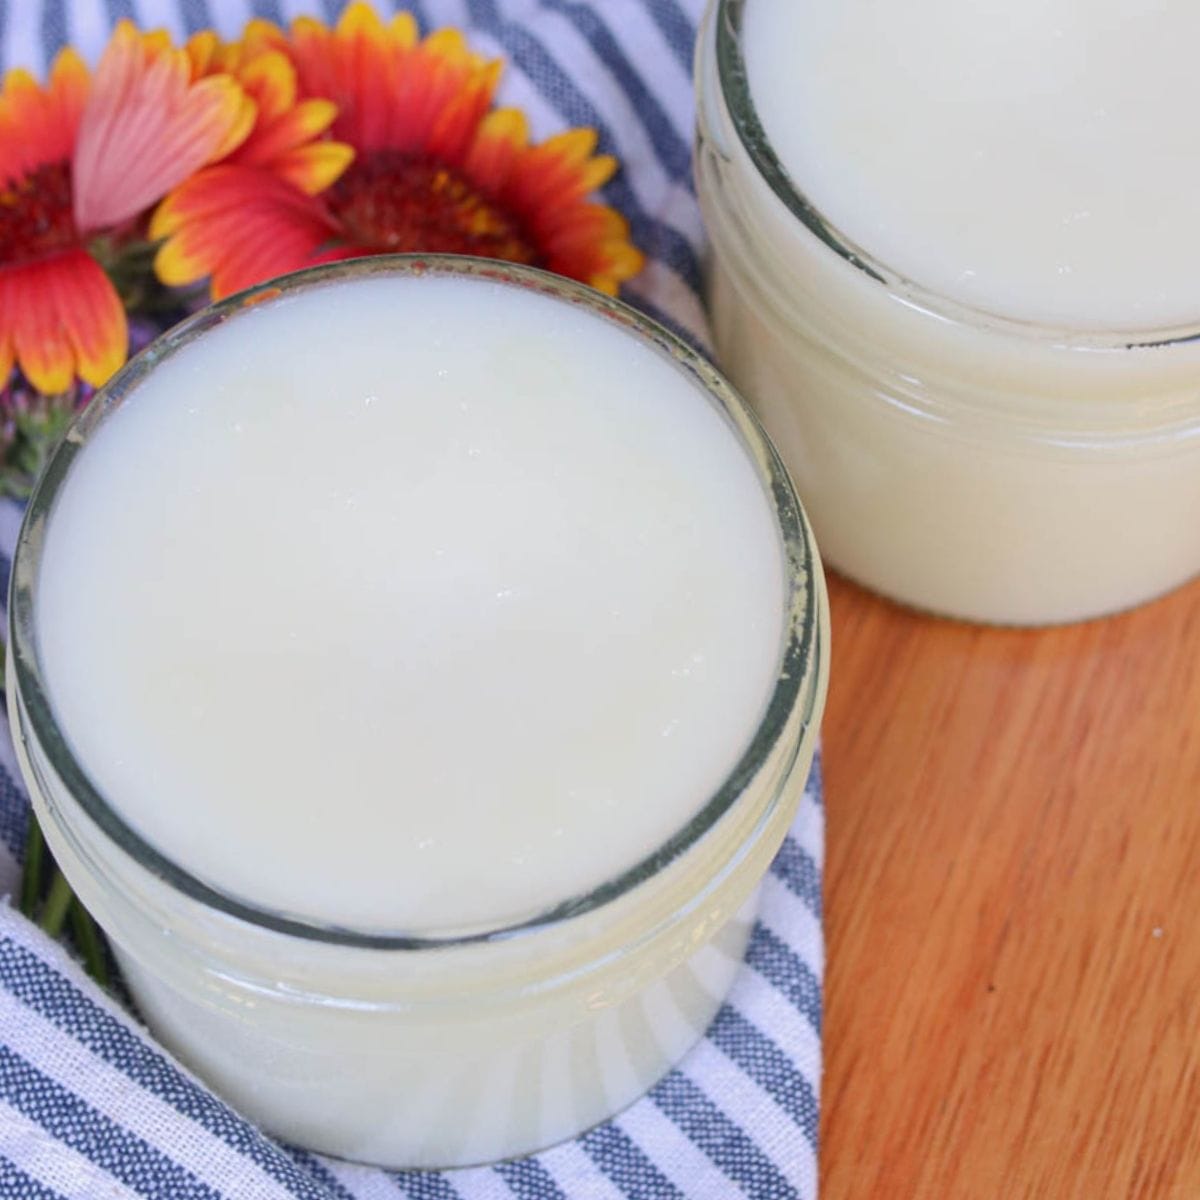
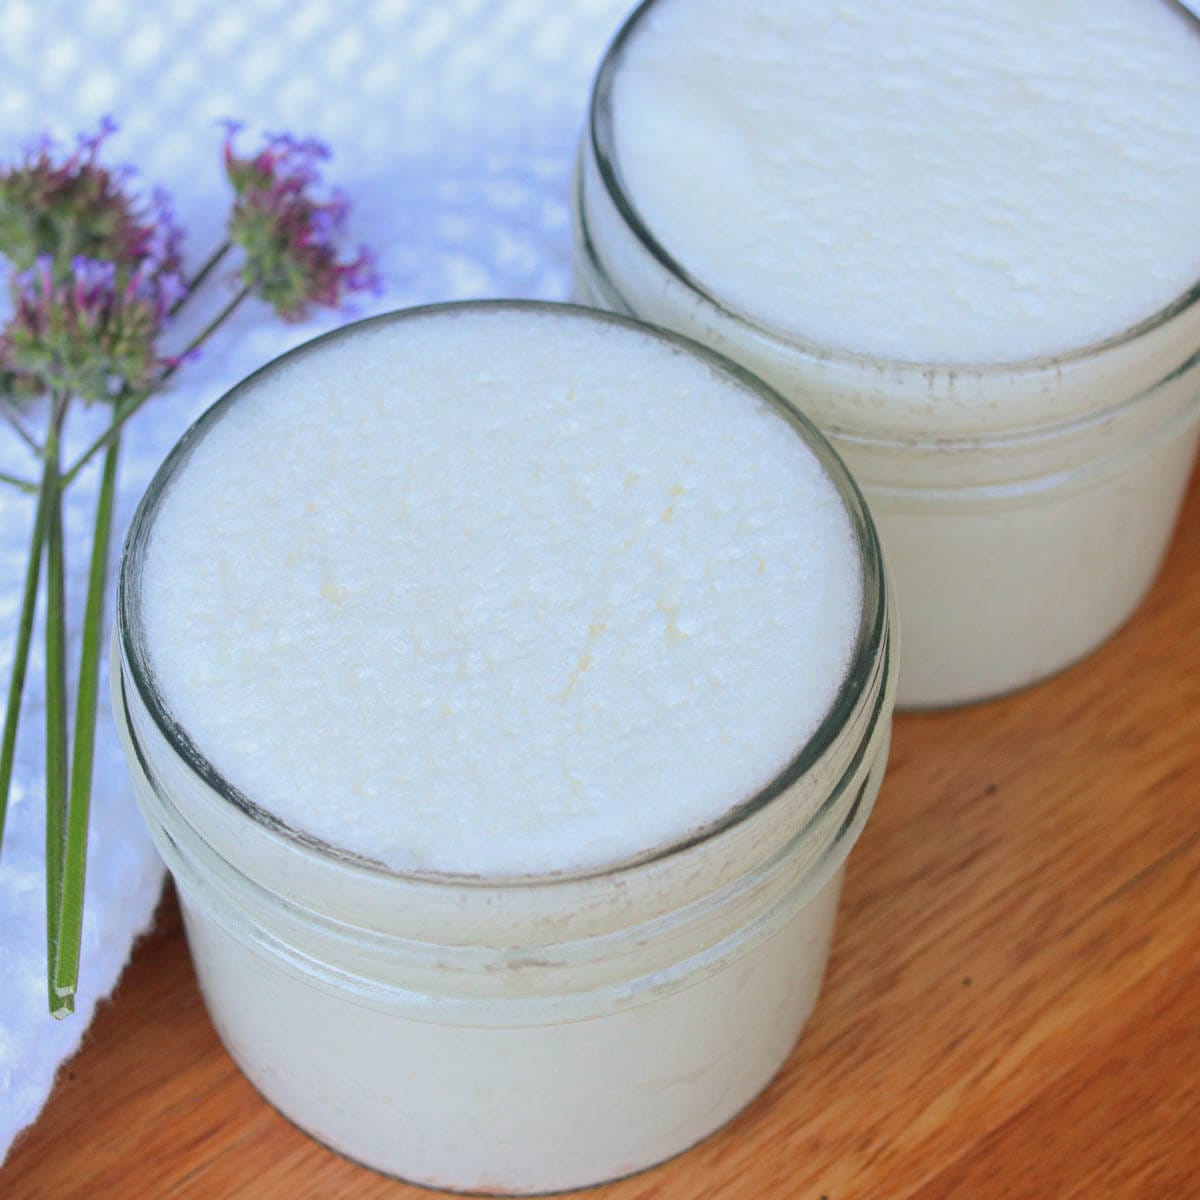
- 🥣 Main Ingredients: Tallow, beeswax, sweet almond oil, essential oil
- 👩🍳 Tip: Tallow gives this lip balm a richer texture and provides long-lasting moisture for chapped lips.
Did Someone Say Tallow?
Since the beginning of my clean living journey, tallow has been my favorite skincare ingredient (I even ran a tallow business for a few years!). I love using it in so many DIY skincare products, but lip balm has to be one of the most fun.
It’s not only super practical and nourishing (honestly, who couldn’t use a tube in their purse, nightstand, car, and everywhere else?), but it’s also easy to customize with different scents, surprisingly simple to make, and perfect for gifting. Once you start making it yourself, you’ll never want to go back to store-bought!
What Makes this Lip Balm Special?
- 4 natural ingredients that nourish your lips.
- Long-lasting moisture, thanks to the tallow, so chapped lips can be gone for good!
- Quick & easy DIY ready in just half an hour.
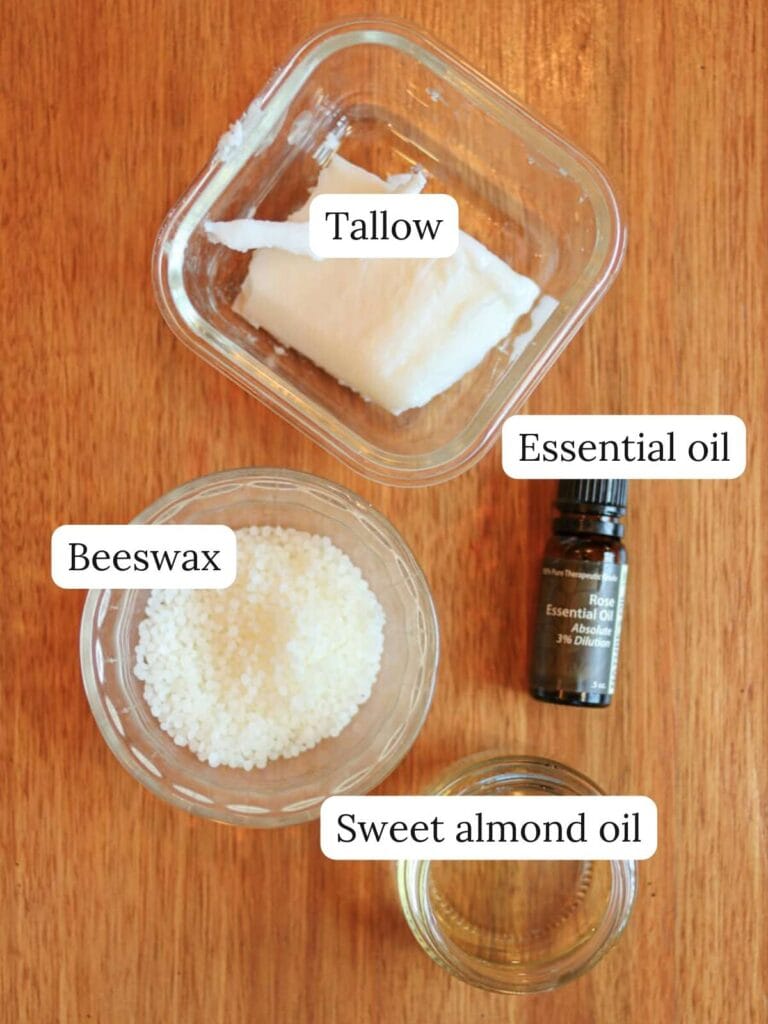
Ingredients
Tools Needed
Note: If you prefer, you can pour the lip balm into small metal tins instead of using lip balm tubes. If you do this, you don’t need a heat gun or filling tray.
Step-By-Step Instructions
Step 1: In a mixing bowl, combine your melted tallow, melted beeswax, sweet almond oil, and essential oil.
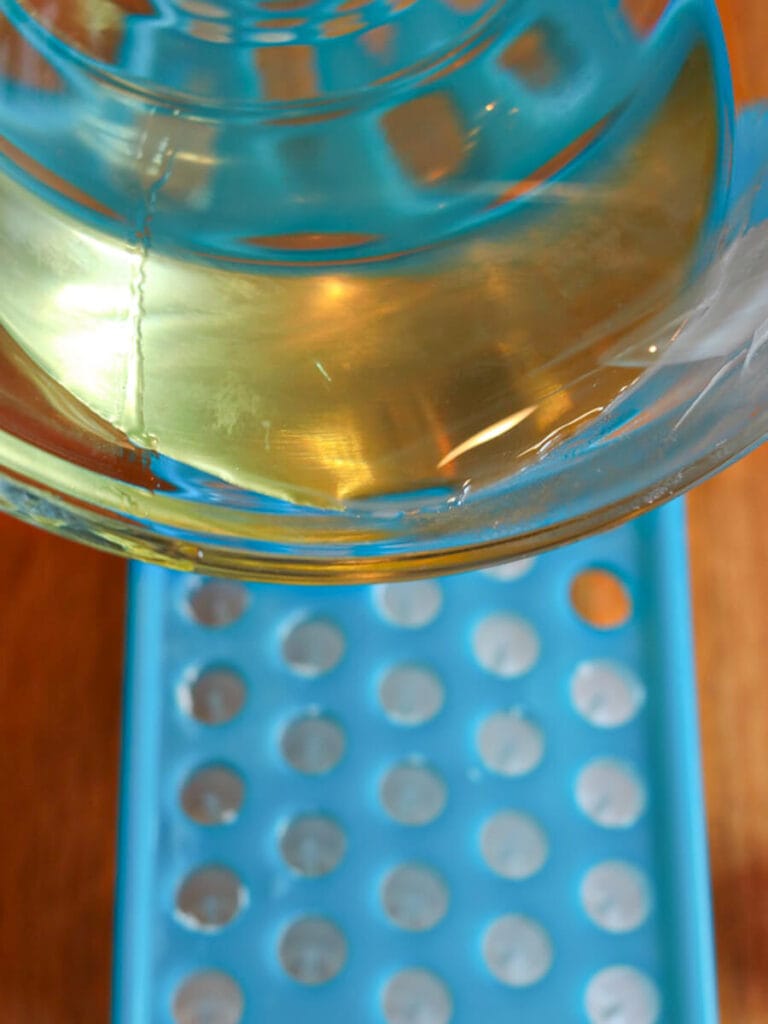
Step 2: Place the lip balm tubes in the filling tray, and gently pour the mixture into them. Then scrape away the excess using the spatula.
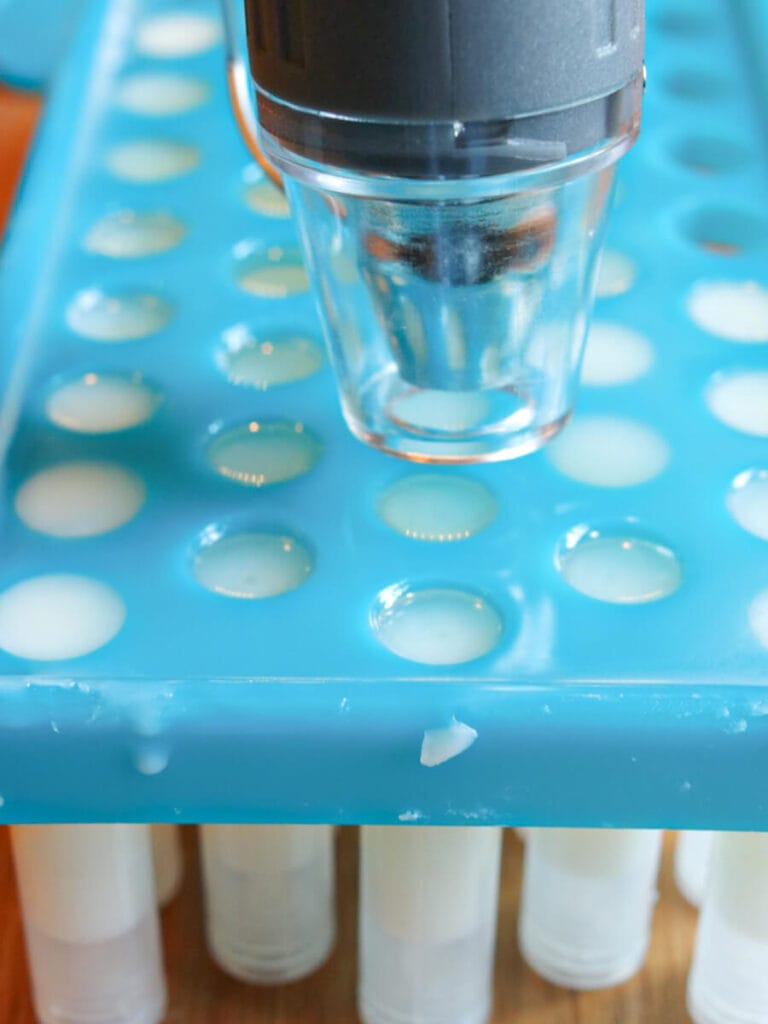
Step 3: Using the low heat setting on your heat gun, smooth out the tops and release any air bubbles that have become trapped in the lip balm.
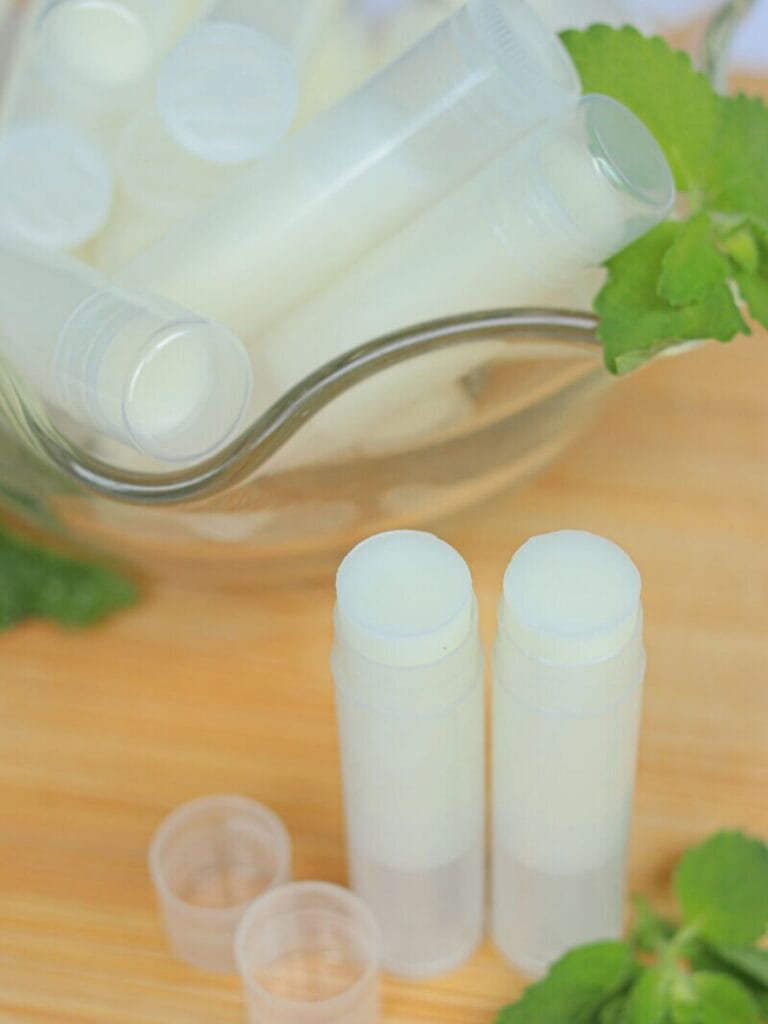
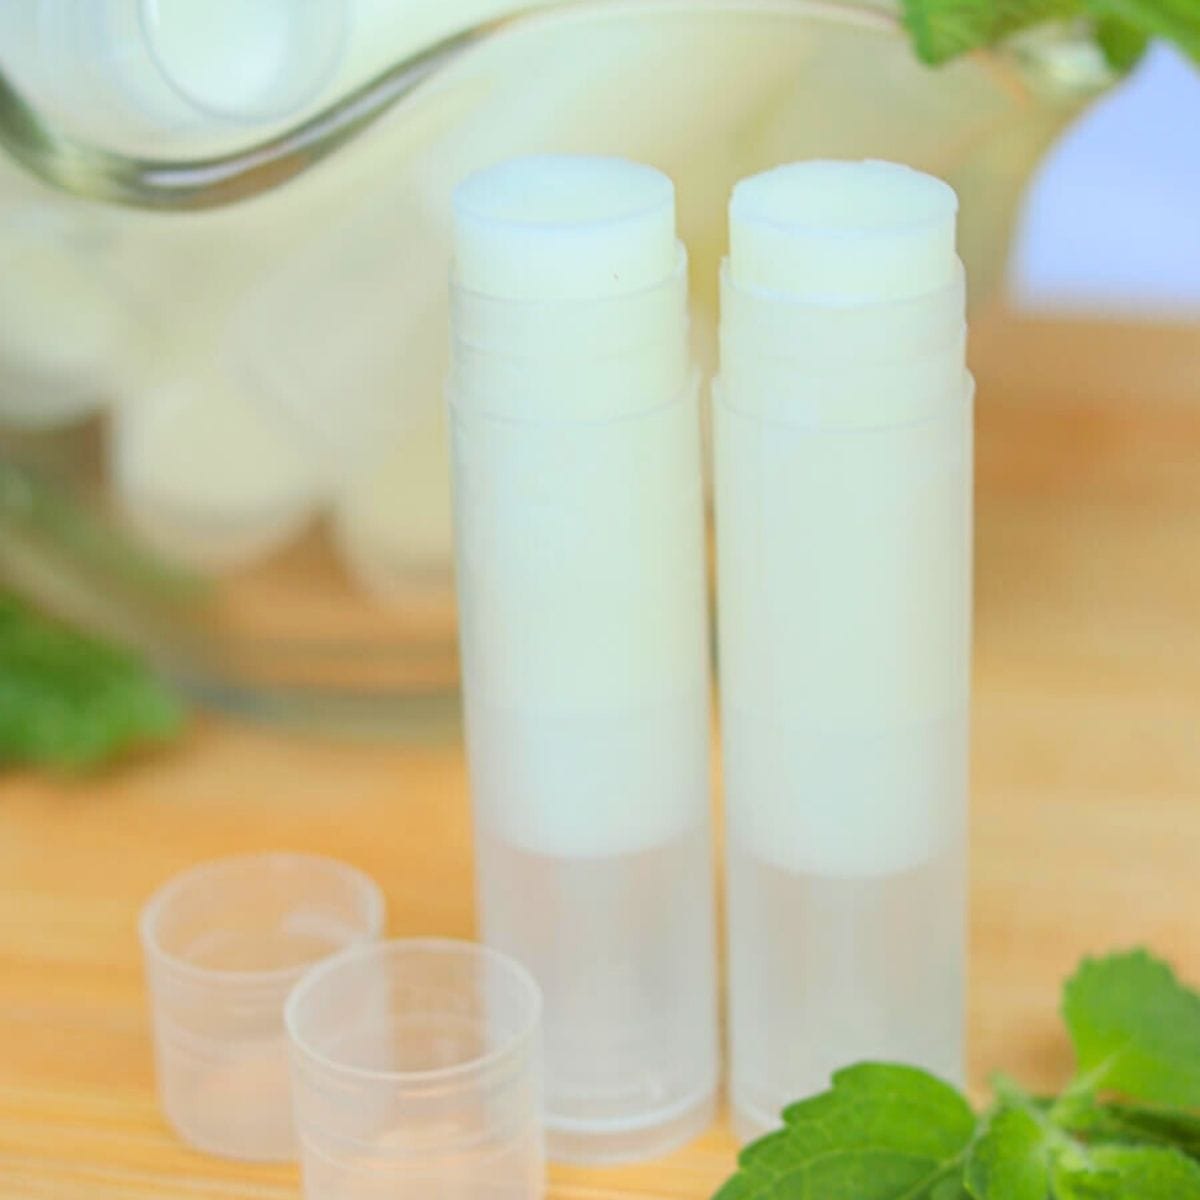
Step 4: Let the lip balm set for at least half an hour before removing the tubes from the tray and putting on the lids.
Use as-needed to smooth and prevent chapped lips!

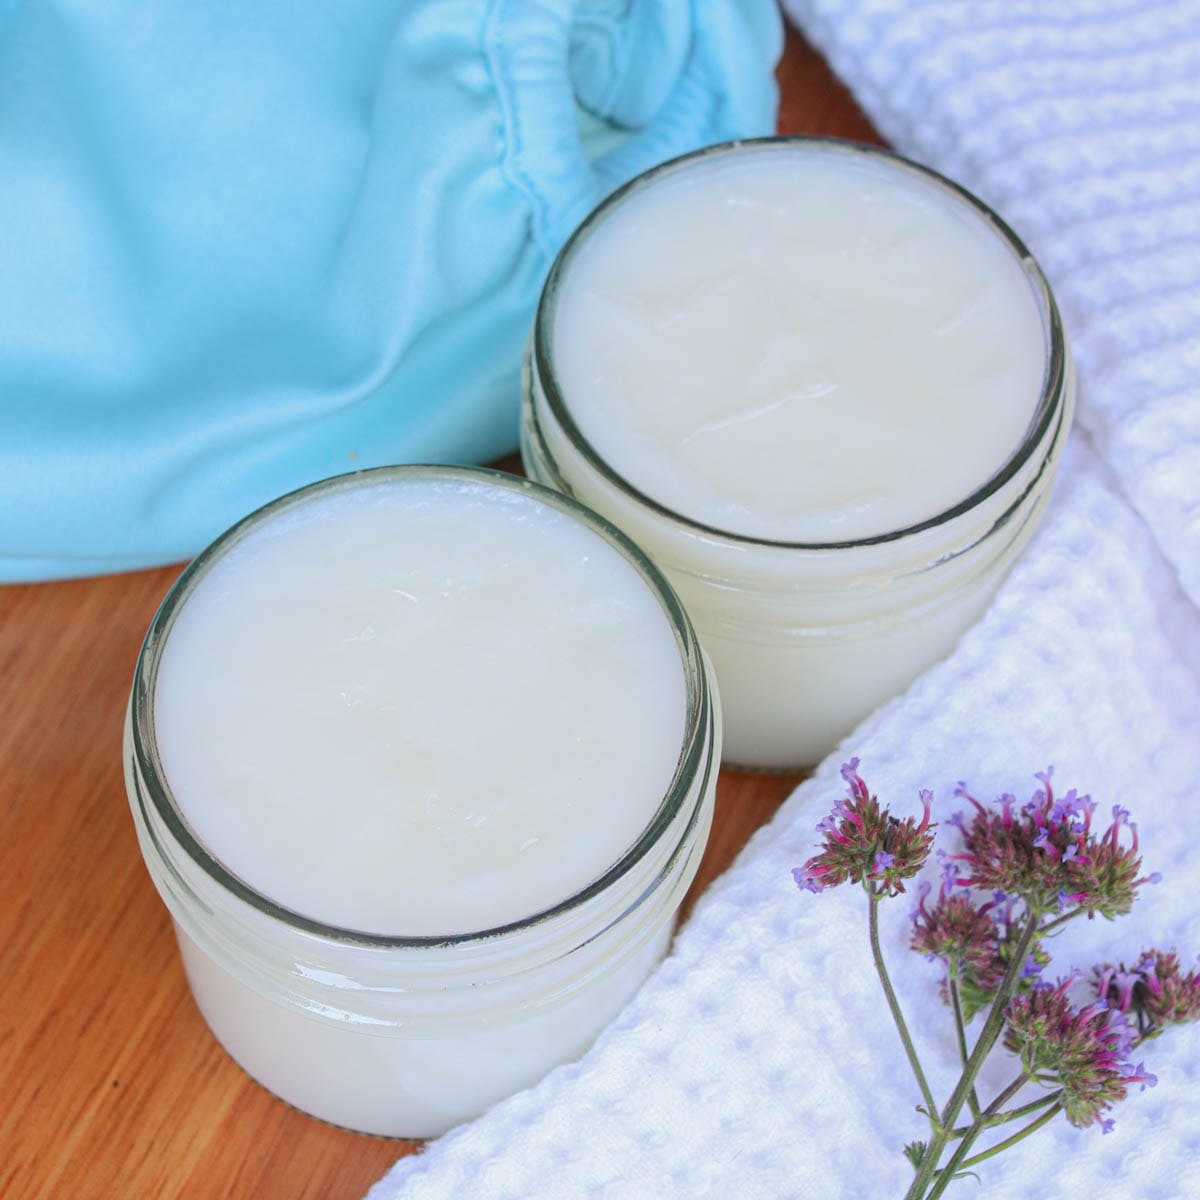
If you’re looking for more tallow skincare DIYs, check out my simple sugar scrub and 3-ingredient tallow balm!
Tips for Success
Use a double boiler – If you melt the ingredients too quickly, you can burn them which will lead to a darker color and bad smell. Melting the ingredients in a bowl over a pot of boiling water also works if you don’t have a double boiler.
Avoid contamination with water – Water in lip balm can cause mold to grow, so make sure to avoid getting any water in it during the melting process.
Swap other essential oils – I used rose essential oil for this lip balm, however, you can use any type of skin-safe essential oil or essential oil blend. You can even leave out the essential oil if you prefer unscented lip balm.
Cool at room temperature – Once the lip balm has been poured into the tubes, let it set at room temperature for a smoother finish.
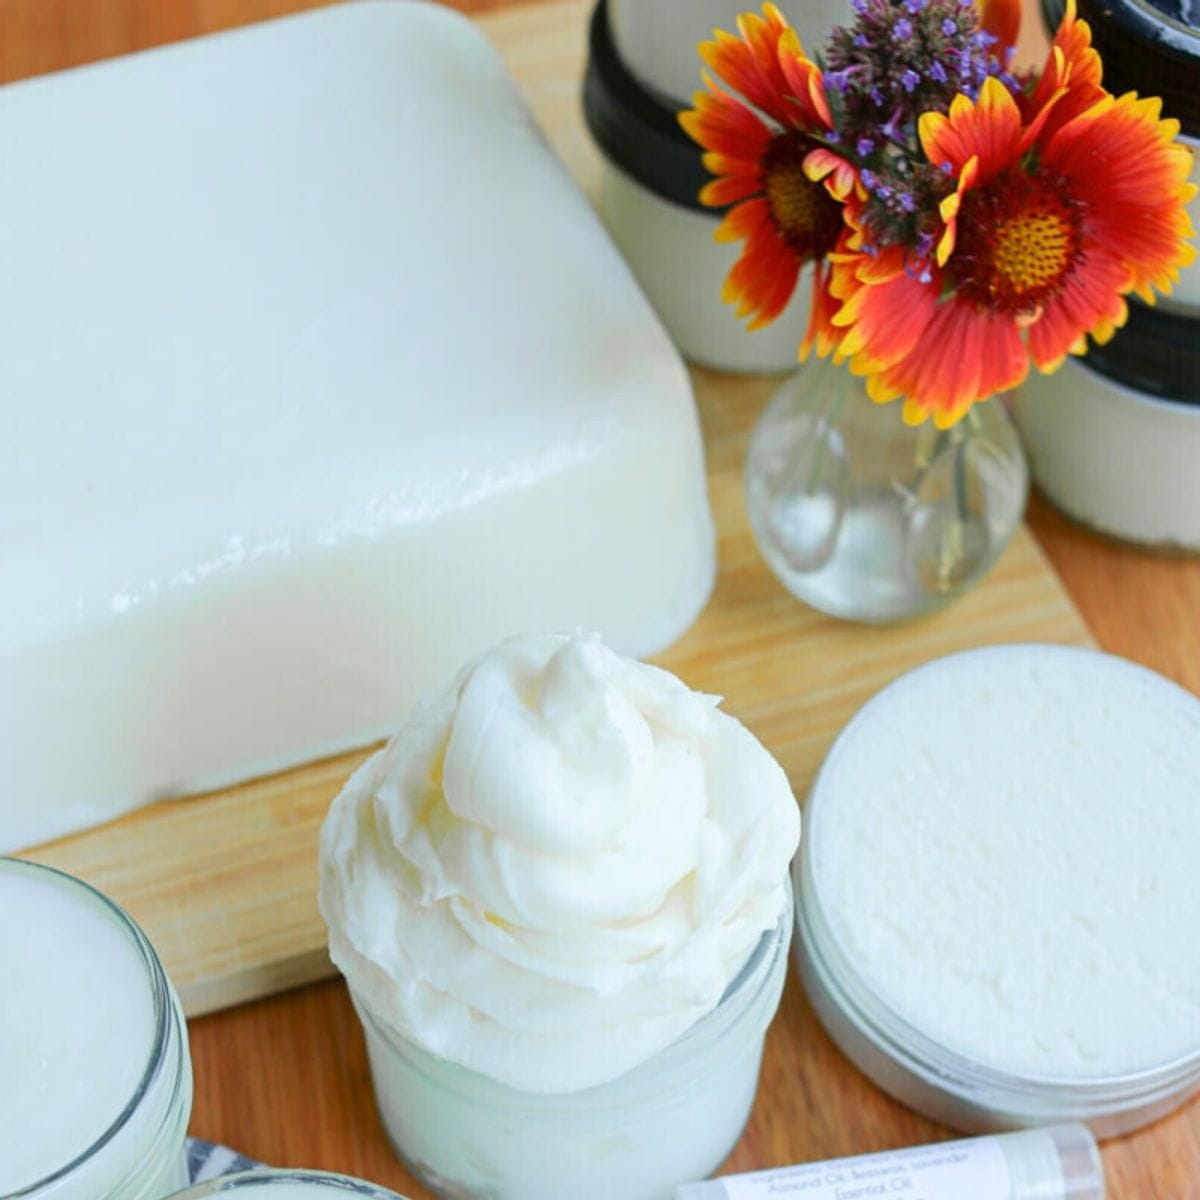
Ready to Craft Your Own Line of Tallow Skincare?
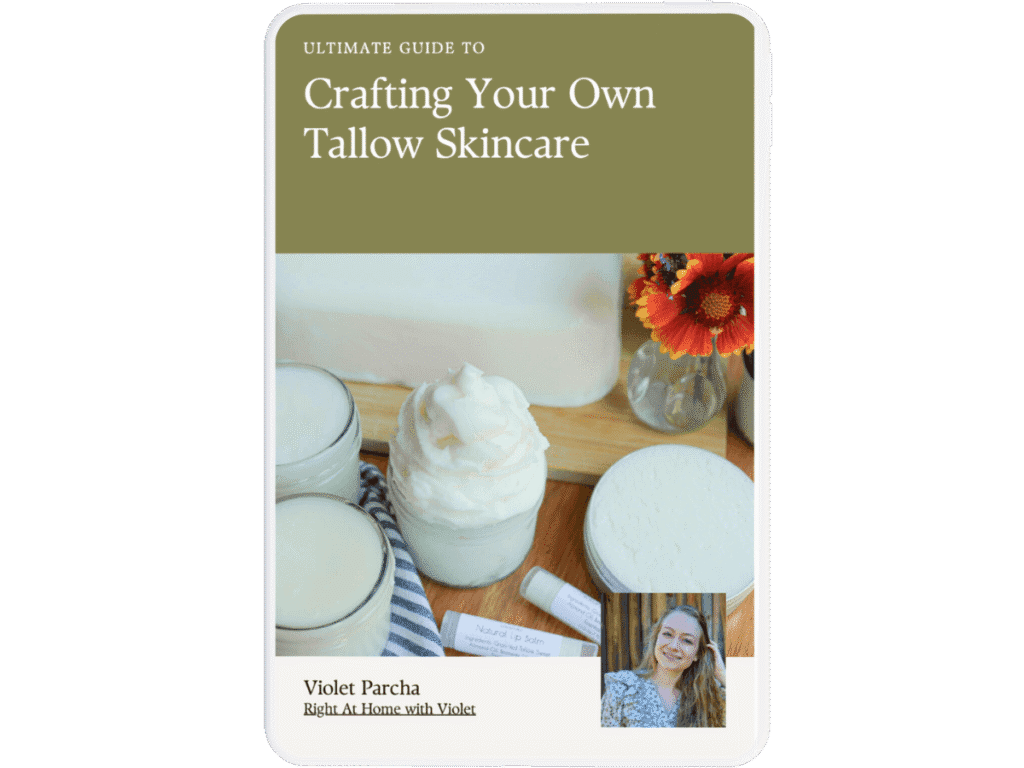
Download my ebook Ultimate Guide to Crafting Your Own Tallow Skincare and get ready to experience naturally radiant skin!
FAQs
Yes, if you prefer, you can put the lip balm in small tins. This is actually slightly easier than using tubes since you don’t need a filling tray or heat gun.
Yes, this lip balm is specifically formulated to use tallow, and it has not been tested with any substitutions.
Homemade lip balm is shelf-stable and can be stored in a cool, dark location for up to a year. Depending on the quality of your tallow, it can last much longer. (I have seen tallow lip balm last at room temperature for 3 years!)
If you try this DIY, snap a photo and tag me on Instagram @violet_rightathome
Homemade Lip Balm with Tallow
Ingredients
- 2 tablespoons + 1 teaspoon tallow melted
- 1 tablespoon beeswax melted
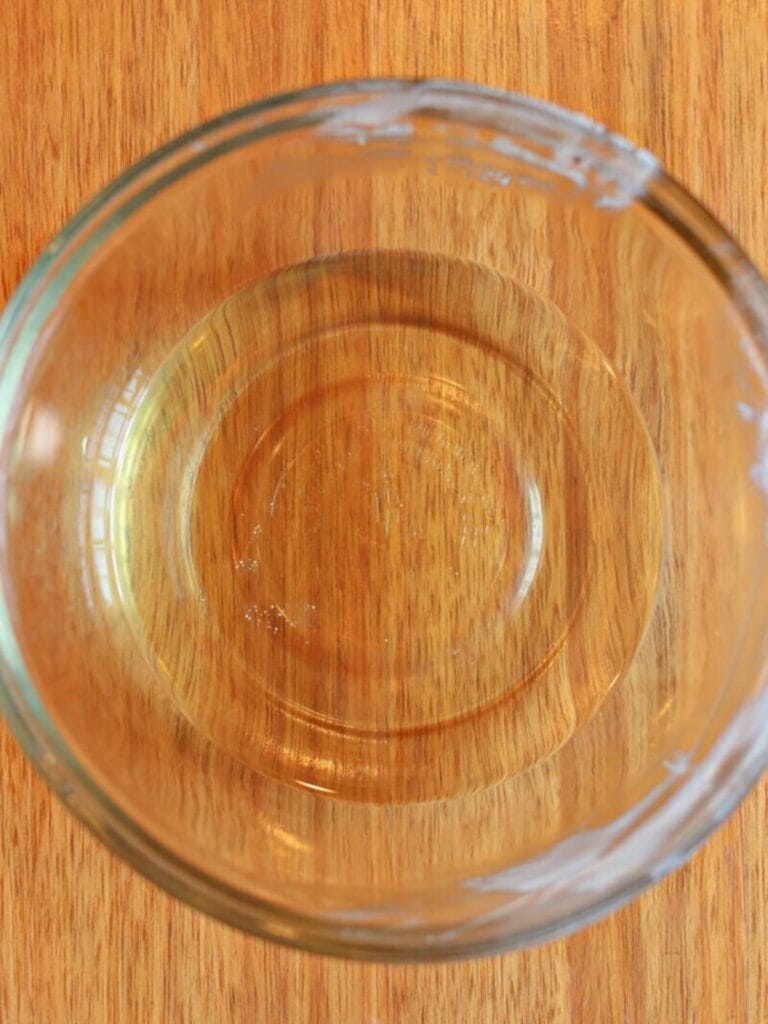
- 1 tablespoon sweet almond oil
- 1/4 teaspoon skin-safe essential oil
Instructions
- In a mixing bowl, combine your melted tallow, melted beeswax, sweet almond oil, and essential oil.2 tablespoons + 1 teaspoon tallow, 1 tablespoon beeswax, 1 tablespoon sweet almond oil, 1/4 teaspoon skin-safe essential oil
- Place the lip balm tubes in the filling tray, and gently pour the mixture into them. Then scrape away the excess using the spatula.
- Using the low heat setting on your heat gun, smooth out the tops and release any air bubbles that have become trapped in the lip balm.
- Let the lip balm set for at least half an hour before removing the tubes from the tray and putting on the lids.
Notes
- Homemade lip balm is shelf-stable and can be stored in a cool, dark location for up to a year.
Tips
Use a double boiler – If you melt the ingredients too quickly, you can burn them which may lead to a darker color and bad smell. Melting the ingredients in a bowl over a pot of boiling water also works if you don’t have a double boiler. Avoid contamination with water – Water in lip balm can cause mold to grow, so make sure to avoid getting any water in it during the melting process. Swap other essential oils – I used rose essential oil for this lip balm, however, you can use any type of skin-safe essential oil or essential oil blend. You can even leave out the essential oil if you prefer unscented lip balm. Cool at room temperature – Once the lip balm has been poured into the tubes, let it set at room temperature for a smoother finish.If you tried this homemade lip balm, I’d love to hear how it turned out for you! Please make sure to come back and leave a comment and a ⭐️⭐️⭐️⭐️⭐️ rating.


This is my all-time favorite lip balm, and I always make sure to keep one in my purse and a few around the house. It works so well for dry lips! Let me know if you have any questions on making it, and I’ll reply to you as soon as I can.