Thick, creamy, and tangy, coconut yogurt is a delicious dairy-free breakfast or snack. With only 2 ingredients, it’s simple to make with coconut cream, packed with probiotics, and has a rich flavor you’ll love.

Quick Look at the Recipe
- 🍽️ Flavor: Creamy and slightly tangy
- ⏱️ Prep Time: 20 minutes
- 🕒 Fermentation Time: 24-48 hours
- 👥 Servings: 4 (about 3 1/2 cups total)
- 🥣 Main Ingredients: Canned coconut cream, yogurt starter
- 📖 Dietary Info: Dairy-free, gluten-free, egg-free, vegan, paleo, keto, Whole30
- 👩🍳 Tip: Coconut cream creates naturally thick yogurt without the need for thickeners.

Dairy-Free Doesn’t Mean Missing Out
Yogurt is a staple in our home, and we easily go through over a gallon a week!
Since my husband is dairy-free, I make coconut yogurt for him, and honestly, it’s the best dairy-free yogurt I’ve ever tasted! Unlike most store-bought versions, it’s naturally thick, packed with probiotics, and full of that tangy fermented flavor we all love, without any additives.
Once you learn to ferment your own dairy-free yogurt, you’ll never want to buy it from the store again!
What Makes this Dairy-Free Yogurt Special?
- Rich, tangy flavor like only real probiotic yogurt has.
- 2-ingredient recipe that’s easy to add to your routine.
- Naturally thick texture without needing any additives.
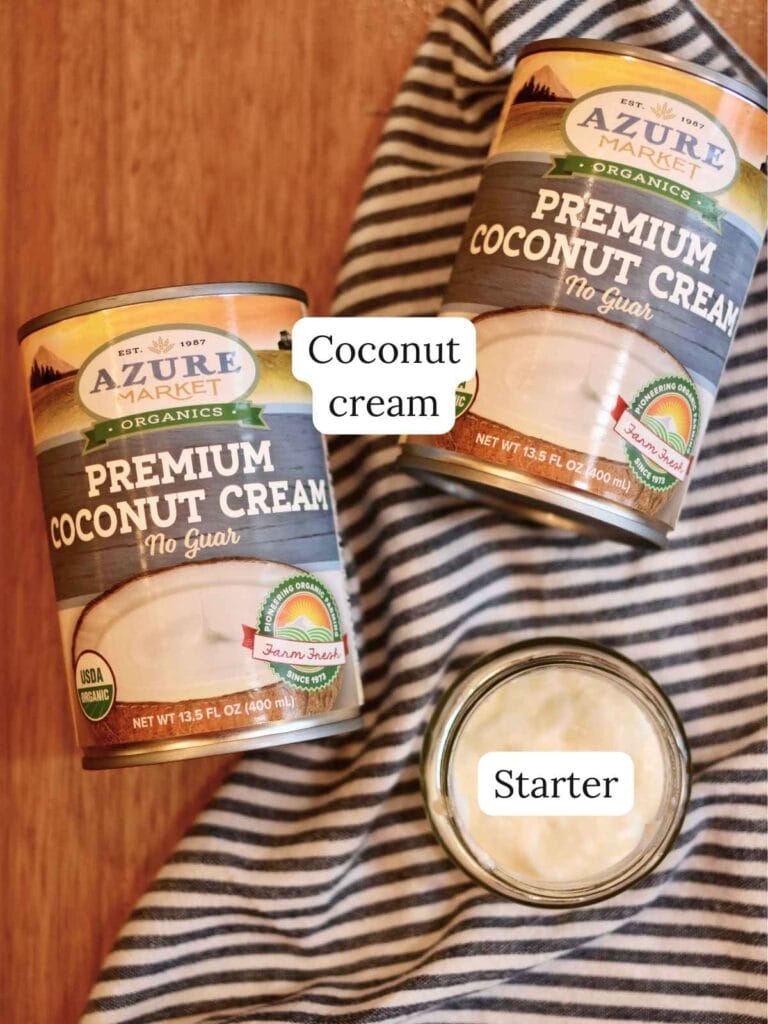
Ingredients
Step-By-Step Instructions
Step 1: First, if you’re using yogurt as your starter, remove it from the fridge so it can come to room temperature.
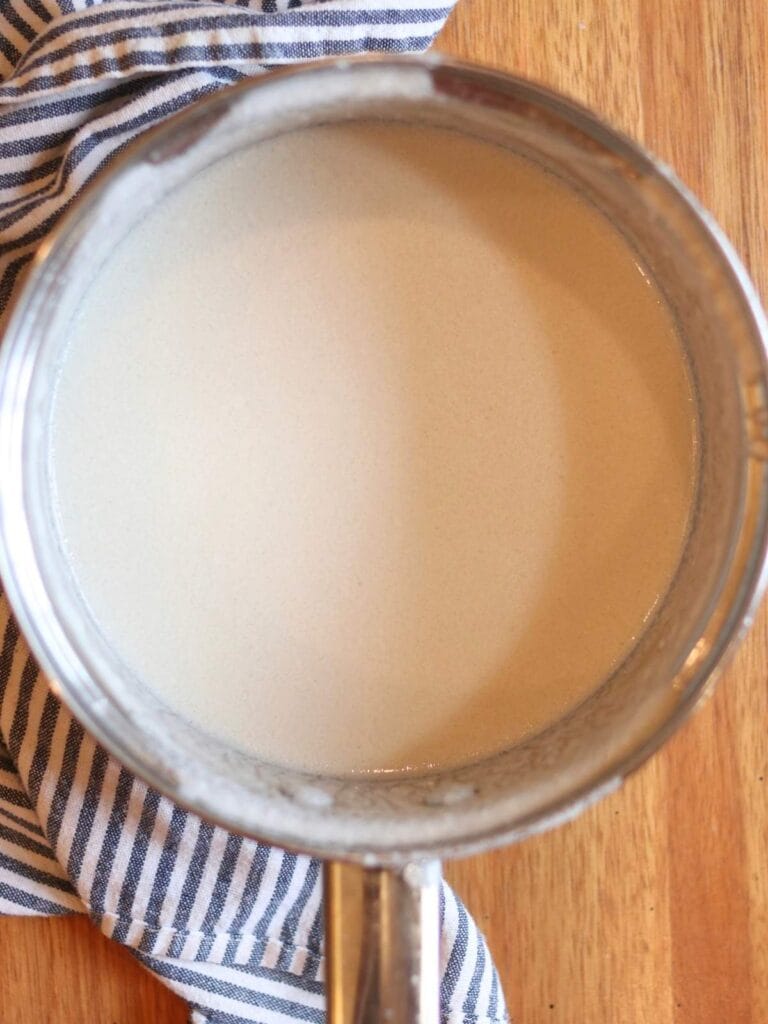
Then pour the coconut cream into a pot on the stove and heat slowly on medium-low heat, stirring frequently, until it gets hot (not just warm) to the touch. If you’re using a thermometer, make sure it gets to at least 110 degrees.
Step 2: Remove the coconut cream from the stove and let it cool until you can move your finger back and forth 10 times without getting burnt (it will still be pretty hot). This should be about 110 degrees.
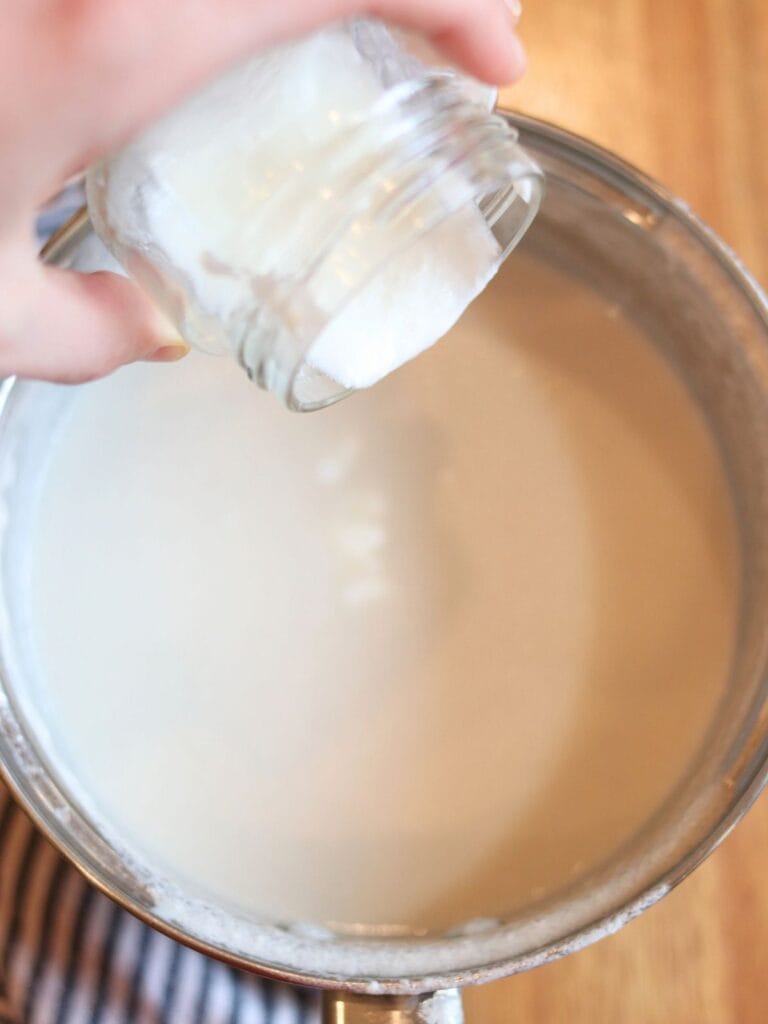
Next stir the starter into the cream.
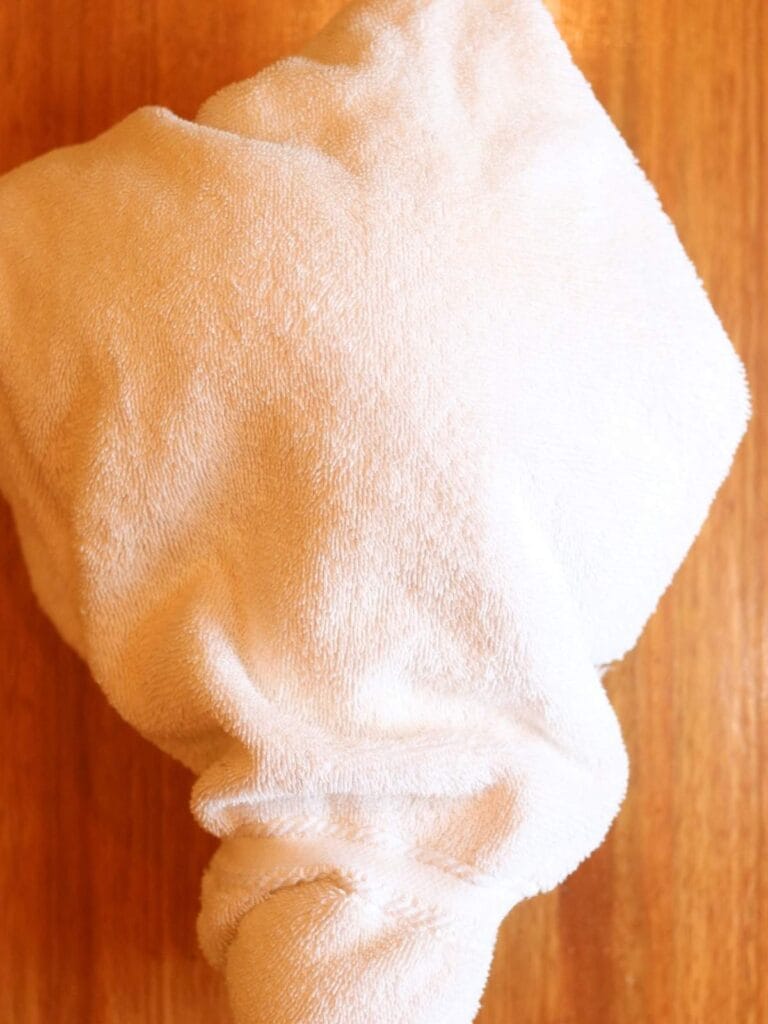
Step 3: Then place the lid on the pot, wrap it in a towel, and put it in the oven with the light turned on for warmth. Let the coconut yogurt ferment for 24-48 hours.
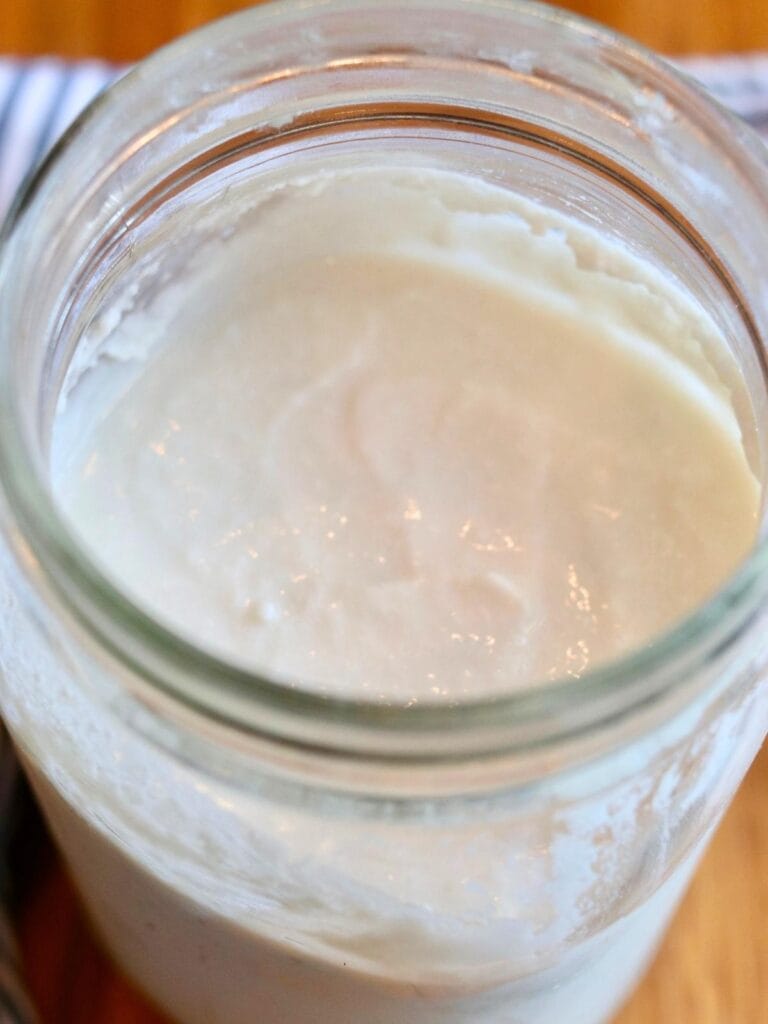
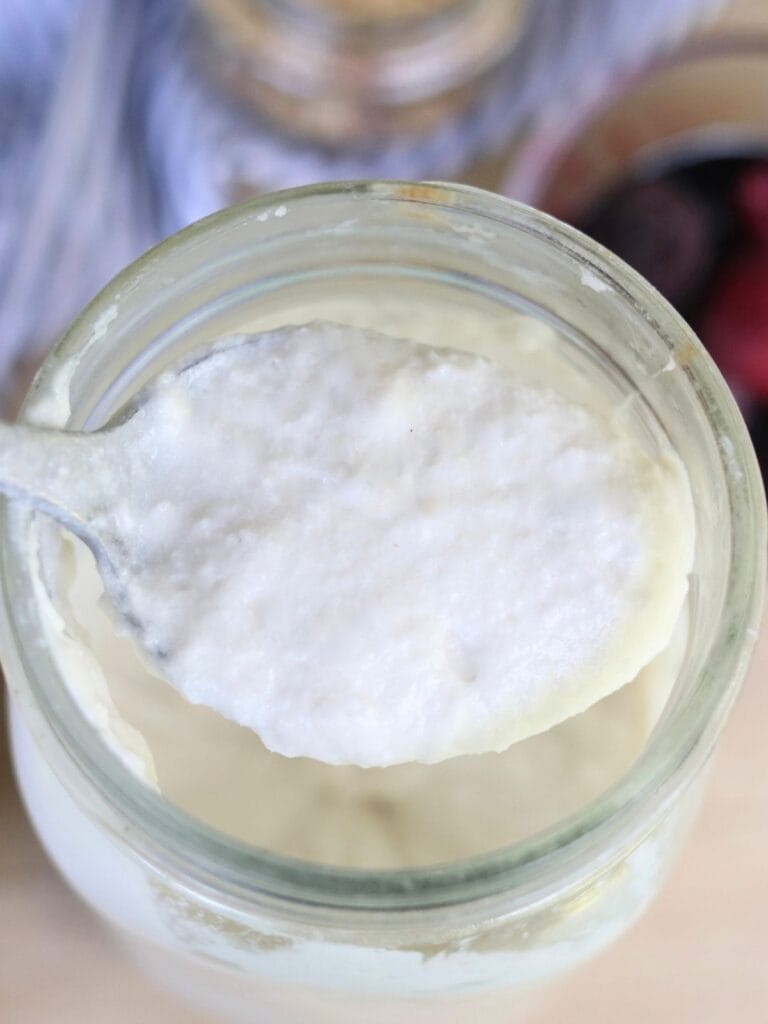
Step 4: Once your yogurt is done fermenting, whisk until it’s smooth, pour it into a glass jar, and let it chill in the fridge overnight.
Enjoy plain or with your favorite toppings!
Chef’s Tip: If you need to use the oven while it’s fermenting, remove the pot wrapped in a towel and temporarily place it in a warm spot in your kitchen. Once you’re done with the oven and it has cooled (never put the yogurt in a hot oven), turn the oven light back on and put the yogurt back.
If you’re looking for more types of homemade yogurt, check out my regular homemade yogurt and goat milk yogurt!
Tips for Success
Use a quality starter – Make sure whatever type of starter you’re using is fresh and high-quality.
Make sure the coconut cream is at the correct temperature before adding starter – If it’s too hot, you’ll kill your starter. If it’s too cold, it won’t ferment as well.
Be patient – Coconut yogurt is best when fermented a minimum of 24 hours but up to 48 hours. My husband prefers 48-hour coconut yogurt, though I like it best around 36 hours.
Let chill overnight – Coconut yogurt will be runny until it has fully chilled. For the best texture, let it chill in the fridge overnight before enjoying.
What Type of Coconut Cream to Use
This recipe is designed to be made with canned coconut cream, so do not substitute coconut milk. If all you have is coconut milk, simply place the can in the fridge overnight and scoop out the hardened cream to use for yogurt.
I use 20-22% fat canned coconut cream from Azure Standard with no gums or other additives. However, you can use your favorite type of canned coconut cream as long as it doesn’t include additives other than gums.
Coconut Yogurt Starter Options
When making homemade coconut yogurt you have two starter options, both of which have pros and cons.
Store-Bought Yogurt
You can use a small amount of plain store-bought coconut yogurt to start your batch of homemade yogurt. If you do, make sure that it has no sweeteners or flavors and contains live active cultures.
Pros:
- Easily obtained (you may already have some in your fridge)
Cons:
- Various factors outside of your control (or knowledge) can determine how many live active cultures are actually in the starter yogurt. This can lead to unpredictable results.
Note: Coconut yogurt will not maintain the same level of good bacteria over multiple batches, so each time you make coconut yogurt, you must use a fresh store-bought starter, not leftover yogurt from your previous batch.
Commercial Vegan Yogurt Starter
This is another popular method for making yogurt. You can often buy commercial vegan yogurt starters at health food stores or online. Cultures for Health is my favorite brand for a reliable commercial starter.
Pros:
- There’s no need to check the ingredients for additives that may be in store-bought yogurt.
- You don’t need to worry if there are any live active cultures.
- Consistent results (if you are using the same ingredients and technique every time)
Cons:
- Using a commercial yogurt starter is more expensive than using store-bought yogurt.
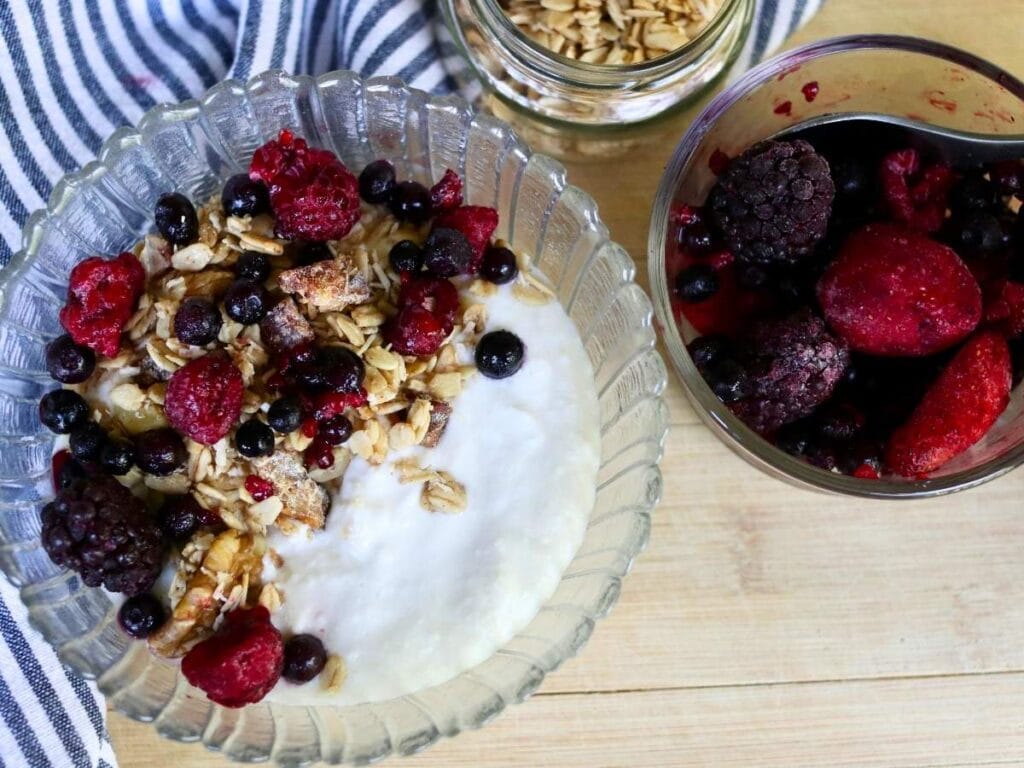
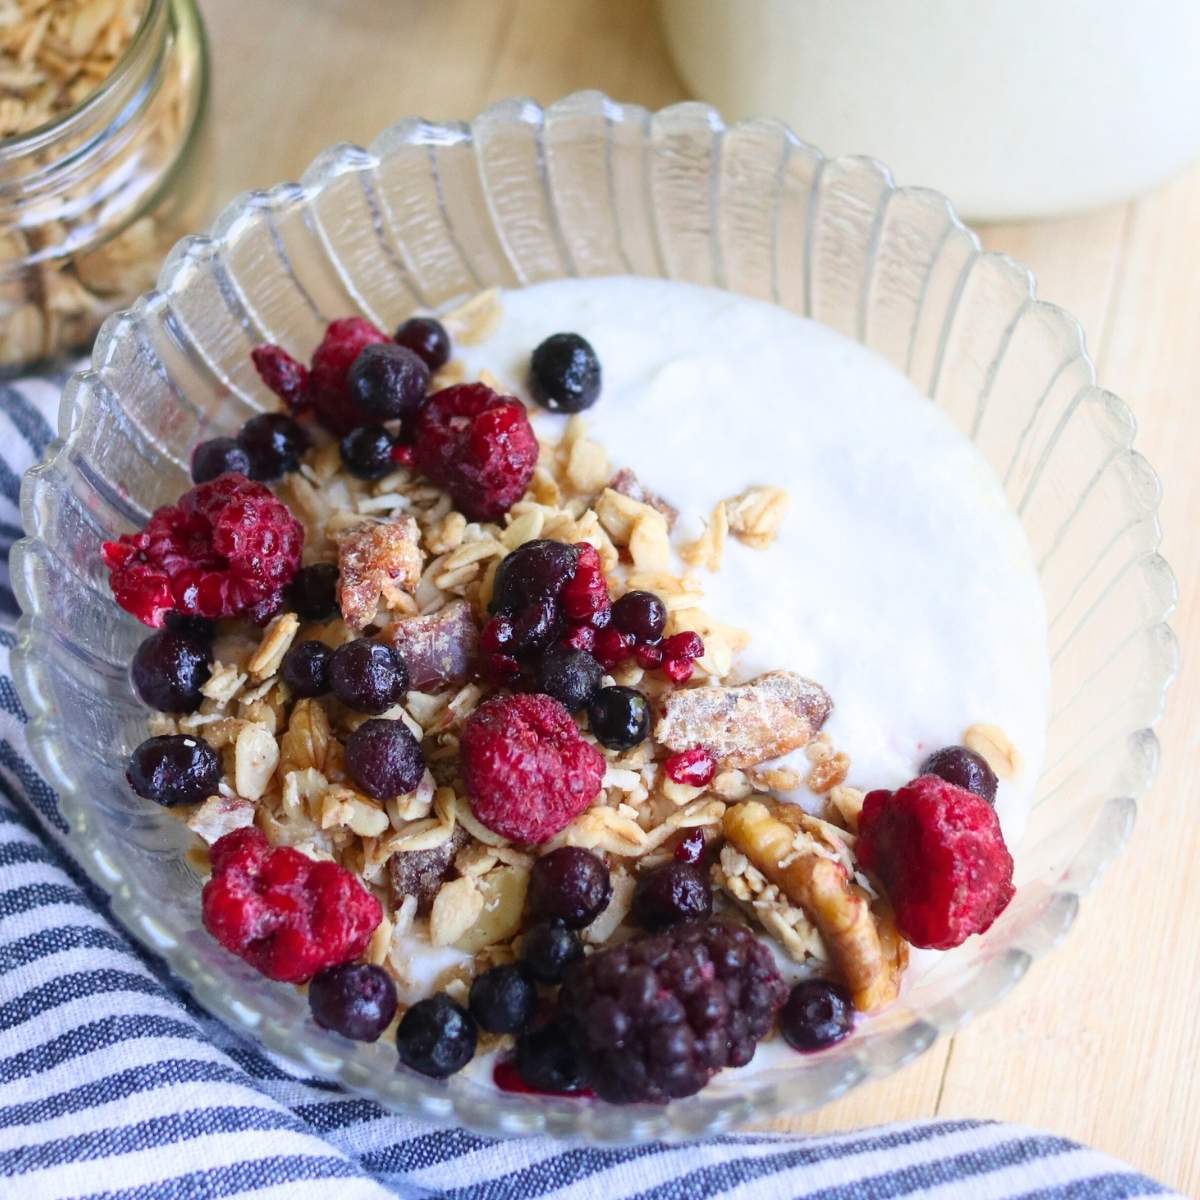
Violet’s Tips for Serving
Coconut yogurt is delicious served with fresh or frozen fruit and my homemade granola! I love eating it as a healthy breakfast or snack.
FAQs
Coconut yogurt can be stored in an airtight container in the fridge for 5-7 days.
No, freezing can kill some of the probiotics, so coconut yogurt should not be frozen.
Yes, coconut yogurt has probiotics just like dairy yogurt.
Yes, coconut yogurt has live active cultures which make it a fantastic part of a healthy diet.
Coconut yogurt does not thicken as it ferments, however, it will thicken in the fridge as it chills. If it still isn’t thick after fully chilling, the coconut cream may not have had sufficient fat content. I use 20-22% fat coconut cream (not coconut milk).
No, coconut has properties that slowly destroy probiotics, so each batch would be less potent. You must use a new starter every time you make it.
If you try this recipe, snap a photo and tag me on Instagram @violet_rightathome
Coconut Yogurt
Ingredients
- 2 13.5 ounce cans coconut cream
- 2 tablespoons yogurt or commercial yogurt starter room temperature
Instructions
- Pour the coconut cream into a pot and heat slowly on the stovetop on medium-low heat, stirring frequently, until it gets hot to the touch.
- Remove the coconut cream from the stove and let it cool until you can move your finger back and forth 10 times without getting burnt.2 13.5 ounce cans coconut cream
- Stir the starter into the cream.2 tablespoons yogurt or commercial yogurt starter
- Place the lid on the pot, wrap it in a towel, and put it in the oven with the light turned on for warmth. Let the coconut yogurt ferment for 24-48 hours.
- Once your yogurt is done fermenting, whisk it until it's smooth, pour it into a glass jar, and let it chill in the fridge overnight to thicken.
Notes
-
- Make sure the coconut cream either doesn’t have any additives or only has added gums. For thick yogurt, the higher the fat content, the better!
- If you need to use the oven while your yogurt is fermenting, simply remove the pot wrapped in a towel and place it in a warm spot in your kitchen as long as necessary. Once you’re done using the oven and it has cooled (never put the yogurt in a hot oven), turn the oven light back on and put the yogurt back in.
Yogurt Starter Options
-
- Store-bought coconut yogurt with active cultures that doesn’t have any flavorings or sweeteners.
- Powdered commercial starter.
Nutrition
If you tried this coconut cream yogurt, I’d love to hear how it turned out for you! Please make sure to come back and leave a comment and a ⭐️⭐️⭐️⭐️⭐️ rating.


This is the best non-dairy yogurt I’ve tried! Let me know in the comments if you have any questions about making it. I’d love to help out!