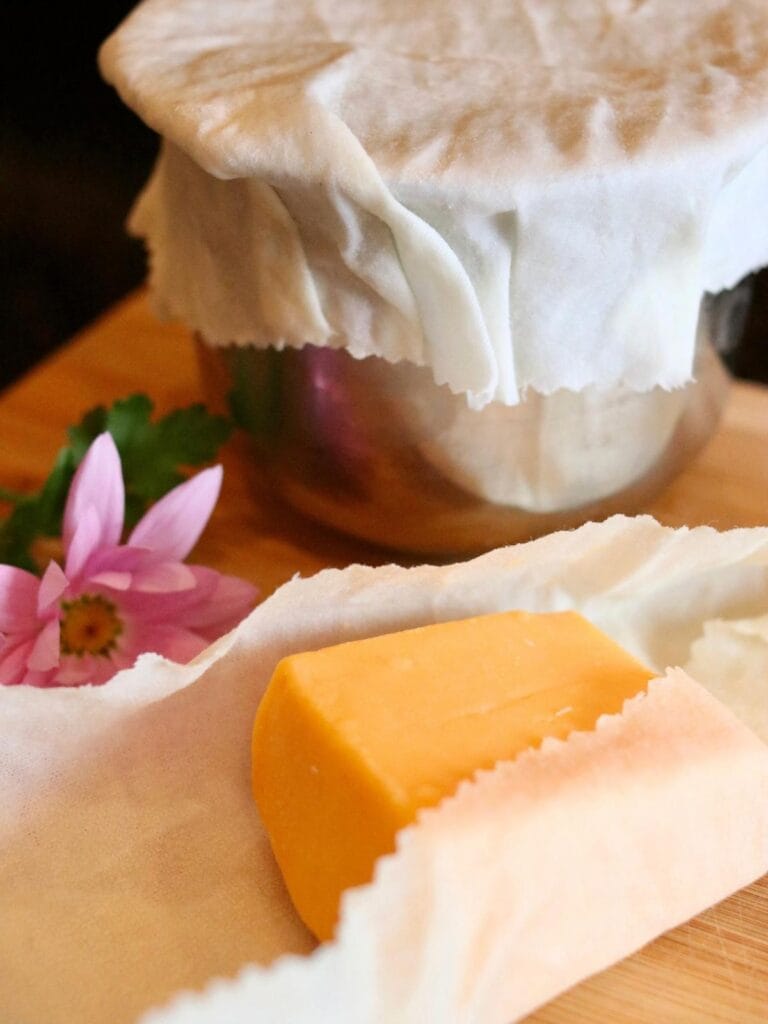
DIY beeswax food wraps make it easy to reduce your plastic use and ditch cling wrap for good! This simple project will help you keep your food fresh and delicious without wasting plastic.
Quick Look at the DIY
- ⏱️ Prep Time: 45 minutes
- 👥 Yield: Approximately 3 wraps (will vary based on size)
- 🥣 Main Ingredients: Cotton or linen fabric, beeswax, pine resin, jojoba oil
- 👩🍳 Tip: Pine resin helps create wraps that stick similar to plastic wrap.

Goodbye Plastic Wrap
When it comes to being creative around the home, I love figuring out new ways to minimize plastics, reduce waste, and save money! One of the biggest wastes of plastic in the kitchen is plastic food wrap, and beeswax wraps are the best natural swap.
Not only is this a fun DYI project, but these beeswax wraps are so practical for storing various leftovers from oat flour banana bread to healthy egg strata. I use them daily, and I’m thrilled that there’s one less plastic thing in my kitchen!
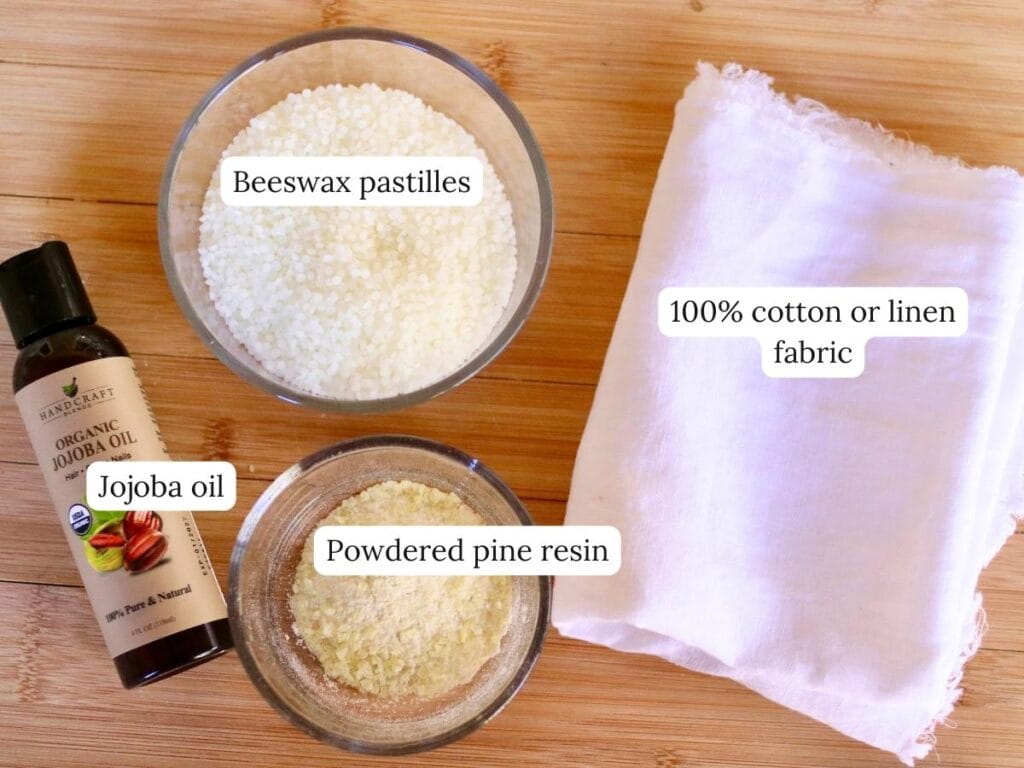
Ingredients
Note: Some tutorials use only beeswax without jojoba oil and pine resin, however, this results in food wraps that won’t stick to themselves or anything else. They may also crack depending on how much beeswax is used. If you’re going to take the time to make DIY beeswax food wraps, you must use all of these ingredients to create practical, easy to use wraps.
Tools You May Need
Enter your email address TO RECEIVE…
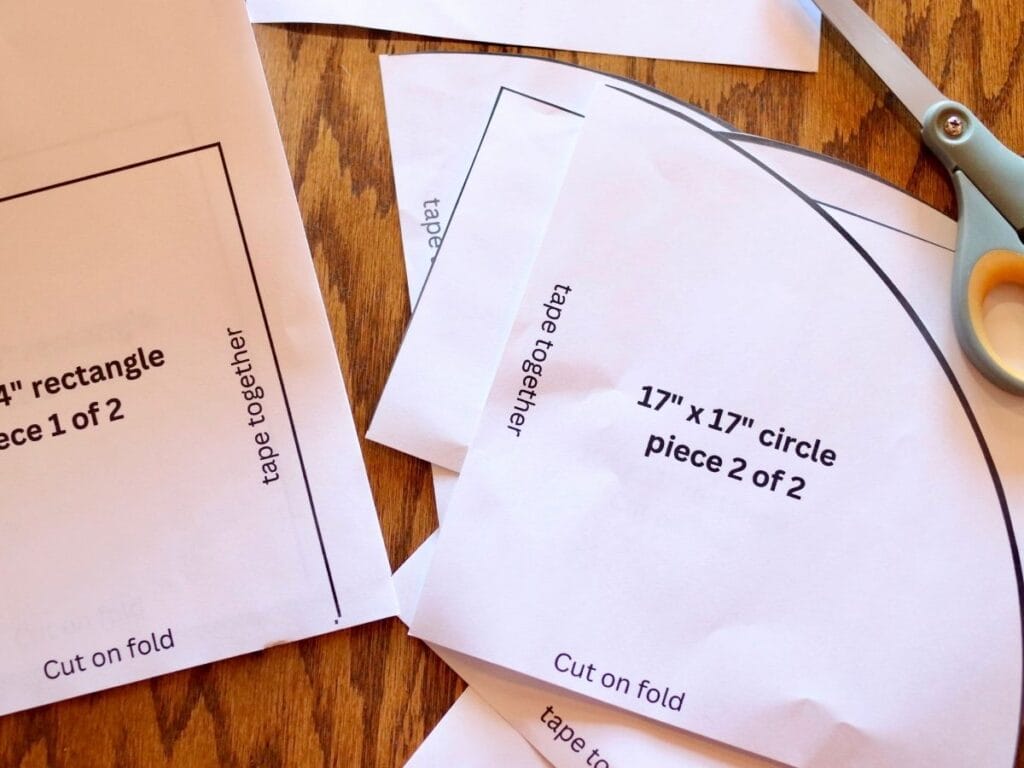
Free Printable Beeswax Food Wraps Patterns!
Step-By-Step Instructions
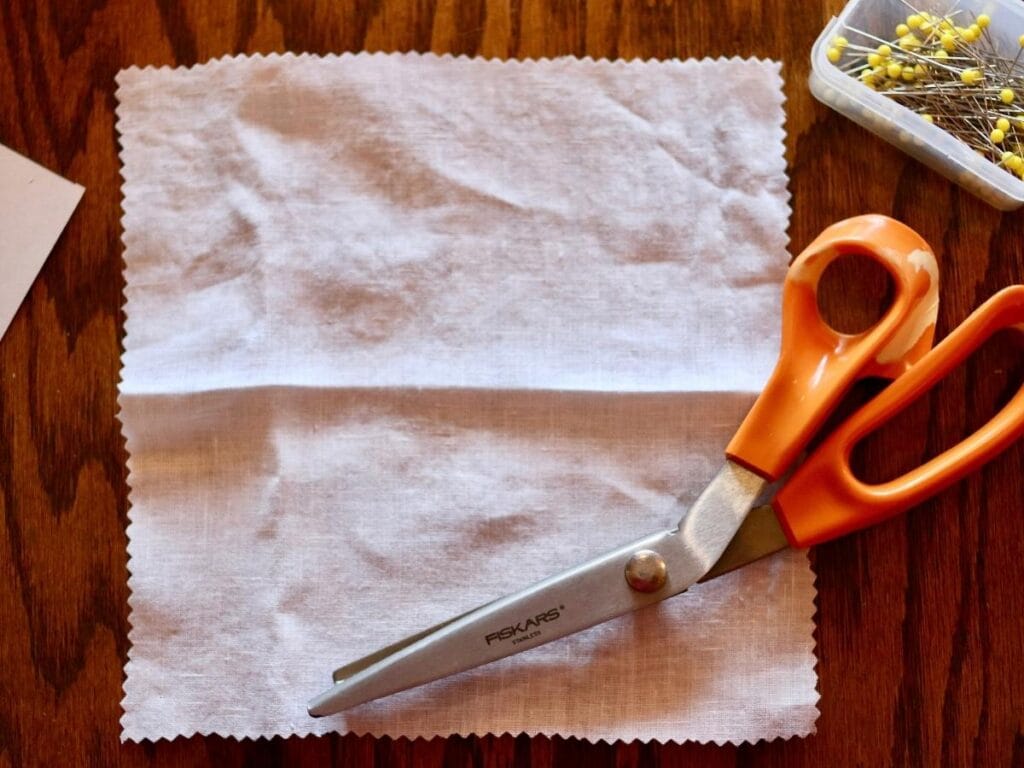
Step 1: First, cut out the fabric using the free printable patterns. Or, if you prefer, you can cut it into your own shapes and sizes. Don’t worry if your shapes aren’t perfect – as long as the pieces are in convenient sizes it won’t really matter in the end.
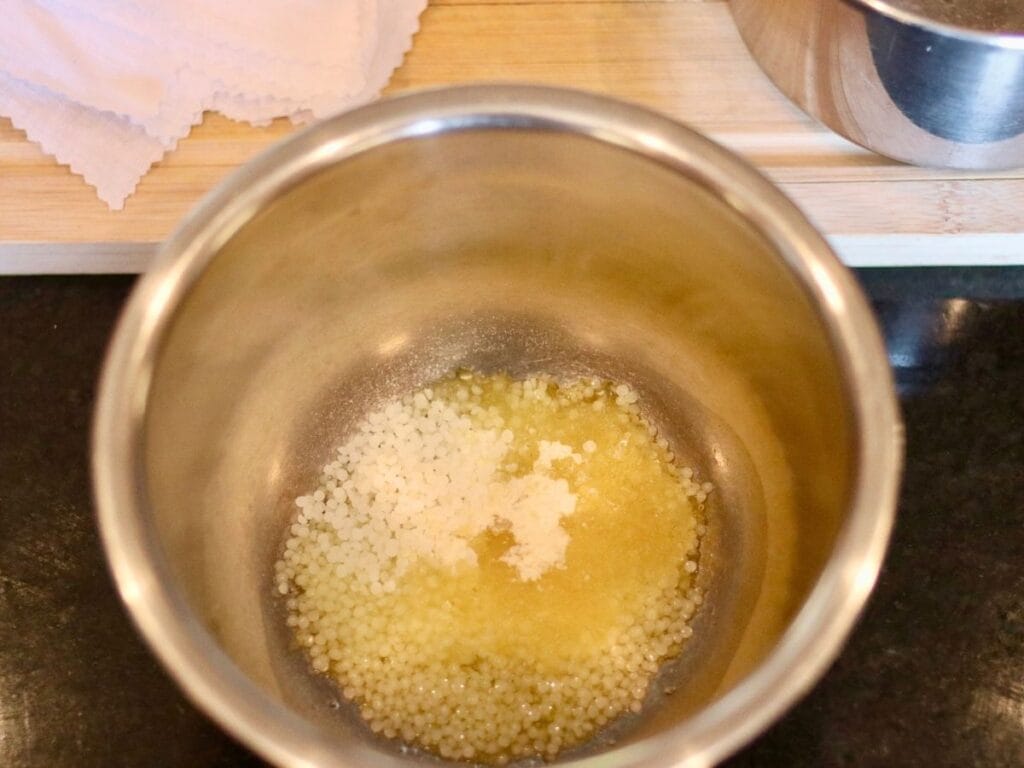
Step 2: Next, in a double broiler (or a small bowl that fits on top of a saucepan with water), melt together the beeswax, jojoba oil, and pine resin.
While it’s melting, preheat your oven to 300 degrees and line a large baking sheet with parchment paper. Place the baking sheet in the oven while it’s preheating to warm.
Step 3: Lay a piece of fabric (or a few small ones if they fit in one layer) on the baking sheet.
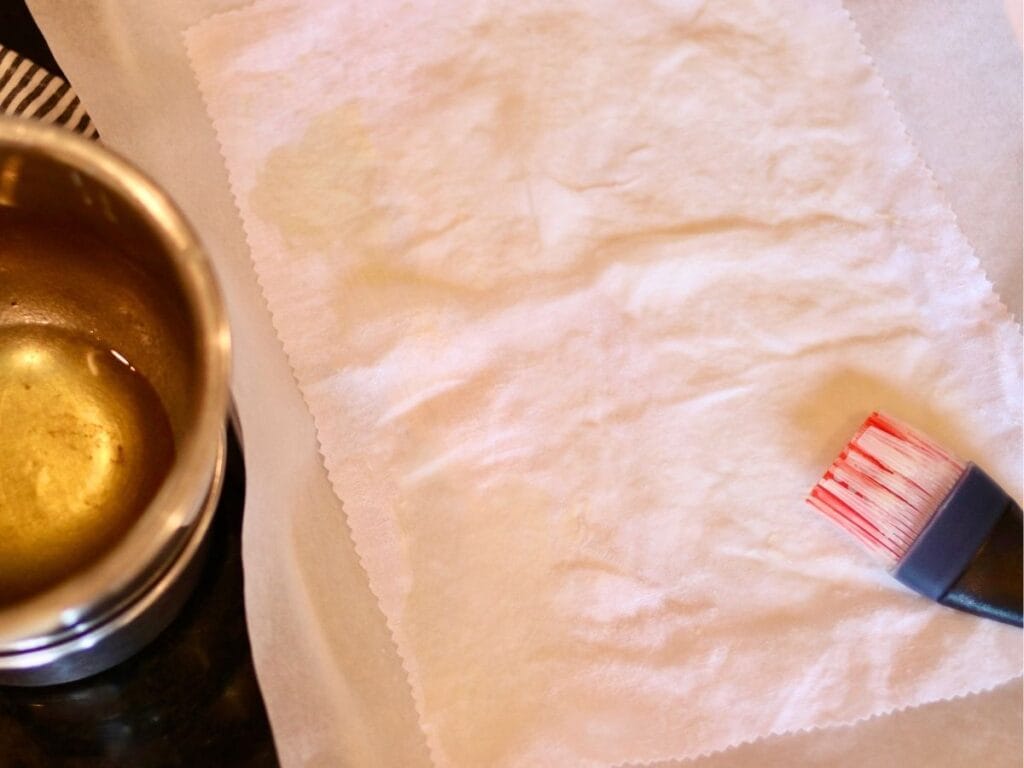
Then stir the melted beeswax mixture and spread it lightly across the fabric using a silicone brush. Don’t worry about covering every section with the wax right now.
Place the baking sheet in the oven for 2 minutes for the wax to melt and then use the brush to make sure every section has wax on it. If you need to, you can add more wax at this point, or, if there’s too much, use the next piece of fabric to sop some of it up.
Put the baking sheet back in the oven (or close the door if you never took it out) for another 2 minutes.
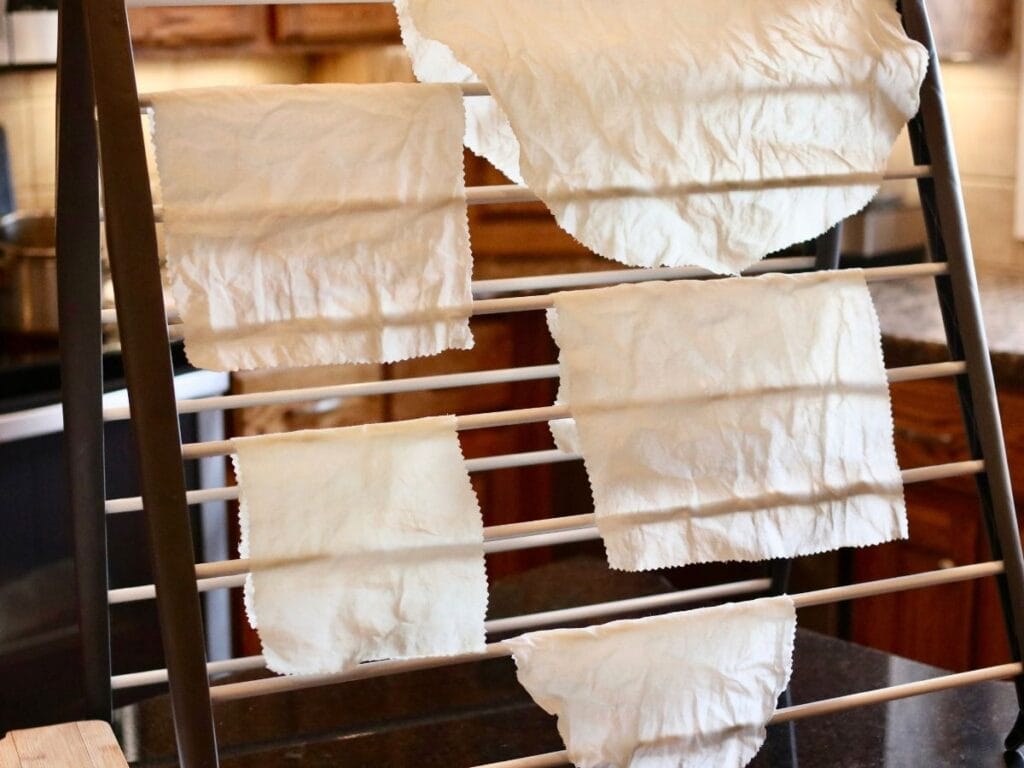
Step 4: Remove the food wrap from the oven and hang it on a drying rack or clothesline to dry. Then repeat the process for the rest of your fabric pieces.
Expert tip: The wax spreads easier when it’s hot, so I often leave the fabric in the oven while I’m spreading the wax. If you prefer, you can take it out of the oven – just work quickly before it hardens.
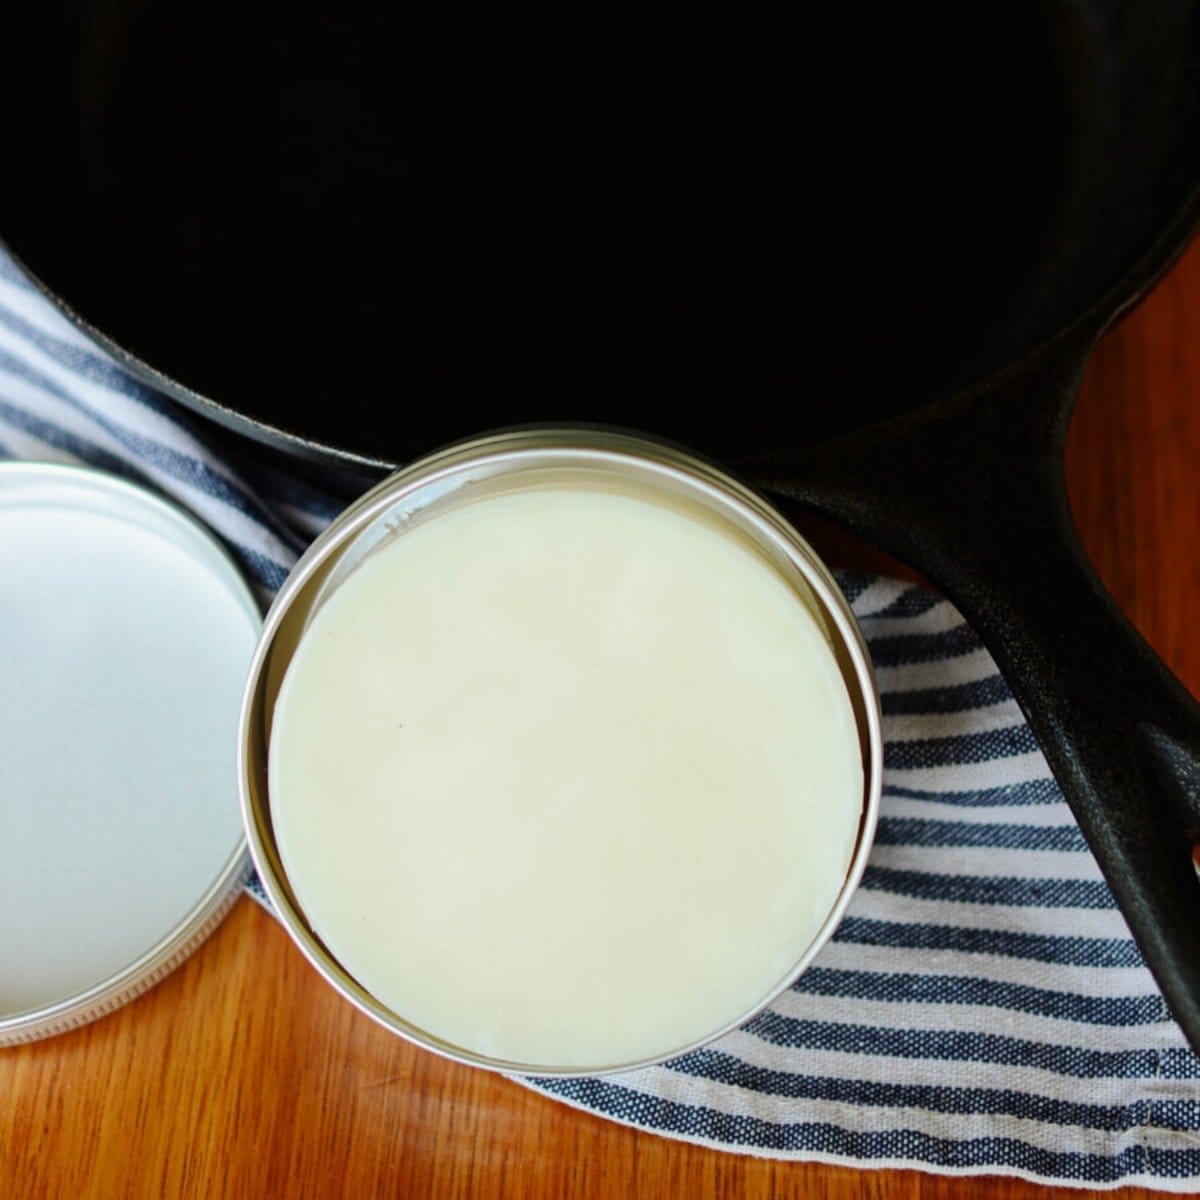
If you’re looking for more kitchen DIYs, check out my easy dishwasher powder and cast iron seasoning bar!
Tips for Success
Keep everything hot – The beeswax mixture hardens quickly, so you’ll want to keep it hot throughout the entire process. It also works best if the baking sheet is hot when you lay the fabric on it and spread on the beeswax.
Use pinking shears to cut the fabric – While you can use regular scissors, this will lead to fraying. Pinking shears completely prevent that from happening.
Stir the beeswax mixture each time before spreading it – The pine resin tends to sink to the bottom of the mixture, so you’ll need to stir it each time before you spread it on the fabric.
Save extra beeswax mixture for repairs – If you have leftover beeswax mixture, simply pour it into a heat-safe container, and keep it on hand for when your beeswax food wraps start to wear out.
Ways to Use
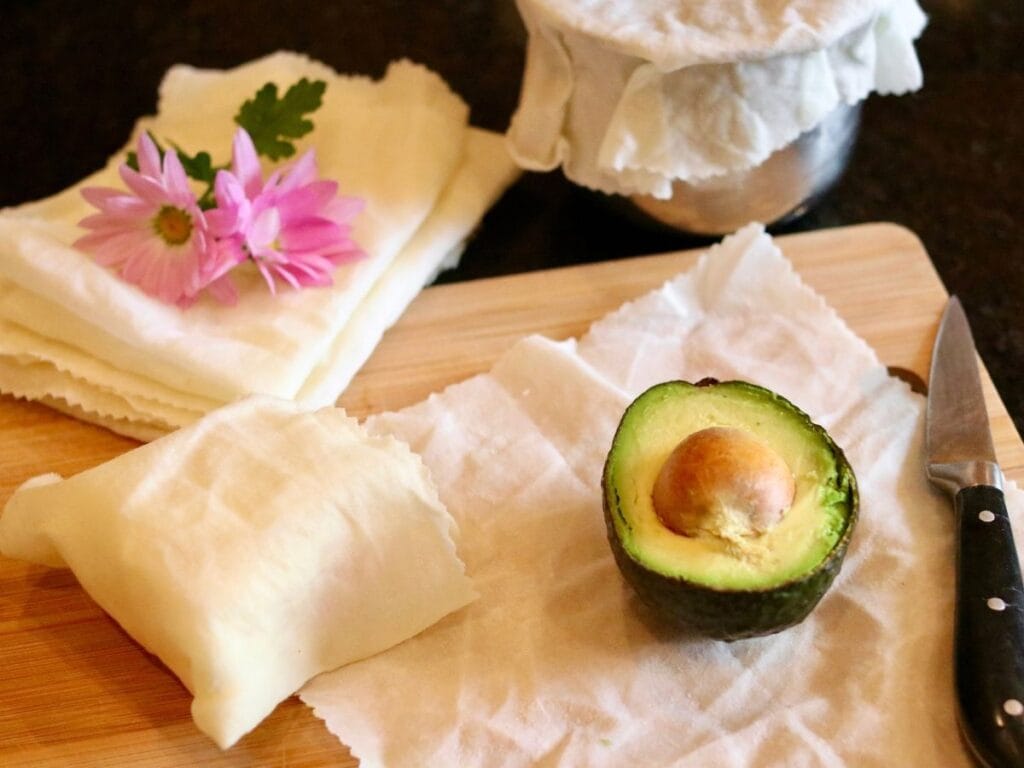
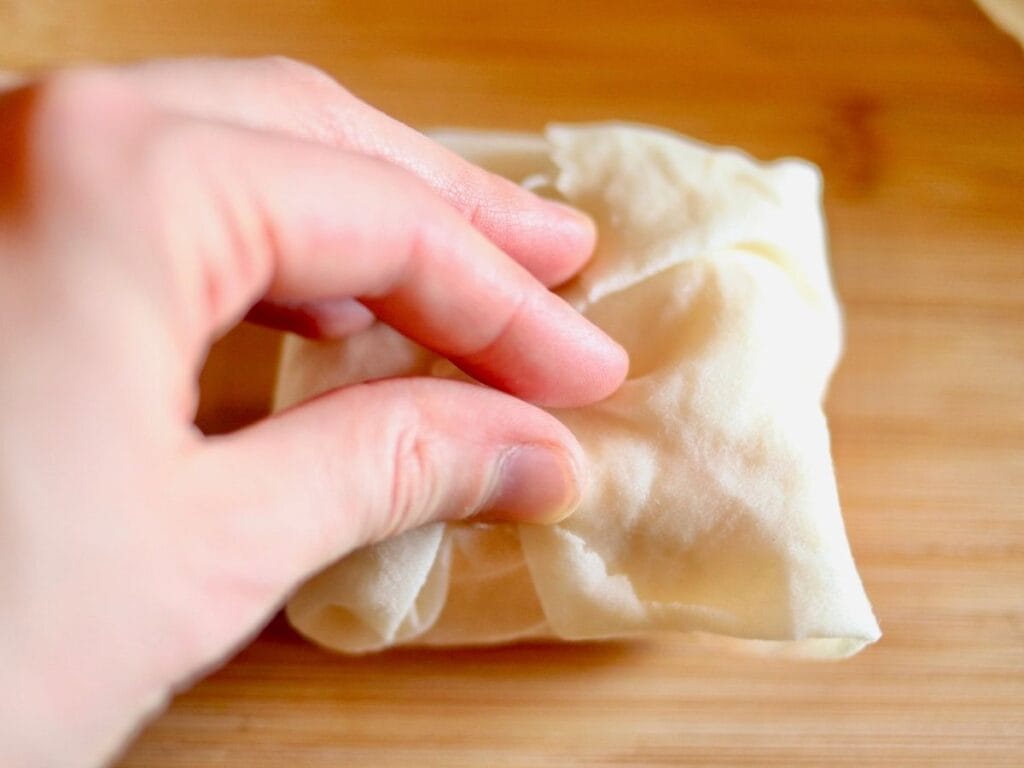
You can use these however you would typically use plastic cling wrap! These beeswax food wraps are perfect to cover bowls or containers of leftovers, wrap up a sandwich, or store fruit.
They can be used with any food other than raw meat. If you want to store raw meat, glass food storage containers are a great option.

How to Clean
Simply gently scrub your beeswax wraps with cold water and a mild soap such as Castile soap. Afterwards, hang to dry before storing or reusing.
Beeswax, jojoba oil, and pine resin are all naturally anti-fungal and antibacterial which helps these beeswax wraps stay sanitary. If you want an added layer of protection, you can make these wraps with linen fabric which is also anti-fungal and antibacterial.
How to Store
Beeswax food wraps can be stored anywhere in your kitchen that’s cool and dry, such as a cabinet drawer. Since the beeswax will melt if it gets hot, keep them away from the oven and other warmer areas of your kitchen.
You can fold them or roll them up and store them upright in a jar.
How Long Do Beeswax Food Wraps Last?
If properly cared for, beeswax food wraps can last 1-2 years. If it start to feel like the wax is wearing off, you can apply more of the wax mixture and extend their life even longer.
Once they’re completely worn out, you can either compost the wraps or use them as a natural fire starter.
Violet’s Tips for Using
These beeswax wraps are the best way to store a cut avocado and prevent it from quickly browning.
FAQs
Yes you can freeze food in beeswax wraps, however, since they’re breathable, the food will eventually get freezer burnt. To avoid this, simply freeze food stored with these wraps for a month or less.
You can use these to store any type of food in beeswax wraps except for raw meat.
What kind of fabric should I use for beeswax food wraps?
In order for the fabric to absorb the wax mixture, you have to use either 100% cotton or 100% linen fabric for beeswax food wraps.
To make beeswax food bags, first cover the fabric with the beeswax mixture and let it dry completely. You can then sew it into bags for snacks, sandwiches, or anything else you can think of!
If you try this DIY, snap a photo and tag me on Instagram @violet_rightathome

Beeswax Food Wraps with Pine Resin
Equipment
- Pinking shears
- Silicone brush
Ingredients
- Cotton or linen fabric washed and dried
- 4 tablespoons beeswax pastilles
- 3 tablespoons powdered pine resin
- 2 tablespoons jojoba oil
Instructions
- Using pinking shears, cut the fabric into your preferred shapes and sizes.Cotton or linen fabric
- In a double broiler, melt together the beeswax, jojoba oil, and pine resin.4 tablespoons beeswax pastilles, 2 tablespoons jojoba oil, 3 tablespoons powdered pine resin
- Preheat your oven to 300 degrees and line a large baking sheet with parchment paper. Place the baking sheet in the oven while it's preheating to warm.
- Lay a piece of fabric on the baking sheet.
- Stir the melted beeswax mixture and spread it lightly across the fabric using a silicone brush. Don't worry about covering every section with the wax right now.
- Place the baking sheet in the oven for 2 minutes for the wax to melt and then use the brush to make sure every section has wax on it. If you need to, you can add more wax at this point, or, if there's too much, use the next piece of fabric to sop some of it up.
- Put the baking sheet back in the oven for another 2 minutes.
- Remove the food wrap from the oven and hang on a drying rack or clothesline to dry while repeating the process for the rest of your fabric pieces.
Notes
- The beeswax mixture hardens quickly, so you’ll want to keep it hot throughout the entire process. It also works best if the baking sheet is hot when you lay the fabric on it and spread on the beeswax.
- The pine resin tends to sink to the bottom of the mixture, so you’ll need to stir the mixture each time before you spread it on the fabric.
If you tried making these beeswax wraps, I’d love to hear how they turned out for you! Please make sure to come back and leave a comment and a ⭐️⭐️⭐️⭐️⭐️ rating.

These beeswax wraps are one of my favorite ways to store food! Let me know if you have any questions on making them. I’m happy to help!