Learning to make your own fermented foods doesn’t have to be complicated or intimidating! With just a few simple ingredients and tools, you can create probiotic-rich, nutrient-dense foods your whole family will love.
Quick Look at the Benefits
🥬 Retains and increases nutritional value of foods
🥄 Packed with enzymes for digestion
🌱 Includes beneficial bacteria and probiotics

Why Fermented Foods Have a Permanent Place in My Kitchen
Fermented foods are one of my favorite things to talk about. There’s something deeply satisfying about turning simple ingredients into specialty foods right in your own kitchen, especially when you consider the incredible health benefits that come along with them.
When my husband and I first began our clean eating journey to support his healing from Crohn’s, fermented foods quickly became essential. At first, the idea of making our own felt overwhelming, but we learned quickly and never looked back.
Years later, fermenting is such a natural part of our routine that I barely think about it. From sauerkraut quietly bubbling away in the crock to fizzy water kefir on a hot summer day, fermented foods have become a true staple in my kitchen.
What is Fermentation?
Fermenting is one of the oldest methods of food preservation, using a simple, natural process that doesn’t require electricity. People have been fermenting for thousands of years, from yogurt as early as 5,000 B.C. to cabbage ferments in ancient China.
There are two basic methods to do this. The first is to use a starter culture (such as when making yogurt) or use wild fermentation which takes advantage of microbes already present in the food (sauerkraut is a great example of this).
Both methods are safe and typically easy, so you simply need to pay attention to the instructions in the recipe you are following.
Common Fermented Foods
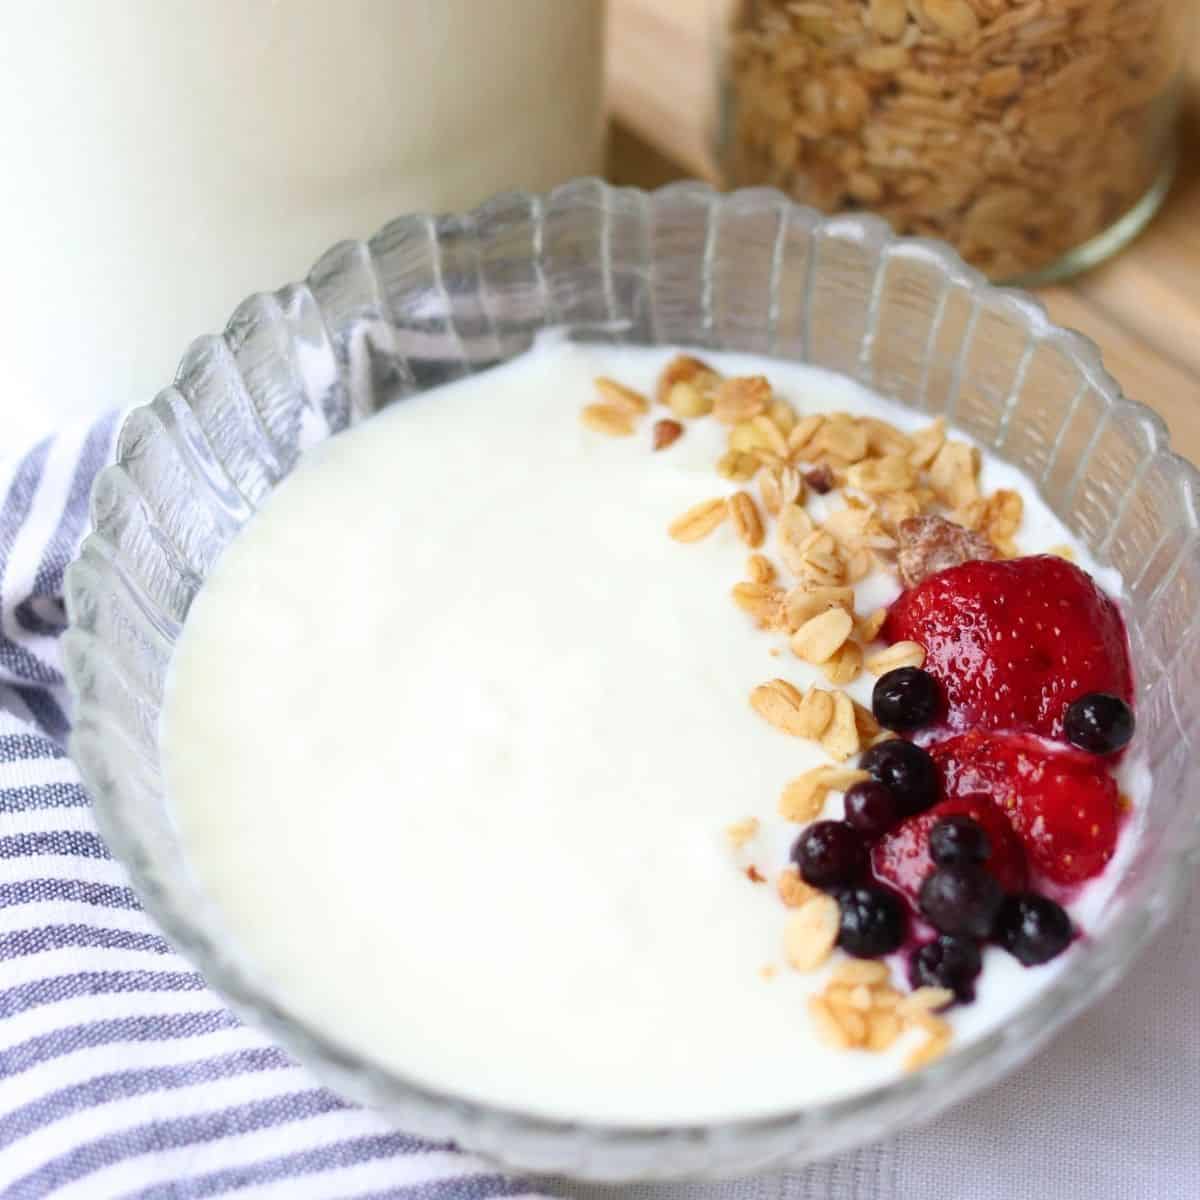
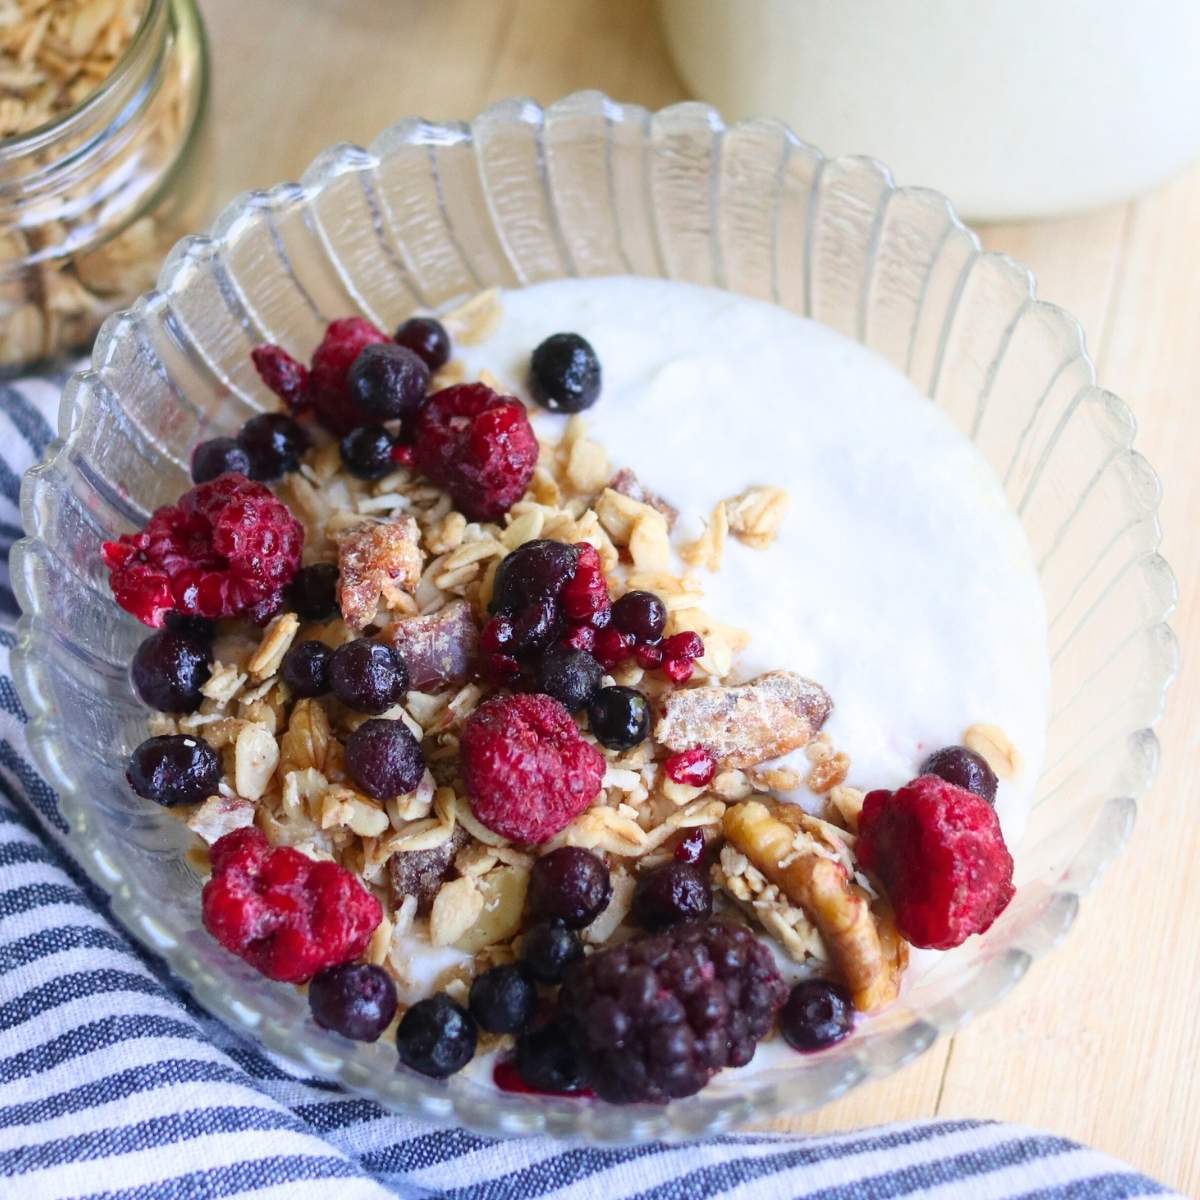
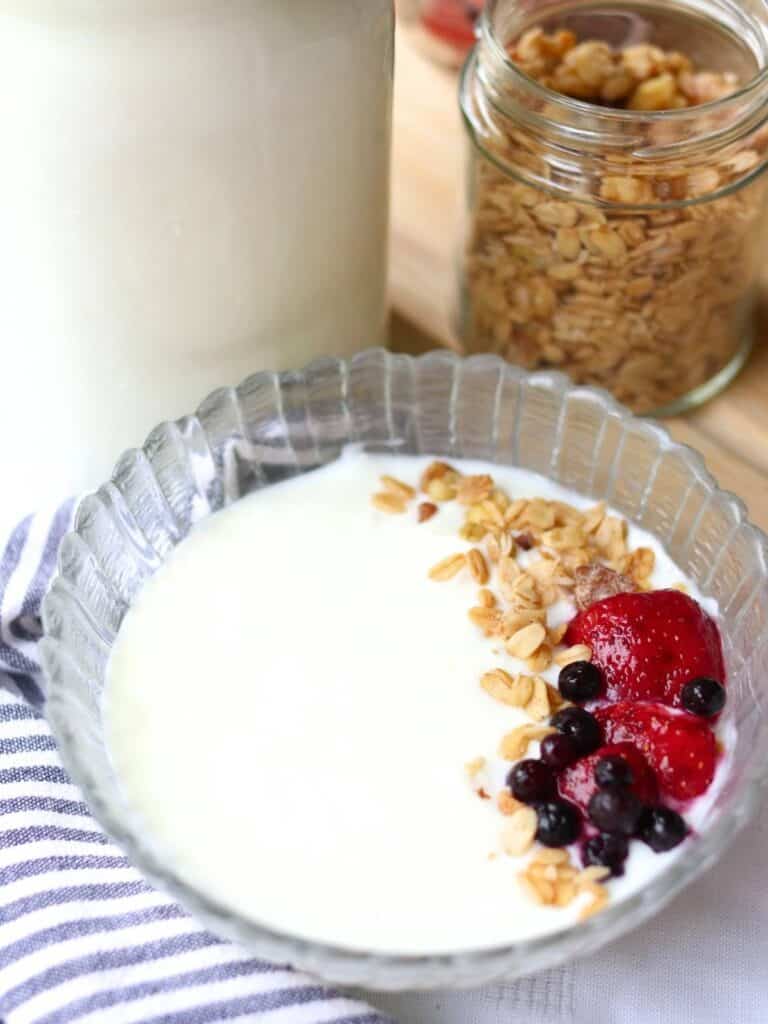
Dairy – Dairy is often fermented to make various types of yogurts (such as goat milk yogurt or yogurt from raw milk), kefir, and sour cream and more. For those who can’t have dairy, there are various creamy ferment options such as dairy-free coconut yogurt.
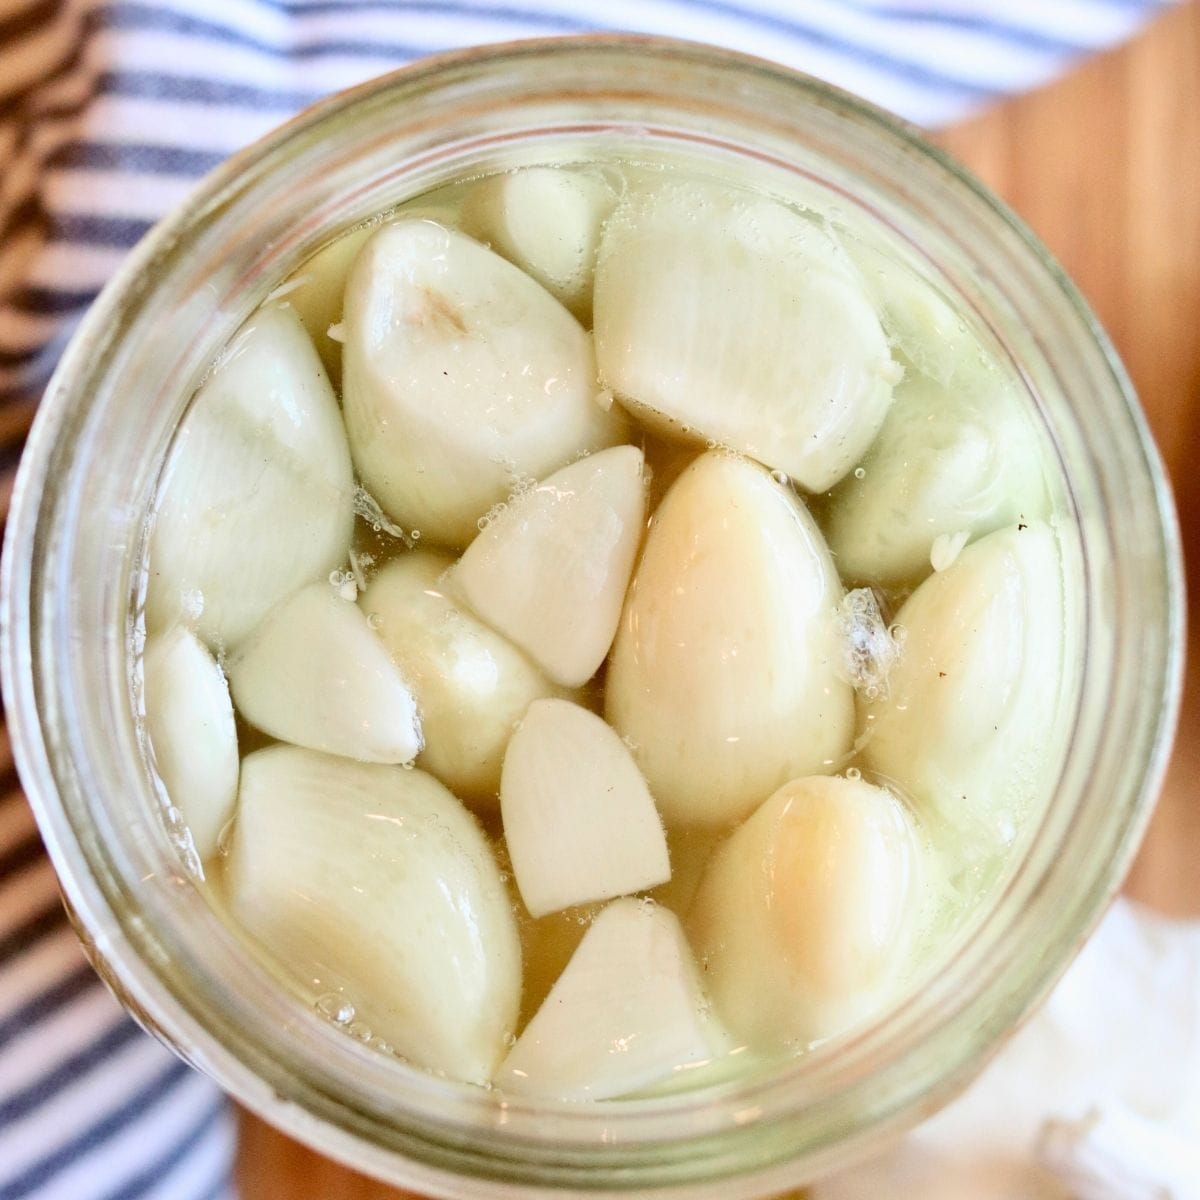
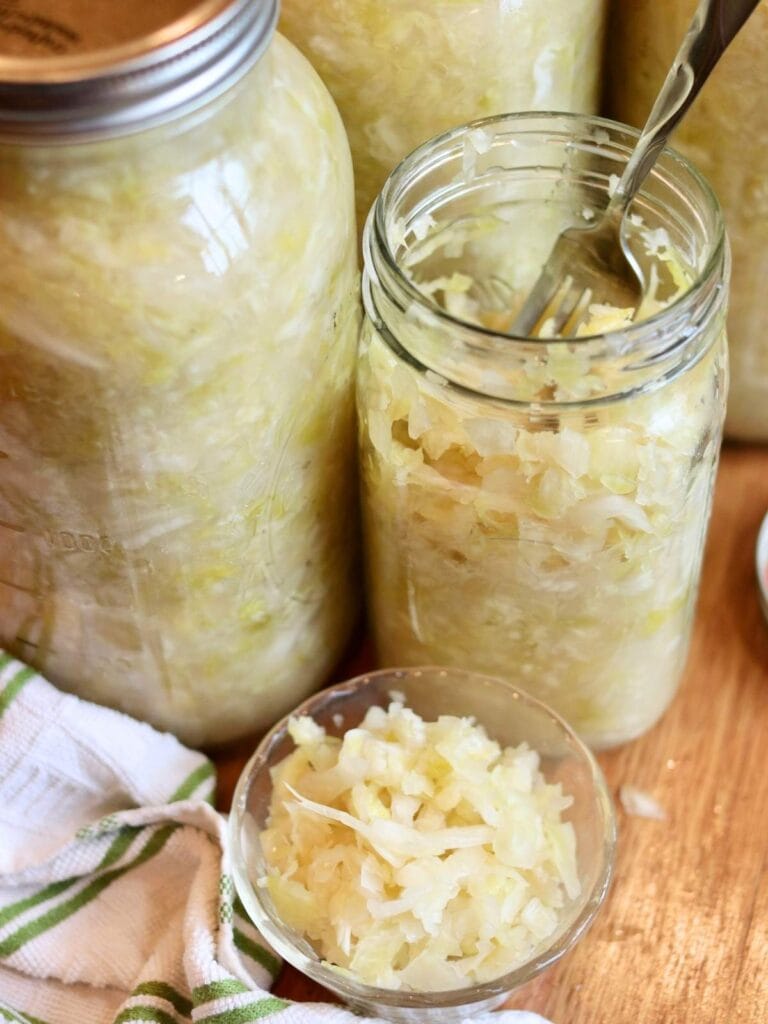
Fruits and vegetables – When it comes to fermented produce, the options are endless! From simple European sauerkraut, fermented garlic cloves, to summertime favorites like fermented peppers, there’s something delicious for everyone to try.
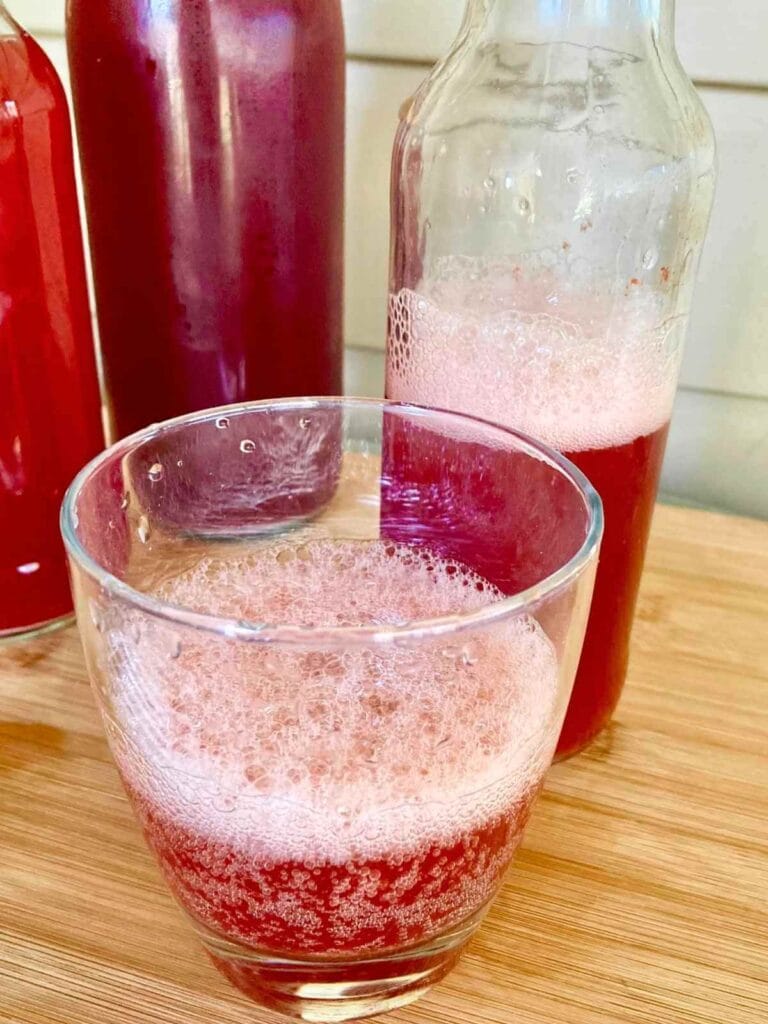
Drinks – There are many types of fermented drinks, including fizzy water kefir, kombucha, and Ukrainian beet kvass.
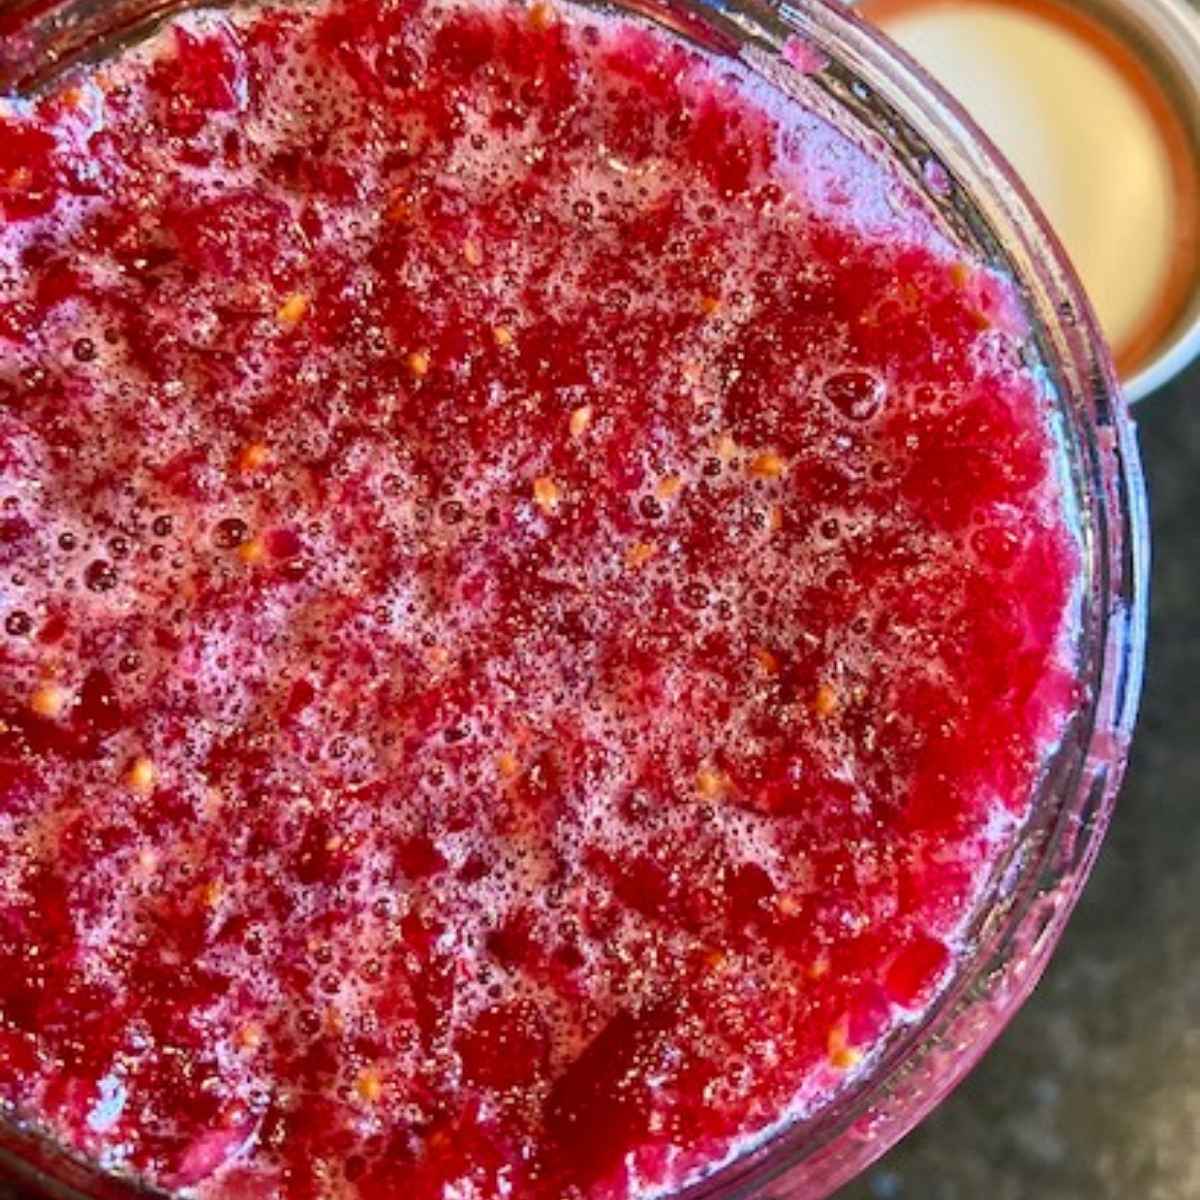
Condiments – There are fermented versions of so many delicious condiments such as ketchup plus some less-common ones like honey cranberry sauce (my personal favorite).
Tips for Success
For healthy and delicious ferments every time, follow these simple steps for success.
Use fresh ingredients – Older ingredients can already contain higher levels of bad bacteria, which can interfere with the fermentation process and increase the risk of mold. In my experience, the best place to source truly fresh ingredients is directly from local farmers.
If you don’t have access to a farmers market or the ingredients you need aren’t available in your area, I’ve had great success ordering from Azure Standard. Health food stores can also carry produce fresh enough for fermenting, though results can vary. I generally avoid standard grocery stores, as I’ve had very little success fermenting ingredients from them.
Use clean, chemical-free water – The chemicals in tap water can inhibit the growth of beneficial bacteria. Most countertop filtration systems don’t remove enough of these chemicals, so it’s best to use clean well water or spring water. You can also use reverse osmosis water; however, because it lacks minerals, your ferments may not thrive as well. If this is your only option, be sure to use mineral-rich salt or consider adding mineral drops.
Ferment at the proper temperature – Most ferments do best between 65°F and 70°F, but they’ll generally be fine as long as the temperature stays between 60°F and 75°F. If your home is warmer than 75°F, simply wrap your jars in a damp towel to help keep them cool. Some ferments, like yogurt, require different temperatures which will be noted in the recipes.
Don’t sanitize – Your fermentation containers and tools should be clean, but avoid sanitizing them with bleach or antibacterial soap as this can prevent the beneficial bacteria from growing. In extreme situations (such as mold overgrowth), equipment can be sanitized in the dishwasher or by using boiling water.
Is Fermenting Safe? How to Tell When Something’s Wrong
In our modern era of foods packed with preservatives or stored in tightly controlled, cold environments, leaving something out at room temperature can feel unsafe. However, fermentation is actually one of the safest ways to preserve food, often even safer than canning. The process naturally creates an acidic, probiotic-rich environment where harmful bacteria can’t survive.
If something does go wrong, it’s easy to spot. Here are the signs of improperly fermented food:
Visible mold – If you see anything fuzzy growing on the surface of your ferment, it’s best to toss it. You may occasionally notice a thin, powdery white film called kahm yeast, which is harmless, but anything raised or fuzzy is mold and shouldn’t be eaten.
Bad smell – Ferments should smell pleasantly sour, not like spoiled food.
Bad taste – If your ferment passes the first two tests, it’s time to taste it. Properly fermented foods have a pleasantly sour flavor and should never taste rotten. If it tastes good, it’s generally safe to enjoy.
What a Healthy Ferment Looks Like
Fermented foods will all look slightly different based on the recipe, but here are some common signs to look for.
Bubbles and fizz – As food ferments, it may start to bubble or fizz. This can take anywhere from a few hours to several days. The bubbling will slow or stop as the ferment matures, and you may not see it at all with certain ferments, like yogurt. When you do notice bubbles, it’s a good sign that fermentation is happening as it should.
Cloudy brine – Not all fermented foods use brine, but if a recipe does, cloudiness is a good sign.
Pleasant, tangy aroma – Food should never smell rotten or spoiled.
Thicker consistency (primarily for dairy ferments) – Properly fermented dairy should have a noticeably thicker texture.

Essential Tools
There are lots of specialized tools available, but you probably already have everything in your kitchen you need to get started!
Specialized Tools
If fermenting becomes a regular part of your routine, you may want to invest in additional equipment to make the process more efficient.
FAQs
To maintain their flavor and quality, store fermented foods in the fridge.
Freezing doesn’t immediately destroy all the beneficial bacteria in fermented foods, but the longer they stay frozen, the more the bacteria are deactivated or killed. For this reason, it’s best to avoid freezing fermented foods or only freeze them for short periods, such as when making yogurt bark.
No, canning kills the beneficial bacteria in fermented foods. To retain the most live active cultures, fermented foods should be stored in the fridge.
The shelf-life of fermented foods vary greatly depending on the type, with foods like sauerkraut lasting for months while fermented dairy typically only lasts a week or two. It’s best to refer to the shelf-life listed on the specific recipe you are following.
Fermented foods are a wonderful addition to your daily diet, and you can enjoy them several times a day. Because some people need time to adjust to the beneficial bacteria, it’s typically best to start with small amounts and gradually increase.
Yes, fermented foods are great for kids! However, due to the presence of potentially high amounts of beneficial bacteria, it’s best to start by giving them smaller amounts.
The amount of fermented foods you should eat each day can vary depending on the person and the type of ferment. Some people may need time to adjust to the beneficial bacteria, so it’s best to start with small amounts and gradually increase.
Best Beginner Recipes for Fermenting
Getting started is often the hardest part of fermenting. I suggest starting with a simple version of a fermented food or drink you already love. Here are a few of my favorite beginner-friendly recipes:
Simple homemade yogurt – This is one of the easiest, most rewarding recipes there is!
2-ingredient sauerkraut – This recipe is written specifically for those using a crock, but if you’re using mason jars, simply make a smaller batch.
Fruity water kefir – If you’ve never tried it, water kefir is like a lighter version of kombucha that’s much faster to brew.
Honey fermented cranberries – If you want to try something extremely quick, easy, and fun, this is the best recipe! It only takes 10 minutes of prep time and is done in just a few days.
With a few simple ingredients, some patience, and these tips, anyone can get started with fermentation. I hope this gives you the confidence to try your first recipe and begin enjoying these time-honored, nourishing foods.
Leave a comment and let me know the first fermented food or drink you’d like to try making!