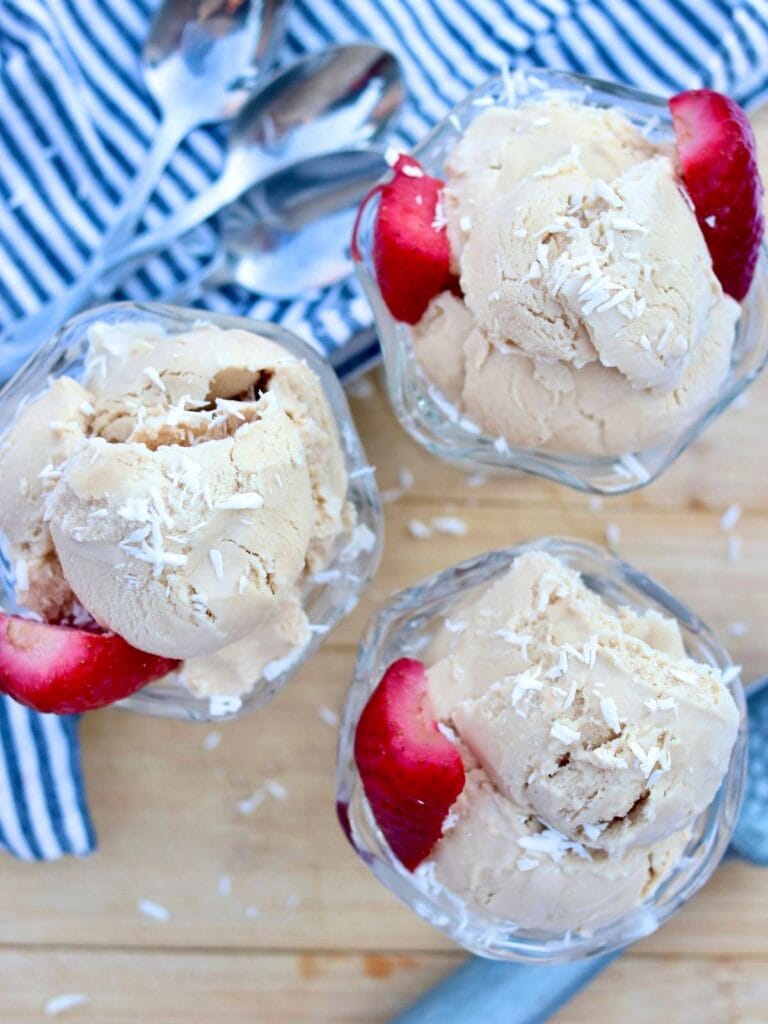
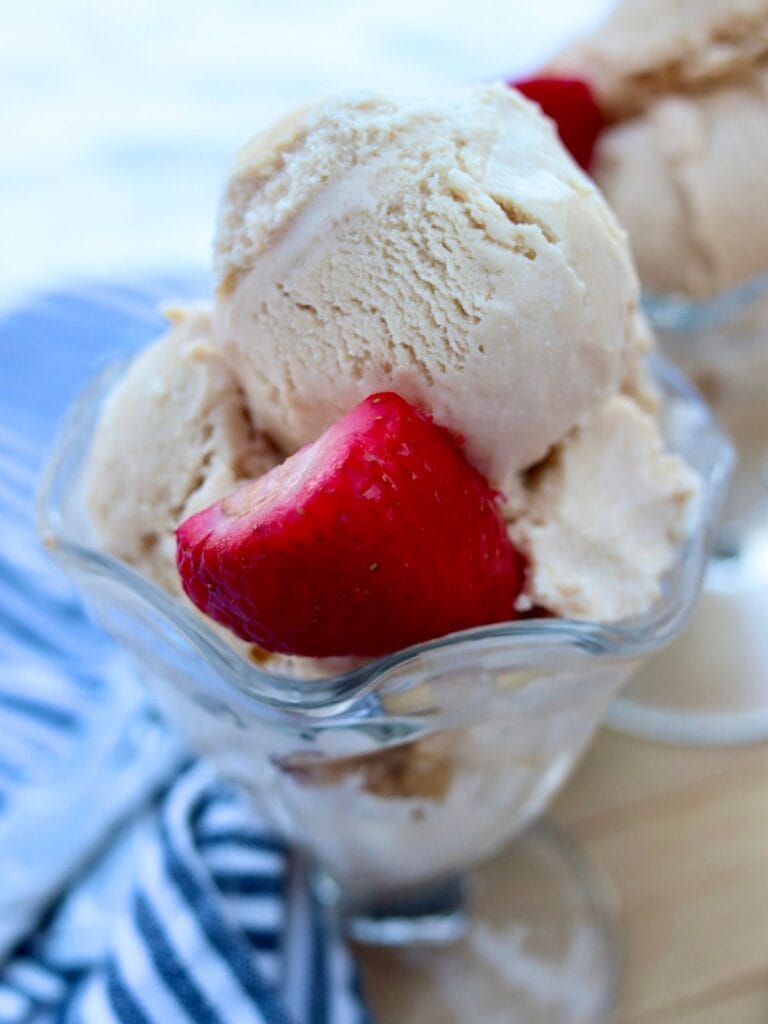
Rich, creamy, and so delicious, healthy homemade ice cream is the ultimate summer treat! Made with plenty of cream and no refined sugar, this is a classic dessert you can feel good about.
Quick Look at the Recipe
- 🍽️ Flavor: Rich and creamy vanilla
- ⏱️ Prep Time: 15 minutes (+2 hours chill time)
- ❄️ Churn Time: 30 minutes
- 🕒 Ready In: 2 hours 45 minutes
- 👥 Yield: 1.5 quarts
- 🥣 Main Ingredients: Cream, milk, and coconut sugar
- 📖 Dietary Info: Egg-free, gluten-free, paleo, refined sugar-free
- 👩🍳 Tip: Coconut sugar adds natural sweetness and a subtle, rich flavor to this ice cream.

A Southern Summer Tradition, Made a Little Healthier
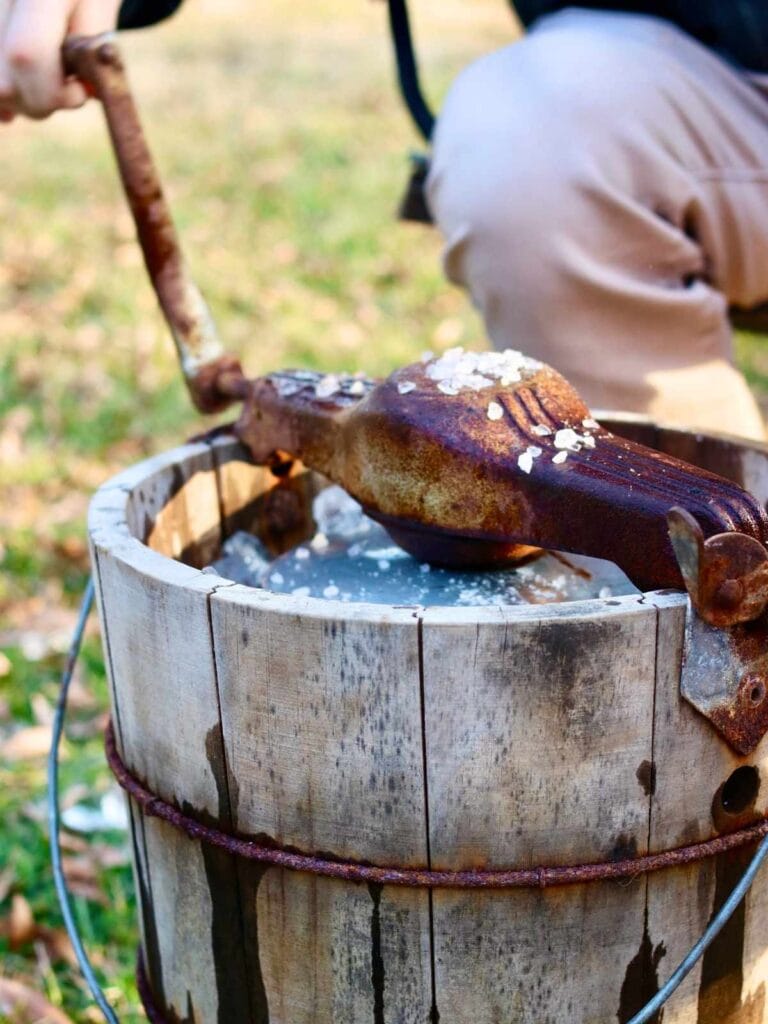
Growing up in the South, homemade ice cream was a much-anticipated summer tradition! We did it the old-fashioned way with a hand-crank ice cream maker (like they have in The Andy Griffith Show), and it was the best.
When my husband and I moved back to North Carolina, he’d never had homemade ice cream, so I knew I had to make some! I tweaked the ingredients to be healthier, and it was just as delicious as I remembered. Coconut sugar ice cream has since become a summertime (and sometimes winter!) staple in our home by itself or paired with apple crisp or almond flour brownies.
What Makes this Ice Cream Special?
- Creamiest ice cream you’ll ever taste because this recipe doesn’t skimp when it comes to cream!
- Rich, slightly caramelly flavor blending vanilla with the subtle richness of coconut sugar.
- Whole-food dessert made with simple, healthier ingredients.

Ingredients
Tools Needed
Step-By-Step Instructions
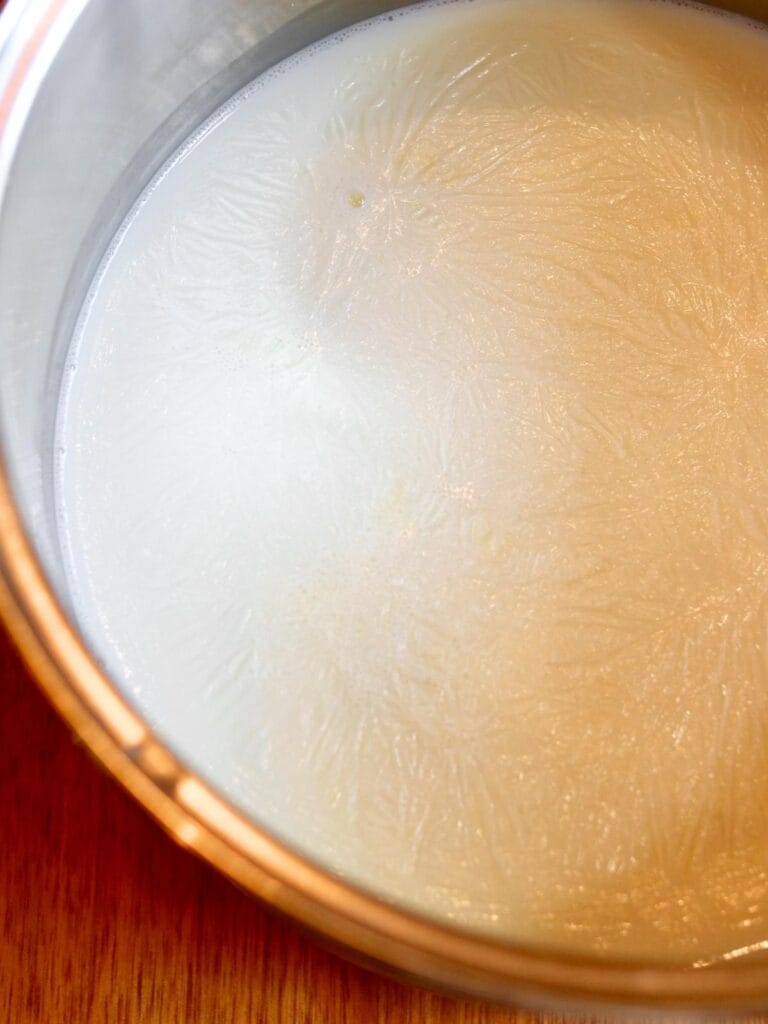
Step 1: Pour the milk into a large saucepan, place it on the stove on low-medium heat, and scald it. Make sure to stir it frequently so it doesn’t burn!
You’ll know the milk is ready when small bubbles are forming around the edges of the pan, but it isn’t quite boiling yet.
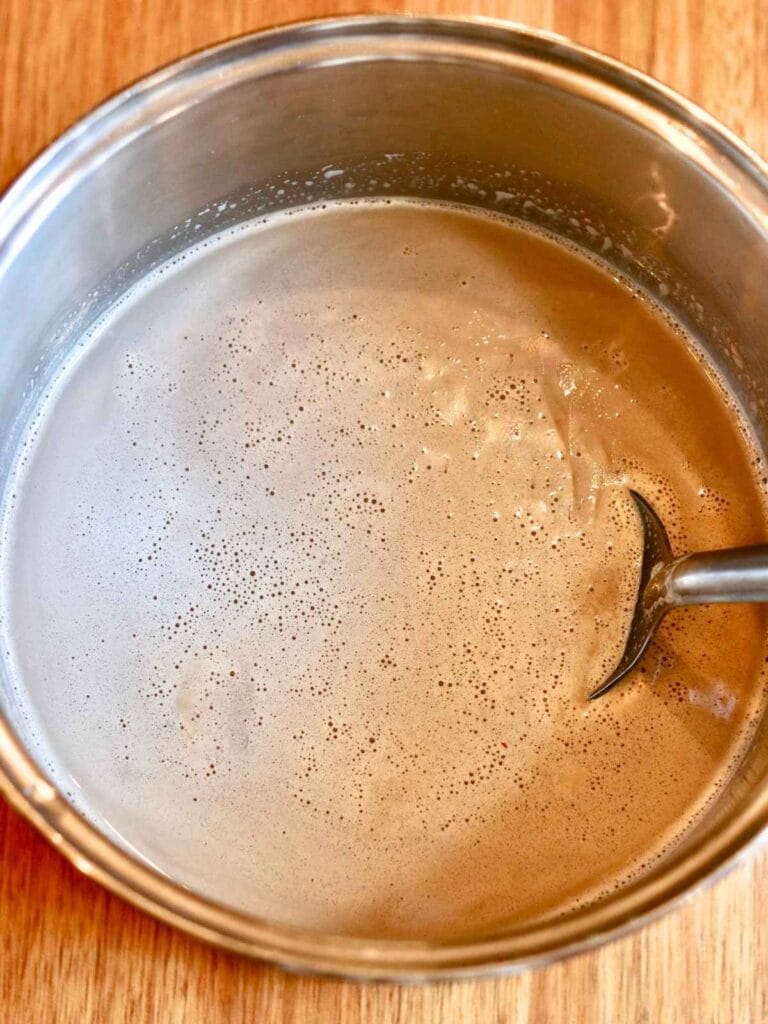
Step 2: Next, remove the pan from the heat and stir in the coconut sugar until it dissolves.

Step 3: Now stir the cream, vanilla, and salt into the mixture. Then cover the pan and place it in the fridge to chill for at least 2 hours.
Step 4: Churn the ice cream according to your ice cream maker’s instructions. This typically takes 20-30 minutes and may also require a resting period afterwards.
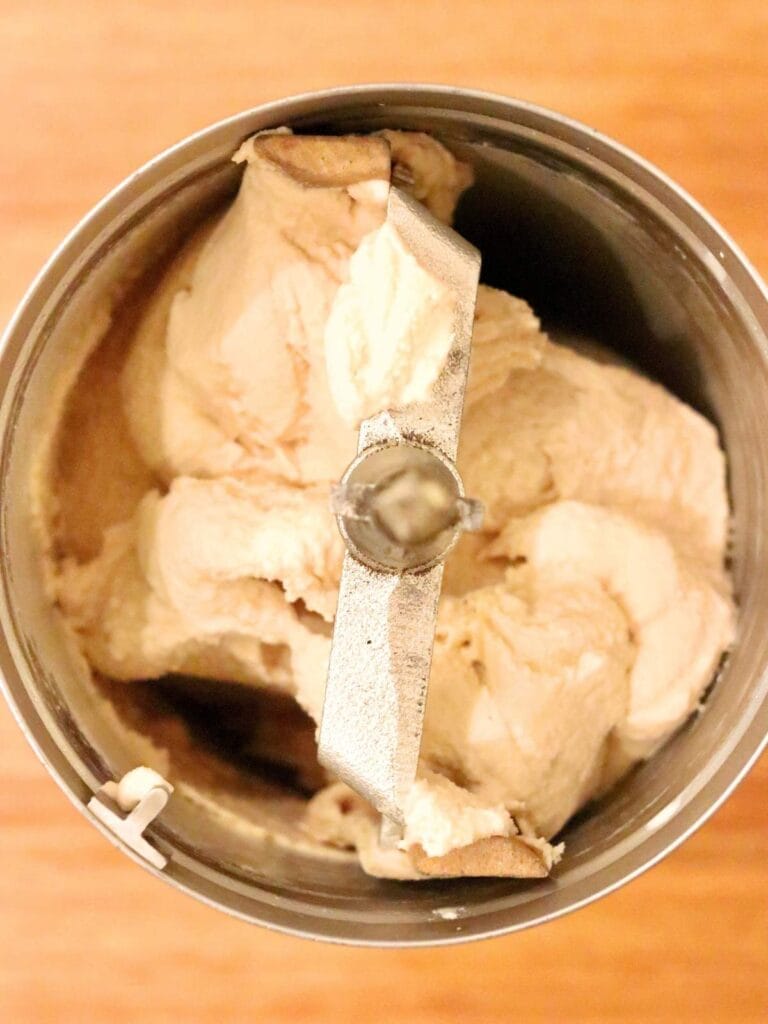
Step 5: Now the most exciting part! Remove your delicious homemade ice cream from the churn.
Step 6: For soft serve ice cream, you can eat it right away, however, if you prefer firm ice cream, place it in the freezer for 2-4 hours to firm up. Enjoy with all of your favorite toppings!
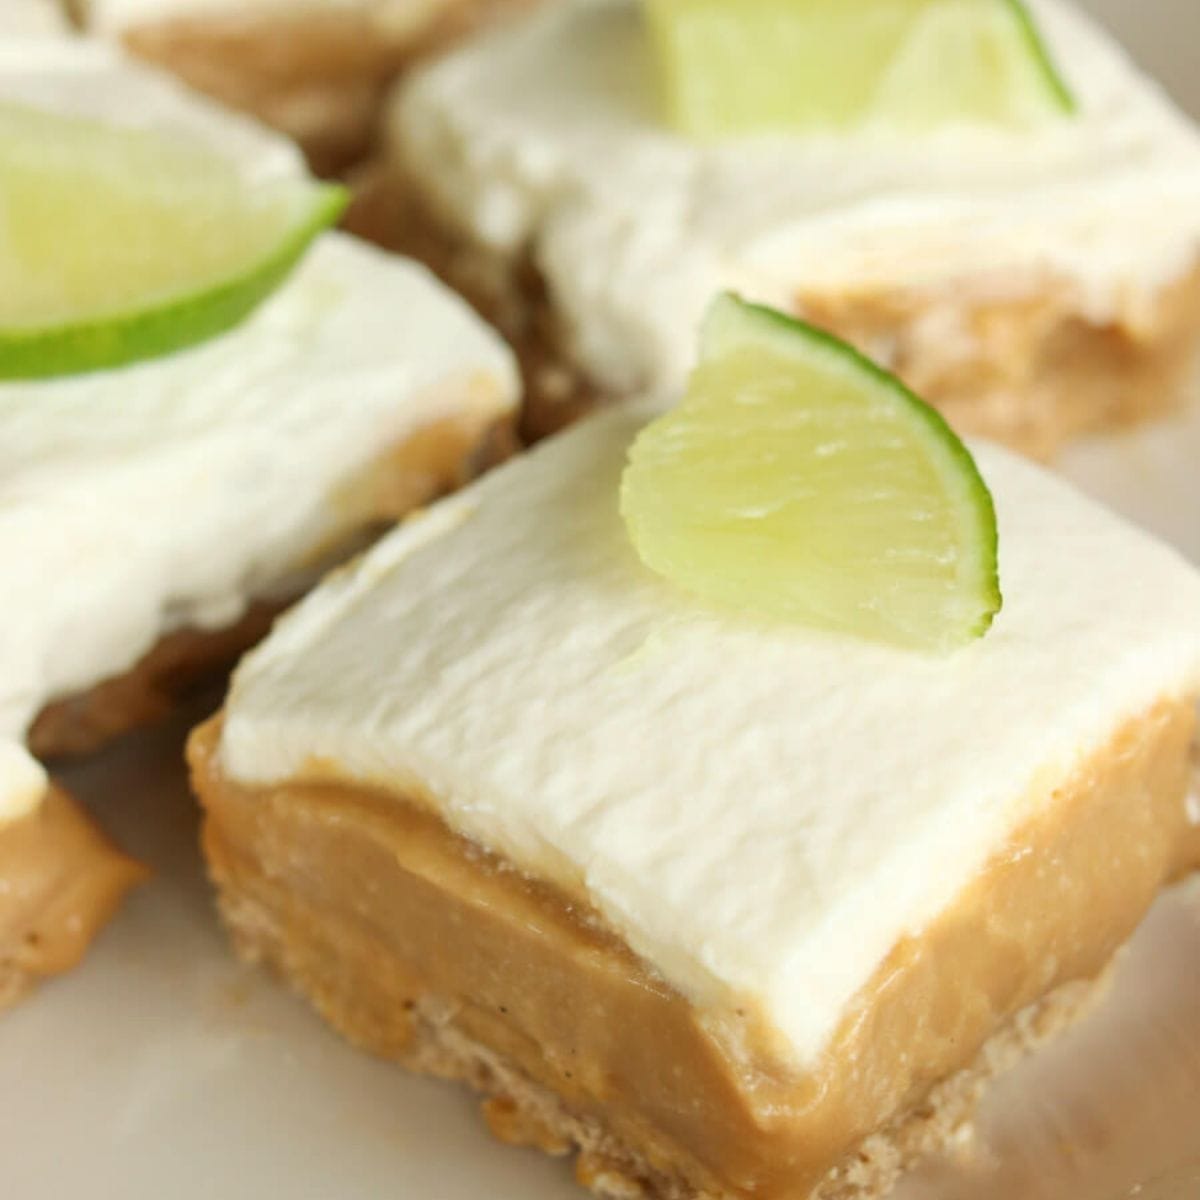
If you’re looking for more refreshing summer treats, check out my healthy lime bars and berry yogurt bark!
Tips for Success
Don’t rush it – Follow your ice cream maker’s instructions and resist the urge to try the ice cream before it’s ready.
For firmer ice cream, freeze before serving – I’m partial to the soft serve ice cream that comes straight from the ice cream maker. However, if you prefer firmer ice cream, simply freeze it for a few hours before serving.
Don’t skimp on the cream – There’s a reason ice cream is called ice “cream”! Using so much cream is what gives this recipe a rich texture and delicious flavor.
Use full-fat dairy products – This recipe is not designed for dairy-free ingredients, and it won’t work to substitute them.
Prep in Advance
You can make the ice cream mixture up to three days in advance and store in the fridge until you’re ready to churn it.
If you prefer the ice cream to be completely made in advance, simply place it in an airtight container in the freezer as soon as it’s done. Make sure not to let it melt before freezing or it will become icy.
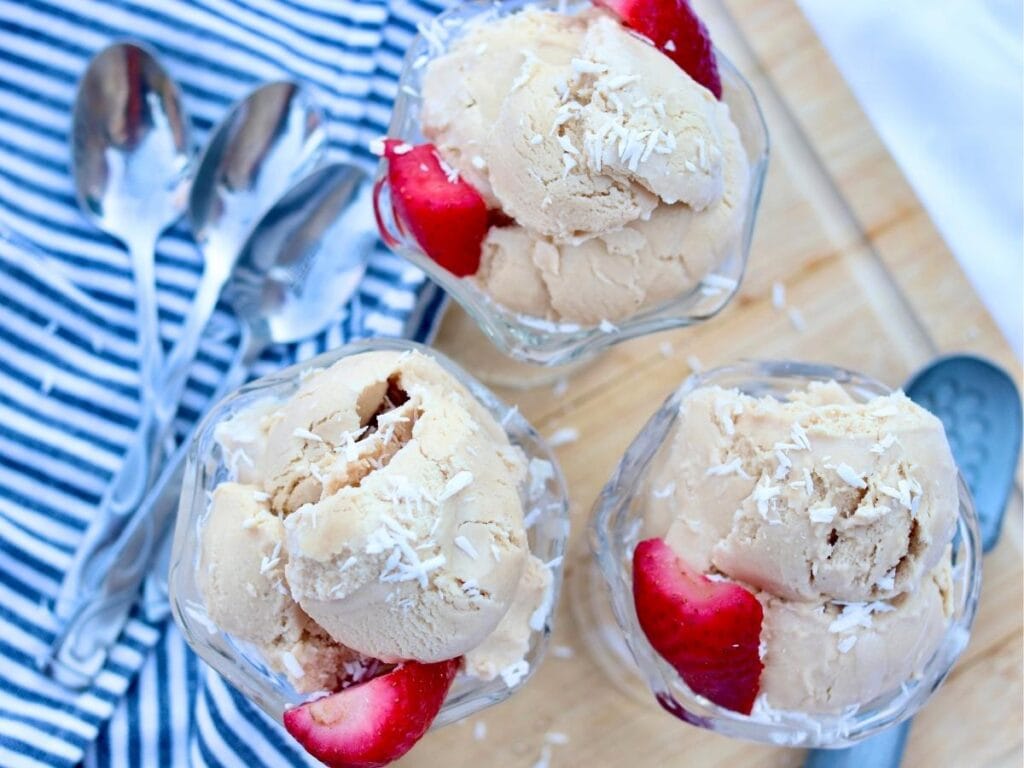
Healthy Ice Cream Topping Ideas
Toppings are one of the most fun things about ice cream, and there are so many healthy options to choose from!
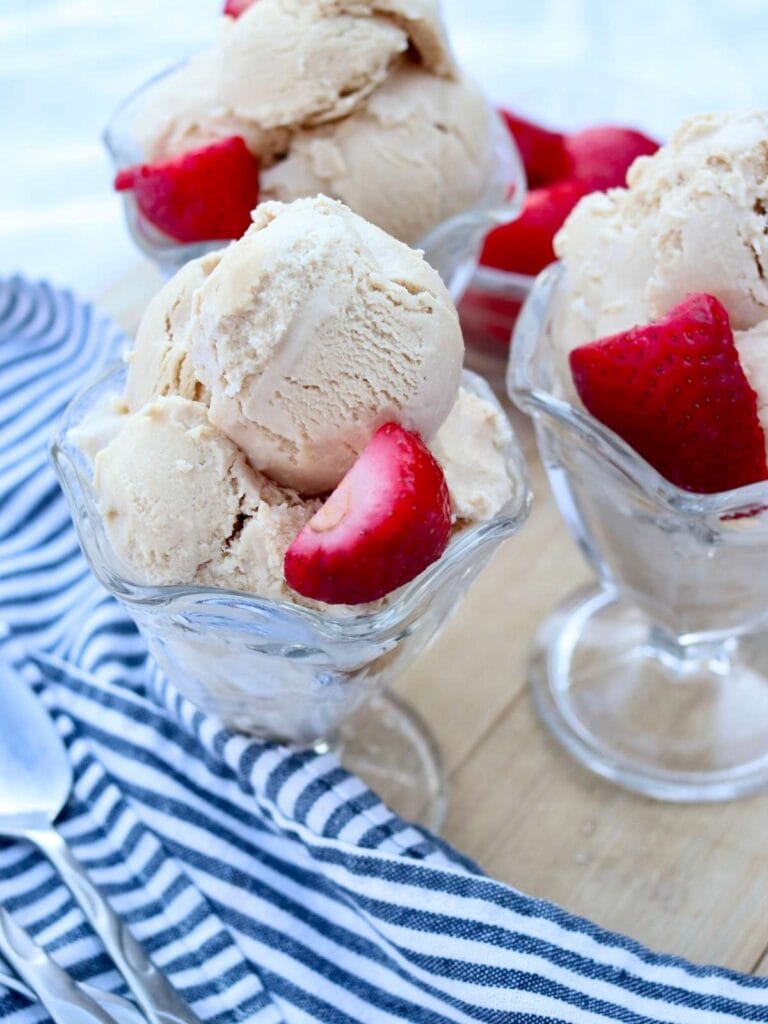
Violet’s Tips for Serving
Have fun creating a healthy ice cream bar with this ice cream plus some of your favorite low-sugar toppings. It’s the perfect dessert for kids’ birthday parties or summer celebrations!
FAQs
You can store homemade ice cream in an airtight container in the freezer for up to a month. Make sure to freeze it before it starts to melt or it will get icy.
Whole milk will give the ice cream the creamiest texture and flavor.
Hand-crank ice cream makers are a classic American tradition, but electric ones are a lot easier. Both versions work great to create delicious homemade ice cream.
If you try this recipe, snap a photo and tag me on Instagram @violet_rightathome

Healthy Homemade Ice Cream (with Coconut Sugar)
Equipment
Ingredients
- 1 2/3 cups cream
- 1 1/3 cups milk
- 2/3 cups coconut sugar
- 1/2 tablespoon vanilla
- Dash of salt
Instructions
- In a large saucepan, scald the milk over low-medium heat, stirring frequently. You can tell it's done when small bubbles are forming around the edge of the pan but it's not yet boiling.
- Remove from the heat and stir in the coconut sugar until it dissolves.
- Stir the cream, vanilla, and salt into the mixture.
- Cover the pan and place it in the fridge to chill for at least 2 hours.
- Churn the ice cream according to your ice cream maker's instructions.
- Enjoy with all of your favorite toppings!
Notes
Ingredient Notes:
- Use full-fat milk for the creamiest texture.
- For the cream you can use either heavy cream or whipping cream.
- This recipe can easy be doubled, tripled, or even quadrupled if you have a large ice cream maker.
Instruction Notes:
- You can prepare the ice cream mixture up to 3 days in advance. Simply store it in the fridge until you’re ready to churn it.
- For soft serve ice cream, eat the ice cream immediently after churning. For firmer ice cream, remove the ice cream from the churn and place in the freezer for at least 2-4 hours to firm up.
- Homemade ice cream will keep in the freezer for up to 1 month. Make sure it doesn’t melt before freezing or it will get icy.
Nutrition
If you tried this ice cream, I’d love to hear how it turned out for you! Please make sure to come back and leave a comment and a ⭐️⭐️⭐️⭐️⭐️ rating.


This is truly my favorite ice cream, and I think you’ll love it too! Let me know in the comments if you have any questions on making it, and I’ll reply to you as soon as I can.
I love this recipe, it makes icecream seem like a healthy treat and it is so yummy!
Thank you! I’m glad you liked it!