Freezing garlic is a wonderful method for keeping garlic fresh for a long time! Here is everything you need to know about the four best methods for how to freeze garlic.
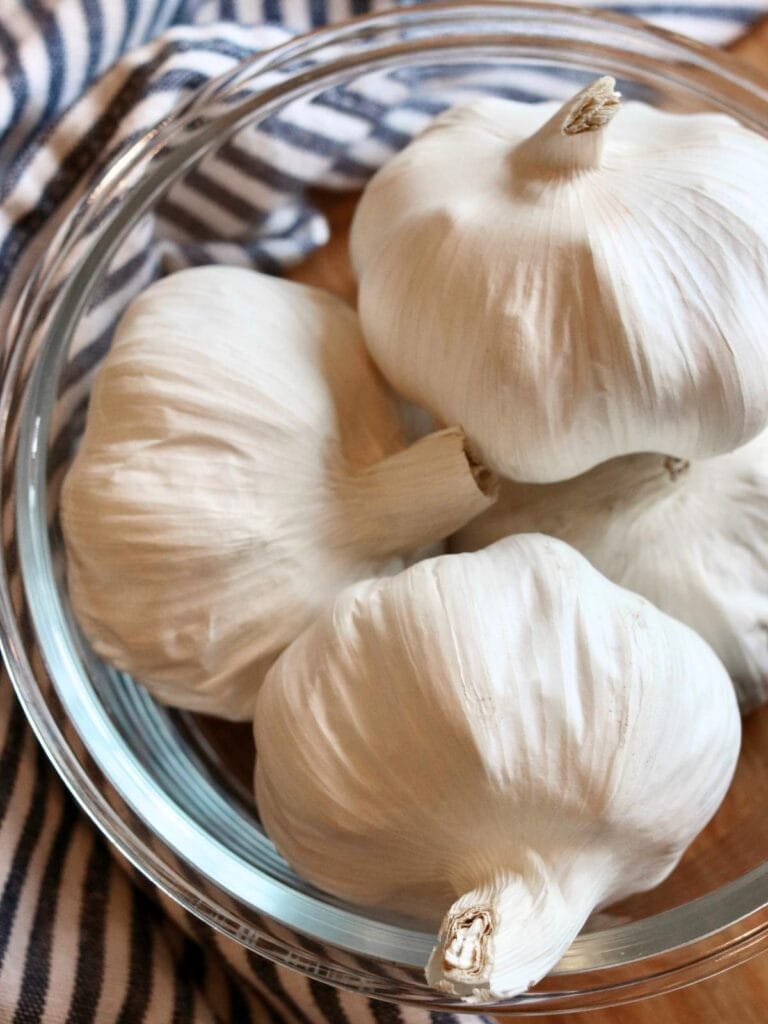
Buying in bulk is my all-time favorite way to save money on groceries, but it can get kind of crazy sometimes! I recently ordered a 5 pound bag of organic fresh garlic from Azure Standard, so I needed a way to easily preserve it.
I first made some fermented garlic, but that hardly made a dent in my huge bag! I decided this was the perfect time to experiment with the different methods of freezing garlic so I could figure out which one was the best.
Benefits of Freezing Garlic
Easy preservation method – Freezing is the easiest way to store garlic for longer periods of time!
Retains flavor – Garlic keeps most of its delicious, strong flavor even after freezing!
Safe way to store – There are often botulism concerns when it comes to certain methods of storing garlic, but botulism cannot grow in the freezer.
Various methods – There are different methods you can use to freeze garlic depending on how much time you have and how you like to use it.
Simple meal prep – Freezing ingredients in individual portions is a great way to speed up cooking!
Best Garlic for Freezing
The best time to freeze garlic is when it’s fresh and has the most nutrition. However, if you have some garlic that is about to go bad, you can freeze that too.
If you do freeze older garlic, make sure to first toss any that is mushy or moldy!
What’s the Easiest Way to Peel Garlic for Freezing?
I tested out a few of the most common tricks for peeling garlic, and this is the best method if you’re peeling a lot of it!
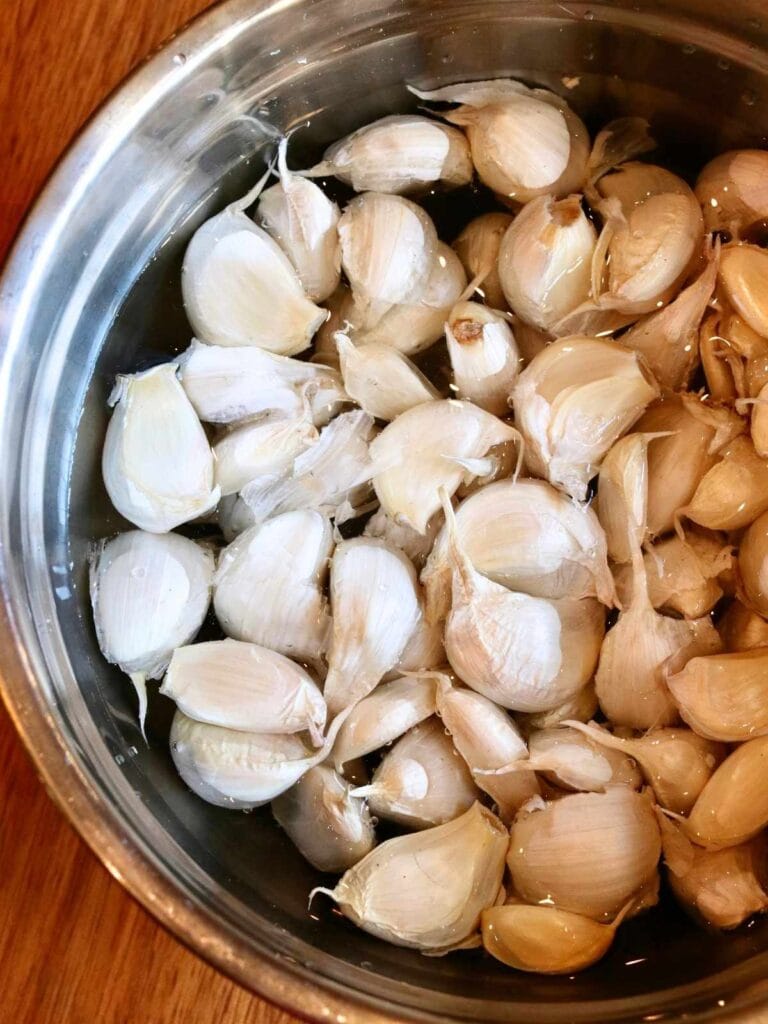
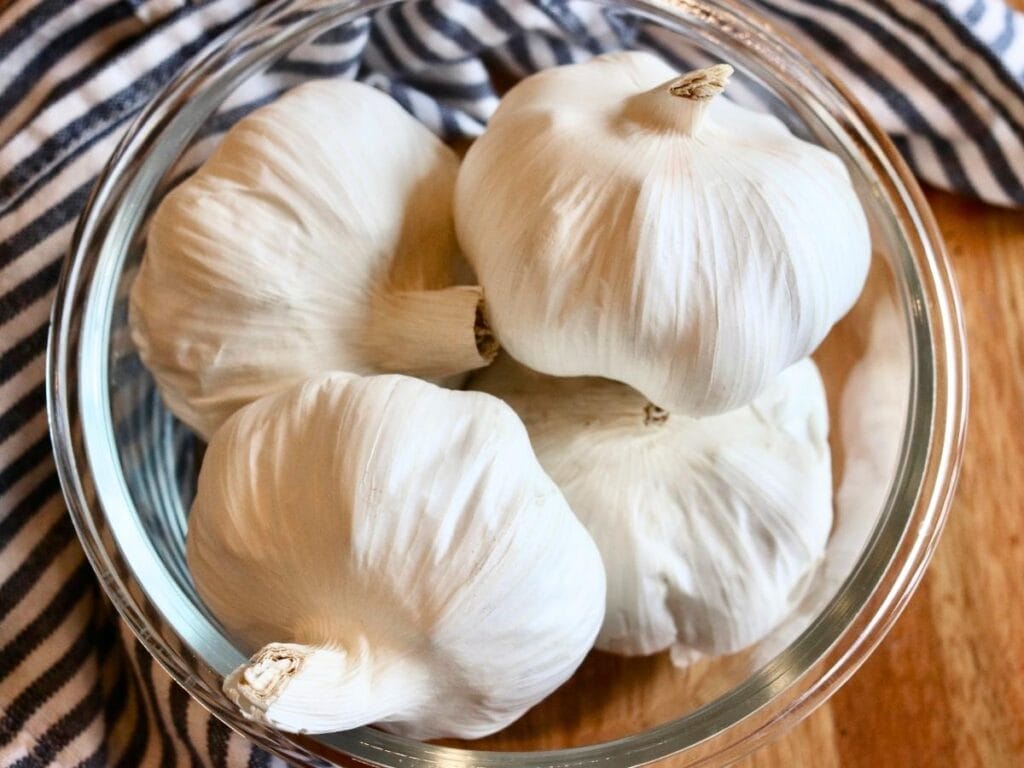
Step 1: First, separate the garlic cloves from the bulbs. Then place them in a bowl filled with water and let them soak for 20-30 minutes.
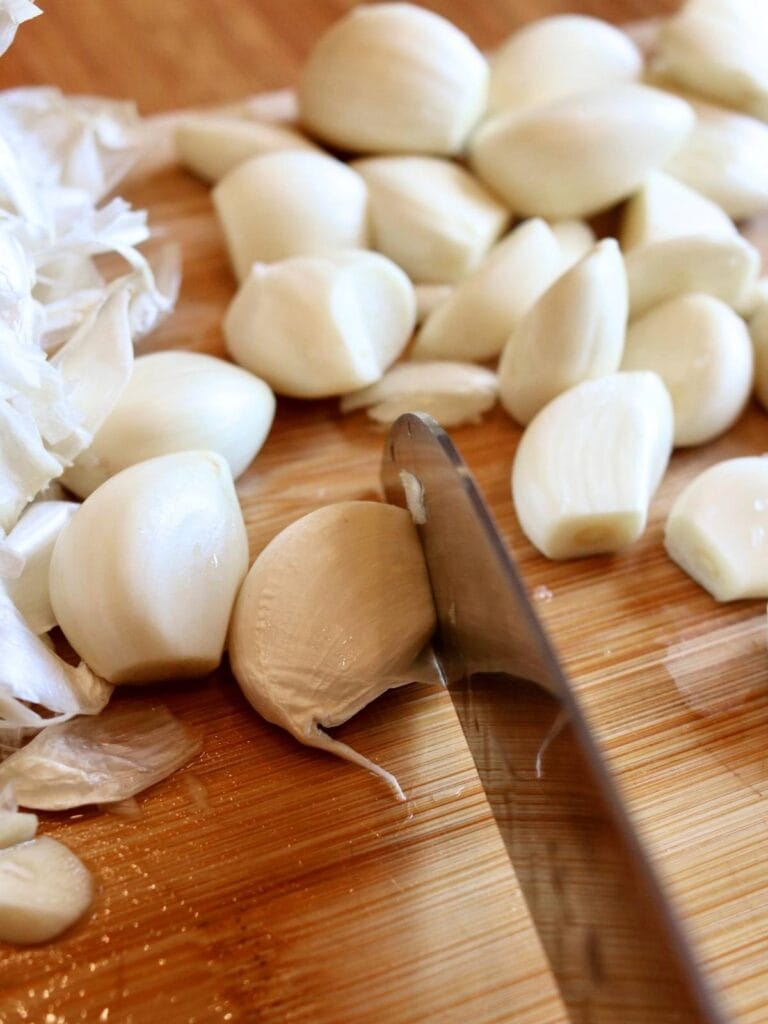
Step 2: After the garlic has soaked, use a sharp knife to chop off the root end.
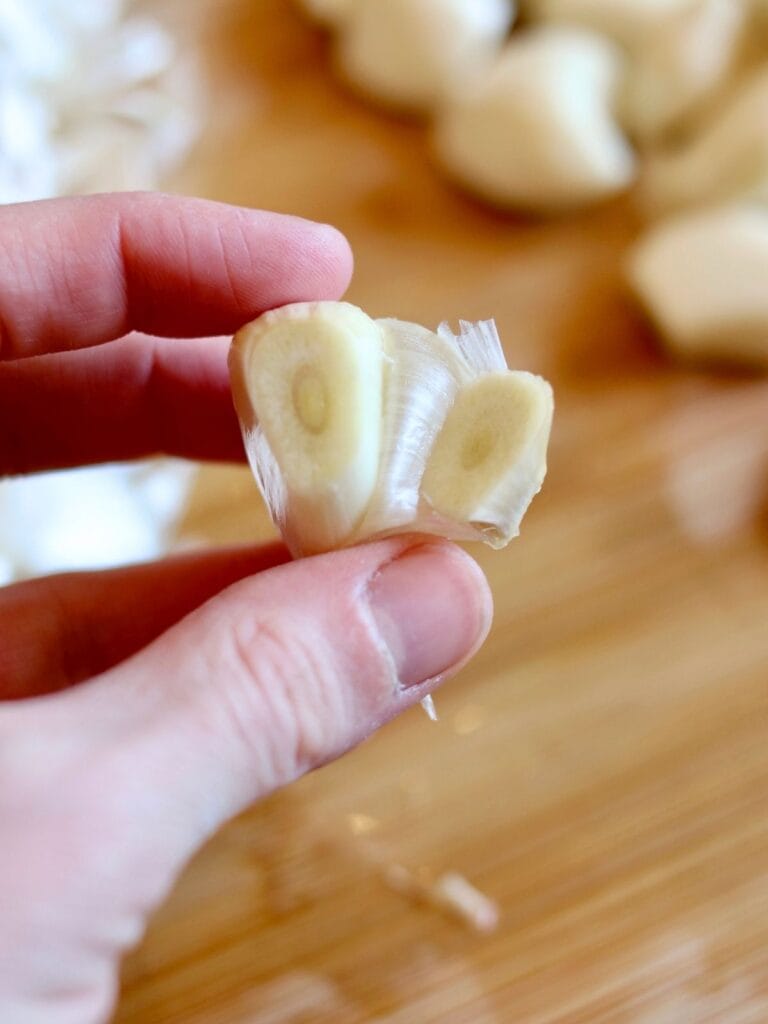
Step 3: Then peel the garlic clove with your fingers. The skin should easily slide off for the most part.
Types of Storage Containers
Glass food storage containers – My favorite for freezing garlic!
Freezer safe Mason jar – Another great option if you’re trying to avoid plastic.
Plastic ziplock bags – The easiest way to freeze garlic and the most space-efficient.
This post contains affiliate links which means I earn a small commission at no extra cost to you. See my full disclosure here.
FAQs
Garlic can last up to 10-12 months in the freezer, however, for the best flavor, use within 6 months.
Yes, frozen garlic will have a softer texture once thawed. Because of this, frozen garlic is best used in recipes where the texture won’t be noticed.
Yes, you can freeze whole garlic cloves peeled or unpeeled. However, I recommend peeling them first since it’ll be more difficult once they’re frozen.
Method #1 – Peeled Whole Garlic Cloves
Pros
- No special tools needed
- Easy to use in recipes (no need to thaw)
Cons
- Time consuming to peel garlic
- Will need to chop or mince it before using in a recipe
Tools You May Need
Step-By-Step Instructions
Step 1: First, peel the garlic cloves and remove any bad spots.
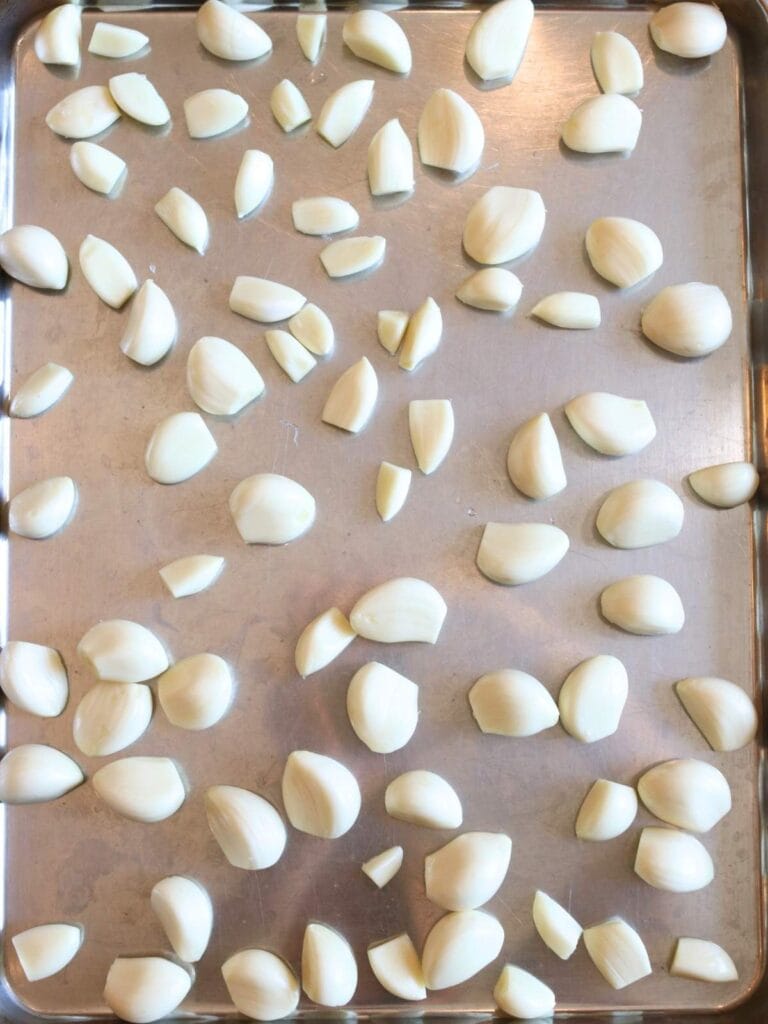
Step 2: Next place them on a baking sheet in a single layer and freeze for a few hours until mostly solid.
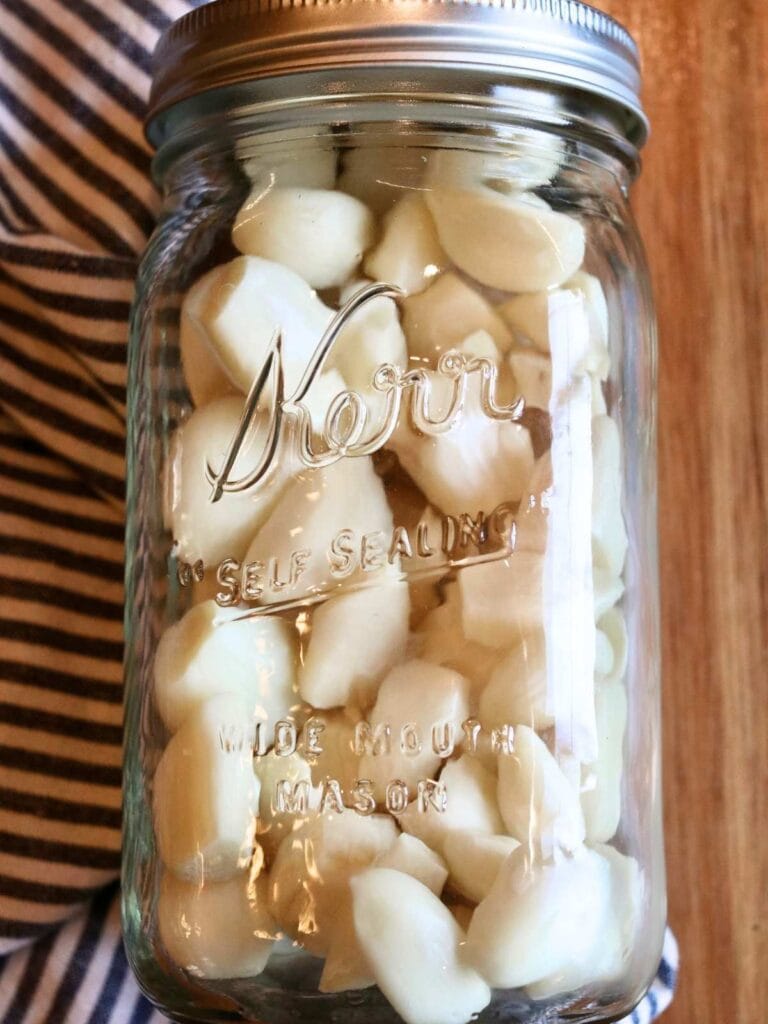
Step 3: Then put the frozen garlic cloves in the freezer container of your choice and freeze.
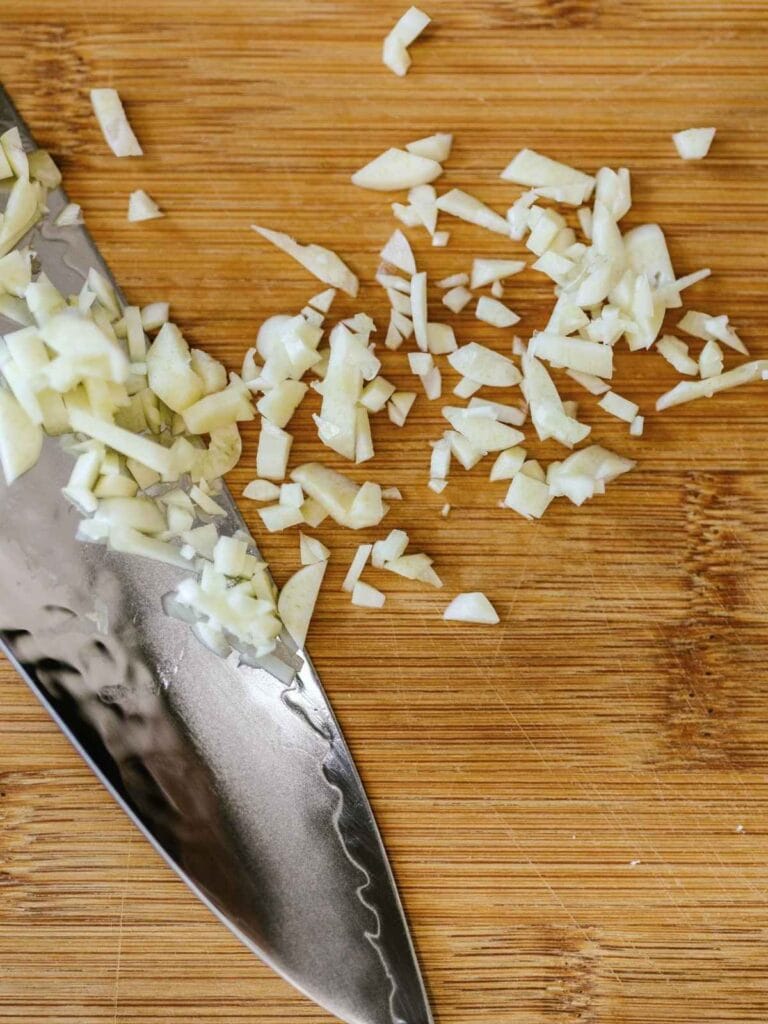
Step 4: When you’re ready to use them, remove the desired number of cloves from the freezer and use in a recipe the same way as fresh garlic cloves. Since they don’t freeze solid, they can be easily minced right out of the freezer!
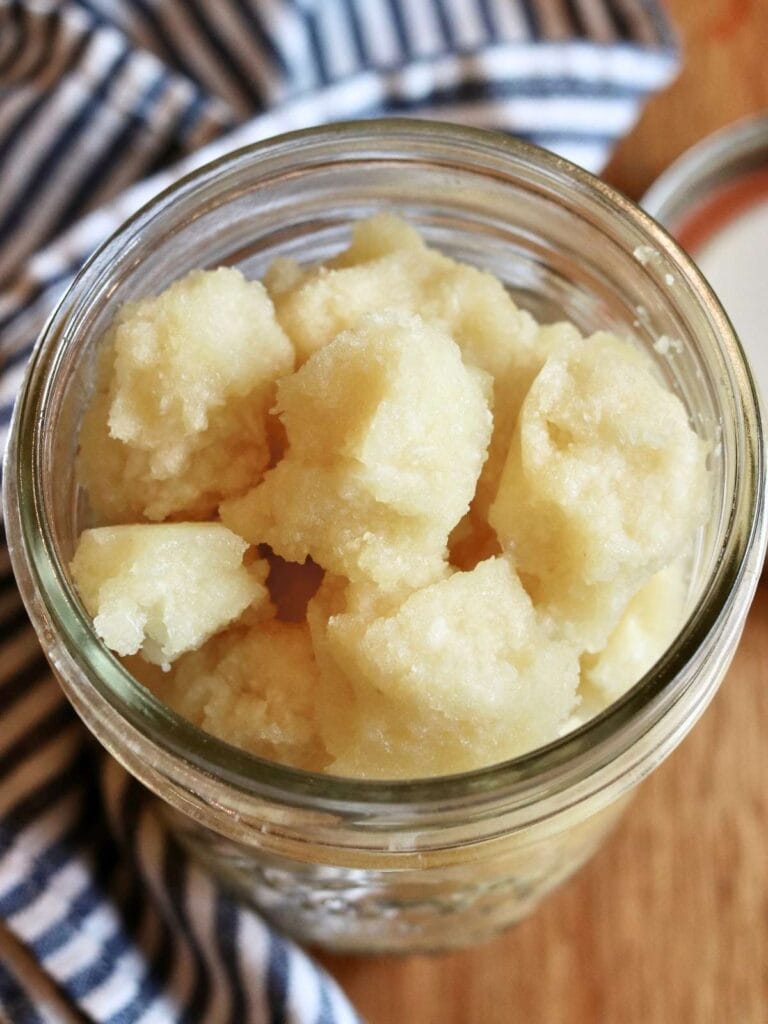
Method #2 – Garlic Paste
Pros
- Ready to be used in a recipe right out of the freezer (no need to thaw or chop)
Cons
- Time consuming to peel garlic
- Requires additional steps before freezing
Tools You May Need
Step-By-Step Instructions
Step 1: First, peel the garlic cloves and remove any bad spots.
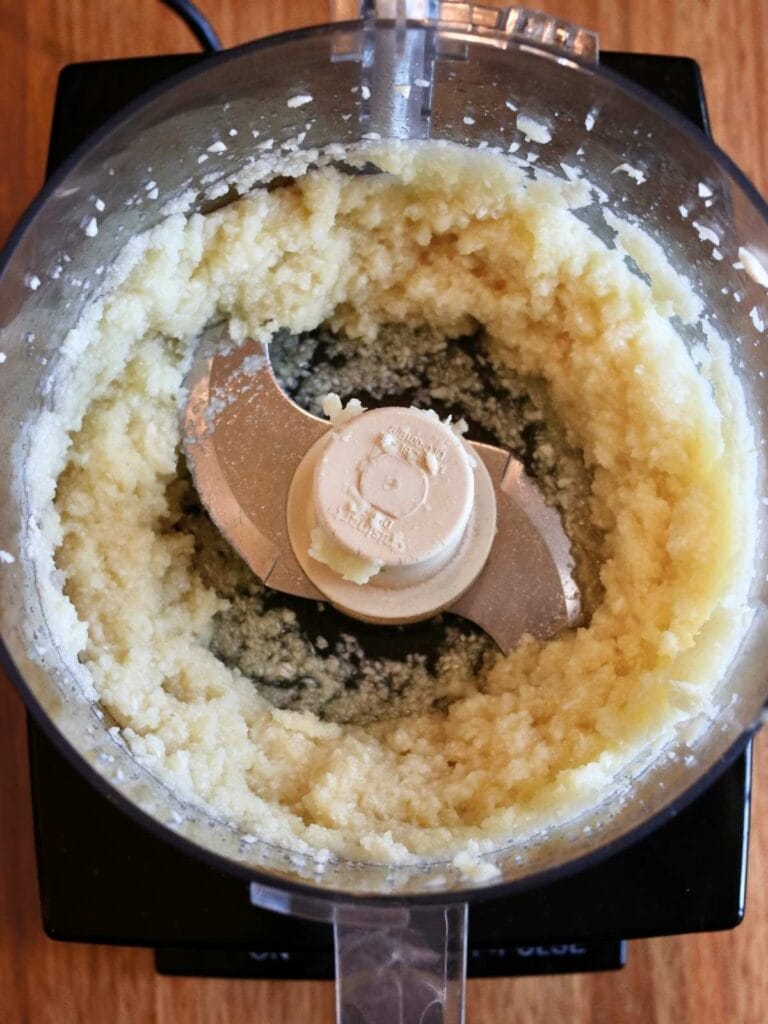
Step 2: Next place them in a food processor and chop until they turn to puree.
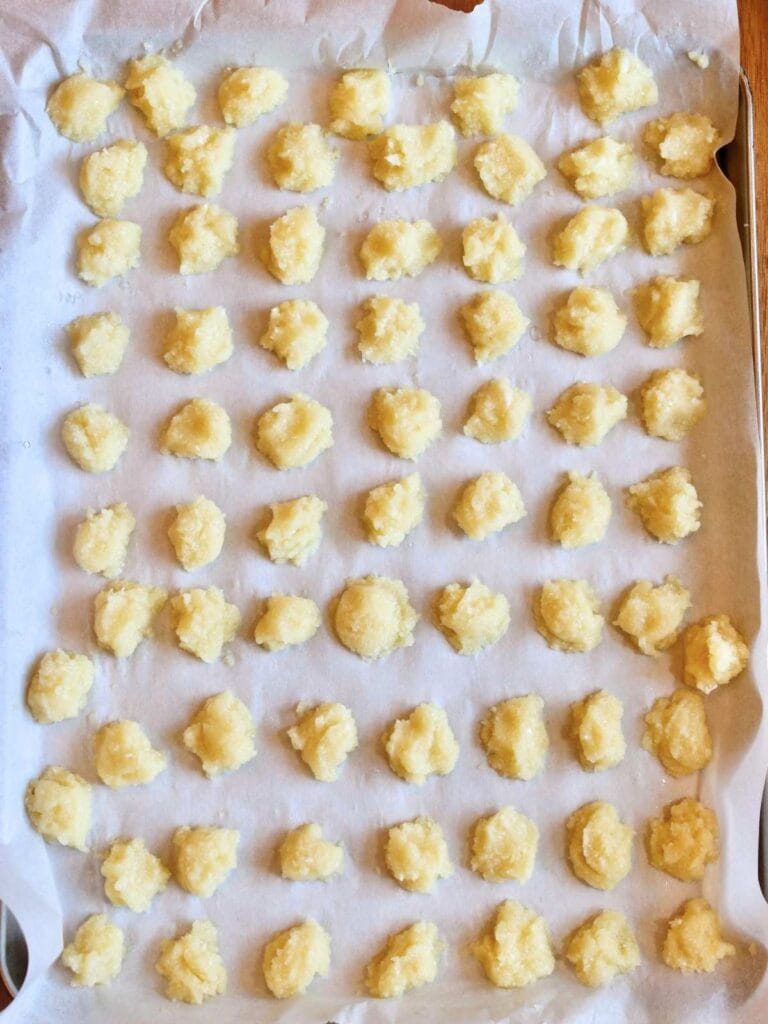
Step 3: Use a teaspoon to scoop teaspoon-sized portions of the paste onto a baking sheet lined with parchment paper. Then freeze for 2-3 hours until fairly solid.
If you prefer, you can freeze the paste in an ice cube tray instead.
Step 4: Remove the paste from the baking sheet or ice cube tray and place it in a freezer container in the freezer.
When you’re ready to use it, add one frozen teaspoon-sized portion to your recipe for every two garlic cloves it calls for.
Method #3 – Unpeeled Garlic Cloves
Pros
- No special tools needed
- Quick and easy
Cons
- Difficult to peel when frozen
- Will need to peel and chop or mince it before using in a recipe
Method #4 – Whole Garlic Bulbs
Pros
- No special tools needed
- Easiest method
Cons
- Necessary to separate garlic bulb while frozen to remove desired number of cloves
- Difficult to peel when frozen
- Will need to peel and chop or mince it before using in a recipe
If you try freezing garlic, let me know in the comments! Tag me on Instagram @violet_rightathome
Recipes to Use Frozen Garlic In
If you love freezing garlic, please make sure to come back and leave a comment. I’d love to hear how it turned out for you!
Also, I’d love to have you part of the Right At Home community! Make sure to join my newsletter for all the latest clean eating recipes and clean living tips and DIYs.