

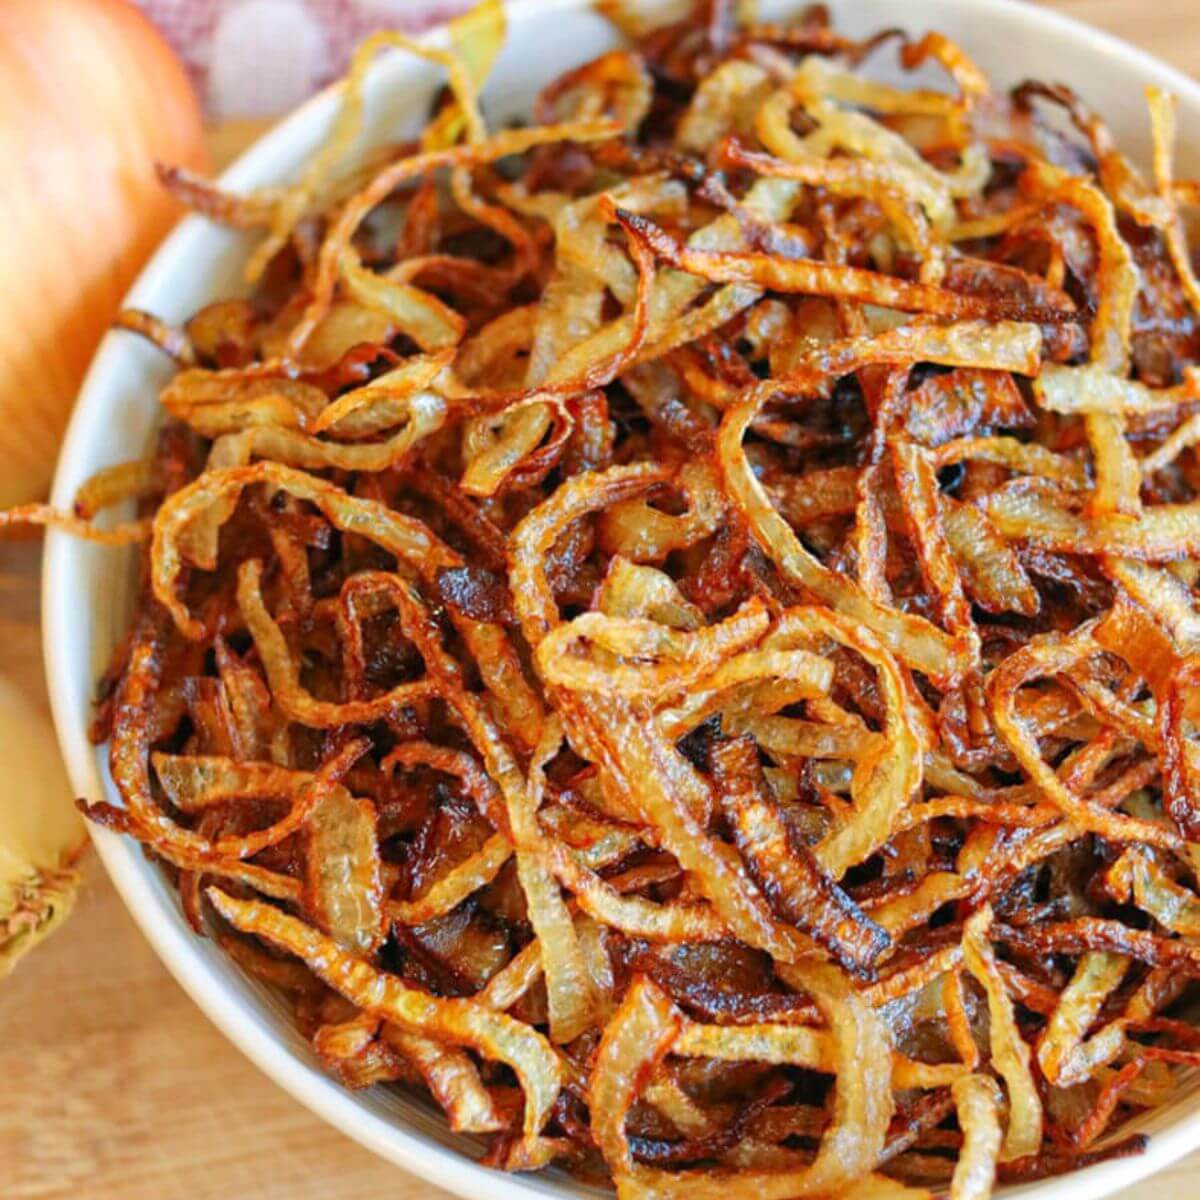
Homemade gluten-free fried onions are made with two simple ingredients and are a crispy, flavorful topping for casseroles, sandwiches, burgers, and more. While they’re not exactly the same as French’s fried onions, they’re a delicious flour-free alternative you’ll love.
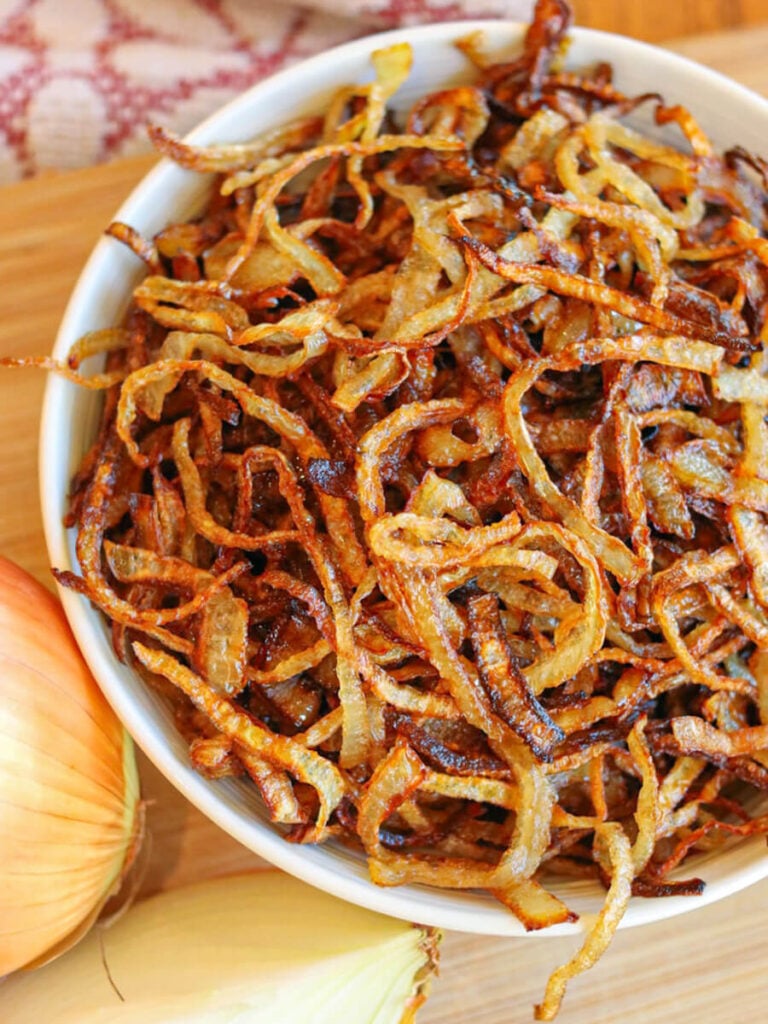
Quick Look at the Recipe
- 🍽️ Flavor: Toasty and savory with a mild bite
- ⏱️ Prep Time: 5 minutes
- 🔥 Cook Time: 15 minutes
- 🕒 Ready In: 20 minutes
- 👥 Yield: 2 cups
- 🥣 Main Ingredients: Onions, avocado oil
- 📋 Method: Deep fried
- 📖 Dietary Info: Gluten-free, dairy-free, egg-free, paleo, vegan, Whole30, Keto, AIP
- 👩🍳 Tip: When onions are properly deep fried, they get crispy and flavorful without needing any flour or other coating.

Fried Onions Made Healthy
When my husband went gluten-free and we stopped buying processed foods, most things were easy to replace. But not fried onions!
Traditional crispy fried onions rely heavily on flour for their texture, so flour-free versions can be a little more finicky and won’t turn out exactly like the store-bought kind. For a while, we simply went without them.
But after experimenting, I found a simple method that creates crispy, flavorful onions with a rich homemade taste. They’re a delicious real-food alternative for topping casseroles, sandwiches, burgers, and more, even if they’re not a perfect copy of French’s. Though honestly, my toddler would happily eat them all plain if I let her (and I don’t blame her one bit).
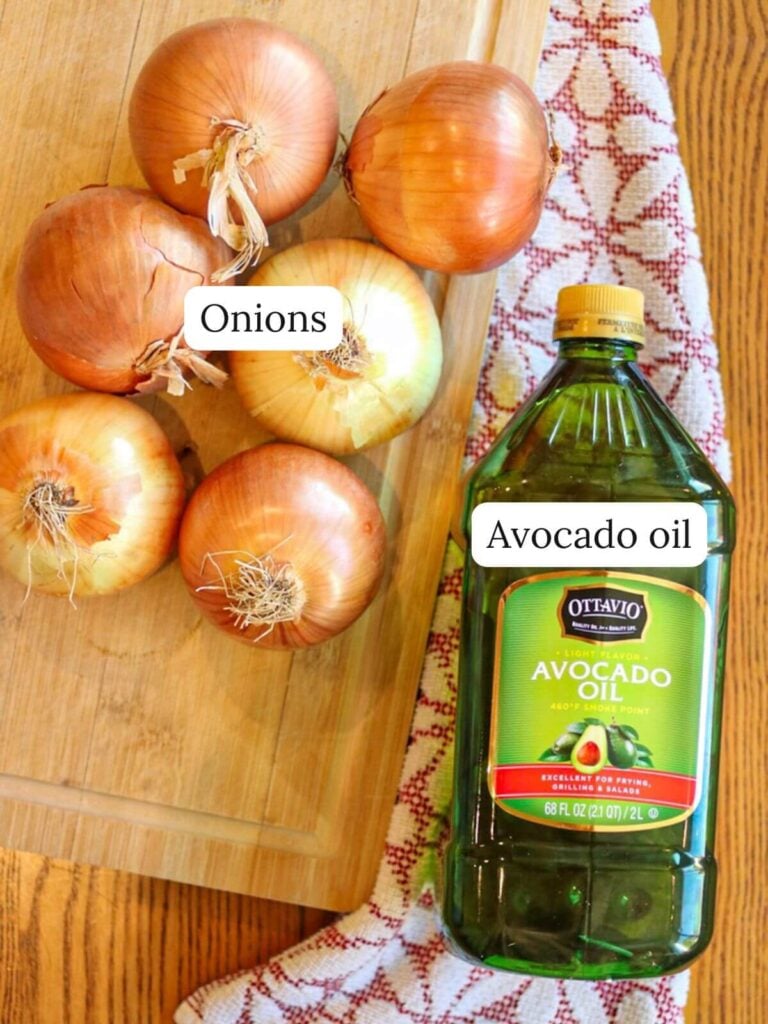
Ingredients
Step-By-Step Instructions
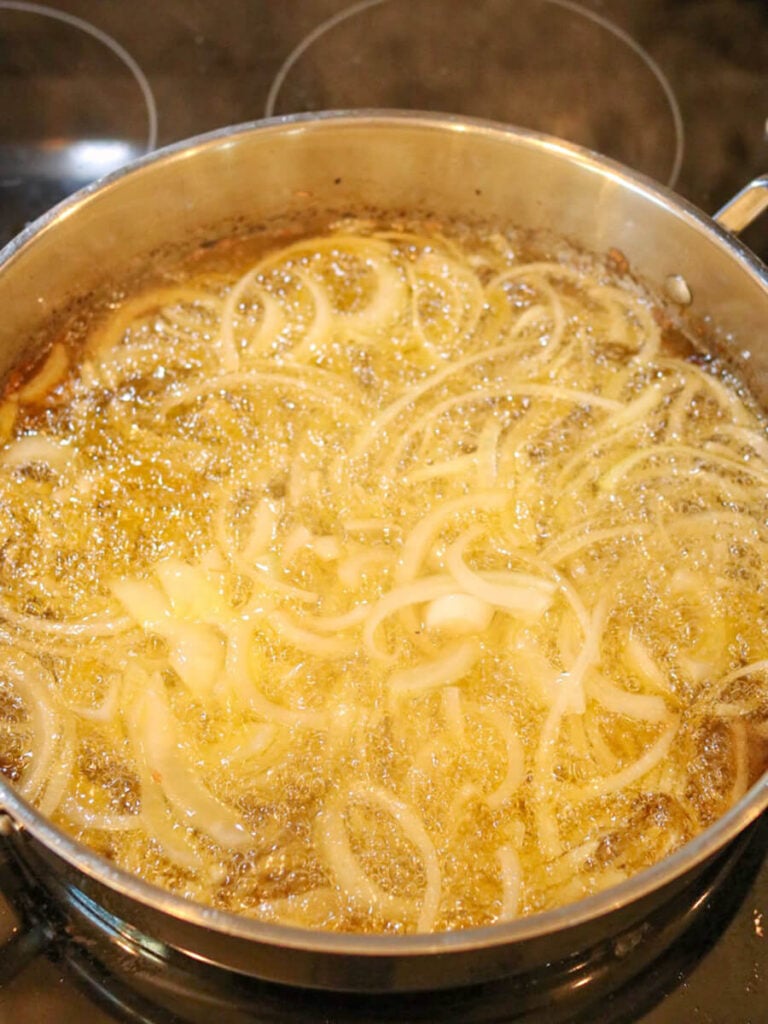
Step 1: First, pour 1-2 inches of oil into your pan and heat it on medium-high heat. When the oil is hot, add the onion slices.
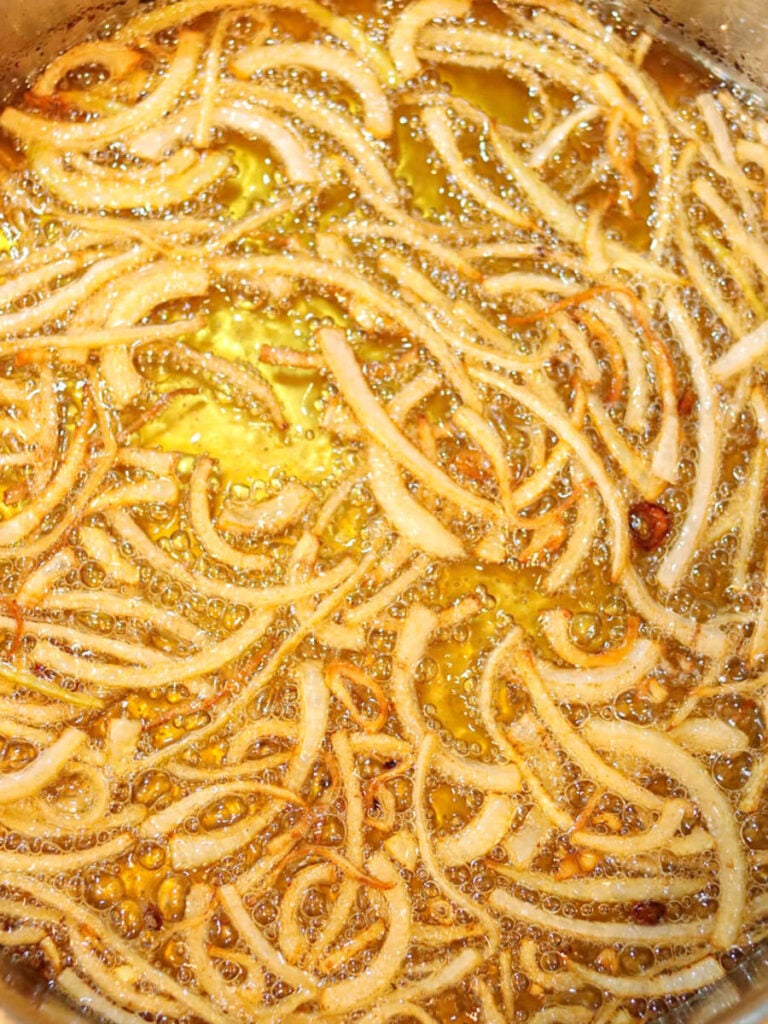
Step 2: Fry the onions until they turn golden brown and get crispy, stirring frequently. The time this takes can vary depending on the size of your skillet, the temperature of the oil, and the thickness of your onion slices.
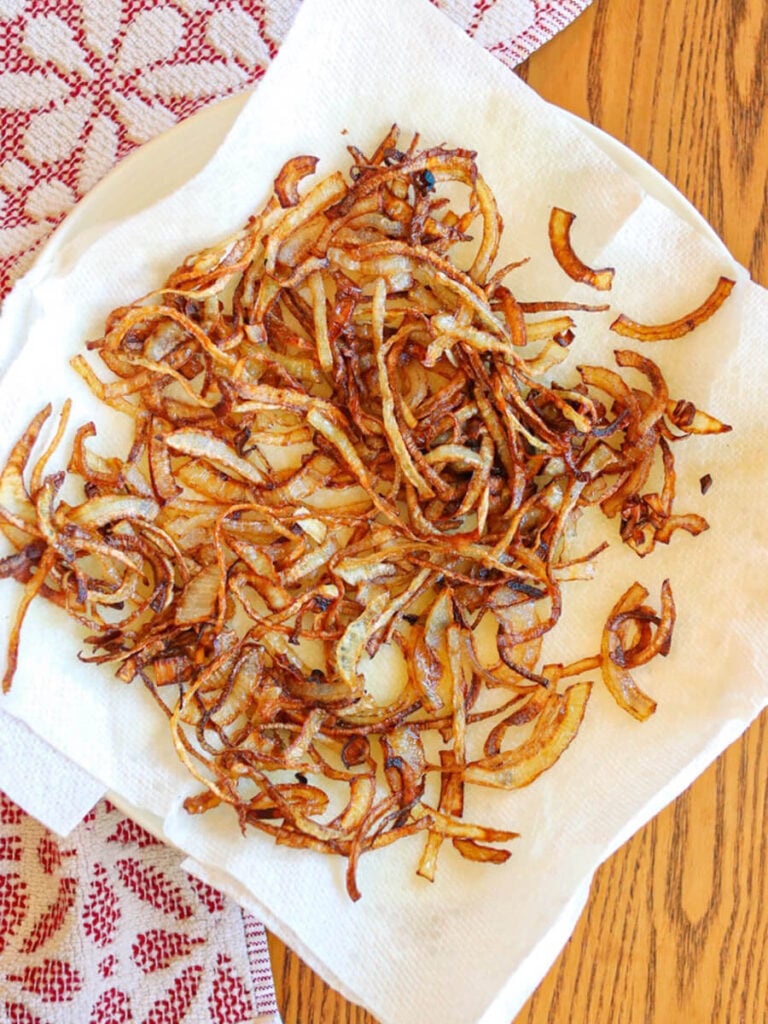
Step 3: Once the onions are done, spread them out on a large plate or dish lined with paper towels to absorb access oil. Let cool completely and then enjoy!
If you’re looking for more healthy toppings, check out my 2-minute salad dressing and yogurt lime crema!
Tips for Success
Make sure the oil is hot enough – To test the oil, dip the end of a wooden spoon or chopstick into it. If it sizzles and bubbles, it’s hot enough.
Don’t crowd the onions – If you don’t have a large enough pan, you can fry the onion slices in batches.
Watch closely while frying – There are just a few seconds between perfectly golden brown and burnt, so make sure to keep a close eye on them. Also, they will continue cooking slightly once they have been removed from the oil so it’s better to take them out sooner than later.
Cool onion slices on paper towels – This will help absorb access oil which can make the onion slices soggy.
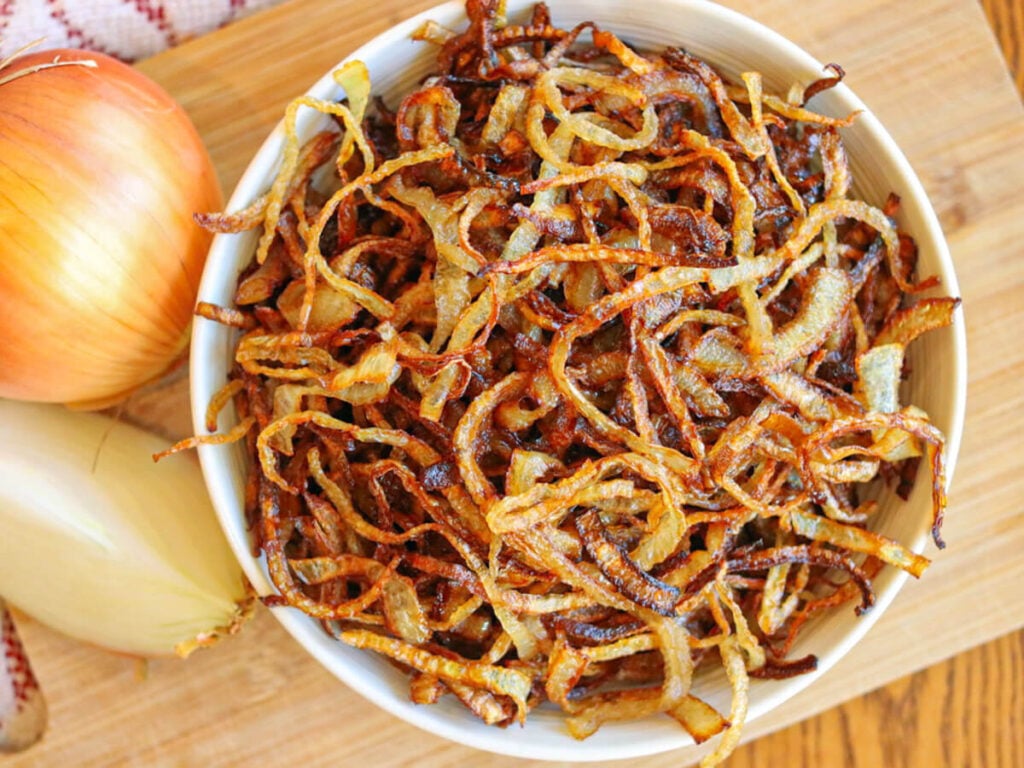
Let cool completely before storing – If the onions are still even slightly warm when you place them in a container, they will get soggy.
FAQs
These onions are best fresh, but leftovers can be frozen and reheated in the oven to bring back some crispness. Because they’re flour-free, the texture is a little more delicate than traditional fried onions.
Once they have cooled completely you can store fried onions in an airtight container in the fridge for up to 5 days.
If you try this recipe, snap a photo and tag me on Instagram @violet_rightathome
Gluten-Free Fried Onions (No Flour)
Ingredients
- 4 onions thinly sliced
- avocado oil
Instructions
- Pour 1-2 inches of oil into your pan and heat it on medium-high heat. When the oil is hot, add the onion slices.
- Fry the onions until they turn golden brown and get crispy, stirring frequently. The time this takes can vary depending on the size of your skillet, the temperature of the oil, and the thickness of your onion slices.
- Once the onions are done, spread them out on a large plate or dish lined with paper towels to absorb access oil. Let cool completely and then enjoy!
Notes
- To test if the oil is hot enough, dip the end of a wooden spoon or chopstick into it. If it sizzles and bubbles, it’s hot enough.
- Fried onions turn out best if you don’t crowd the pan, so it’s best to fry in batches.
- There are just a few seconds between perfectly golden brown and burnt, so make sure to keep a close eye on them. Also, they will continue cooking slightly once they have been removed from the oil so it’s better to take them out sooner than later.
Nutrition
If you tried these healthy fried onions, I’d love to hear how it turned out for you! Please make sure to come back and leave a comment and a ⭐️⭐️⭐️⭐️⭐️ rating.

These are so delicious and I don’t have to feel bad about feeding them to my family. That’s especially good since my toddler eats them off of green bean casserole lol!