

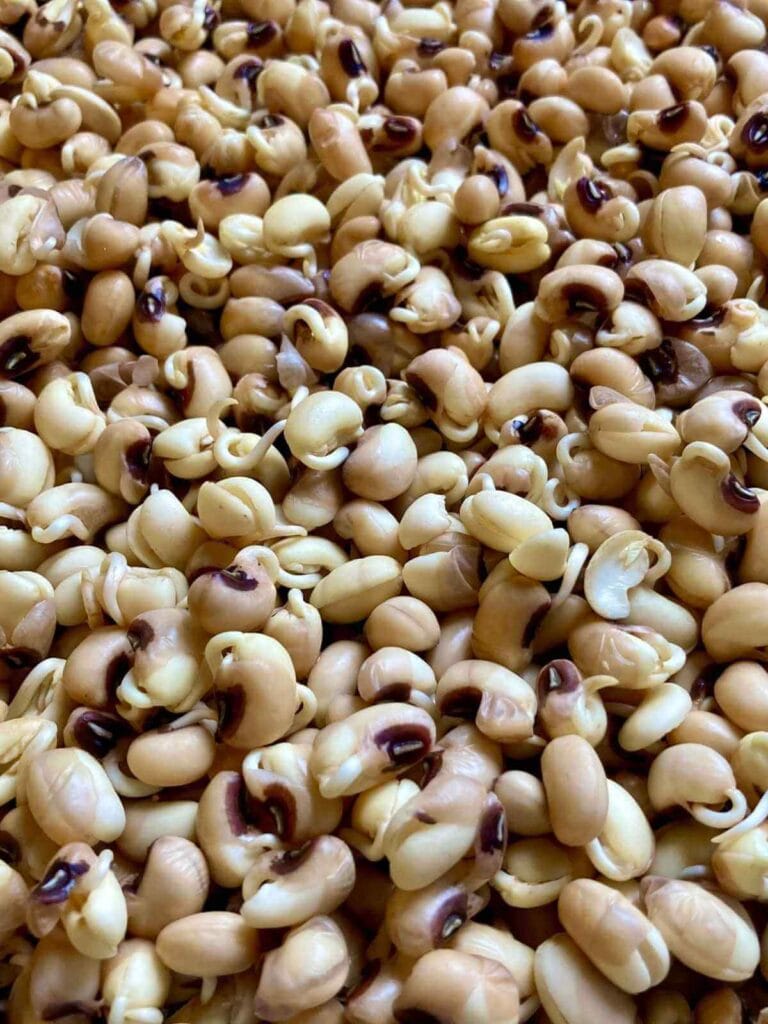
Sprouting beans is a simple way to remove anti-nutrients from beans and make them healthier. It’s easy to do with basic kitchen tools and will quickly become part of your routine.
Quick Look at the Recipe
- ⏱️ Prep Time: 5 minutes
- 🌱 Sprouting Time: 4 days
- 🥣 Main Ingredients: Dried beans, water
- 👩🍳 Tip: With this method, all you need to sprout beans is a large baking dish.

It Makes All the Difference
I’m convinced that often the reason people can’t tolerate certain foods is the preparation method, and that’s certainly been true for my husband. For years, his sensitive gut couldn’t tolerate beans, but now that I sprout them he enjoys beans regularly with no annoying side effects.
This simple sprouting method easily and effectively removes anti-nutrients in beans and adds to their nutritional value without affecting the flavor. This has become one of my favorite kitchen routines, and I think you’ll love it too!
Ingredients
Tools Needed
How to Sprout Beans
Day 1
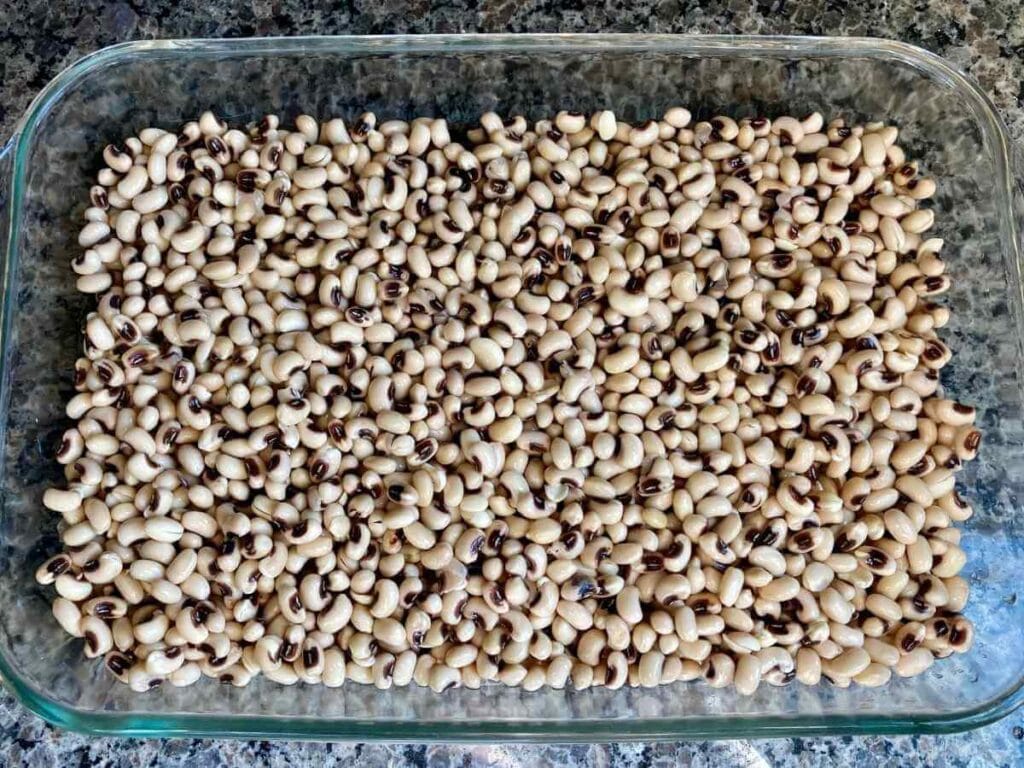
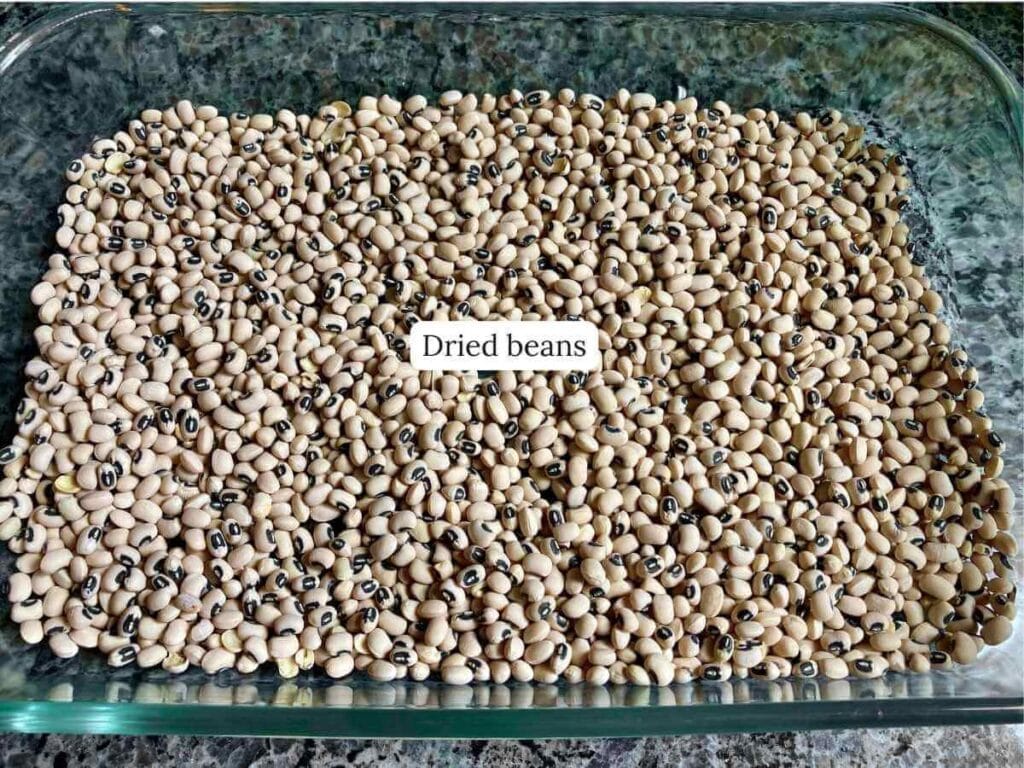
Step 1: First pour the dry beans into the baking dish. Make sure to not fill it up more than 1/5th full. The beans will expand a lot during the sprouting process.
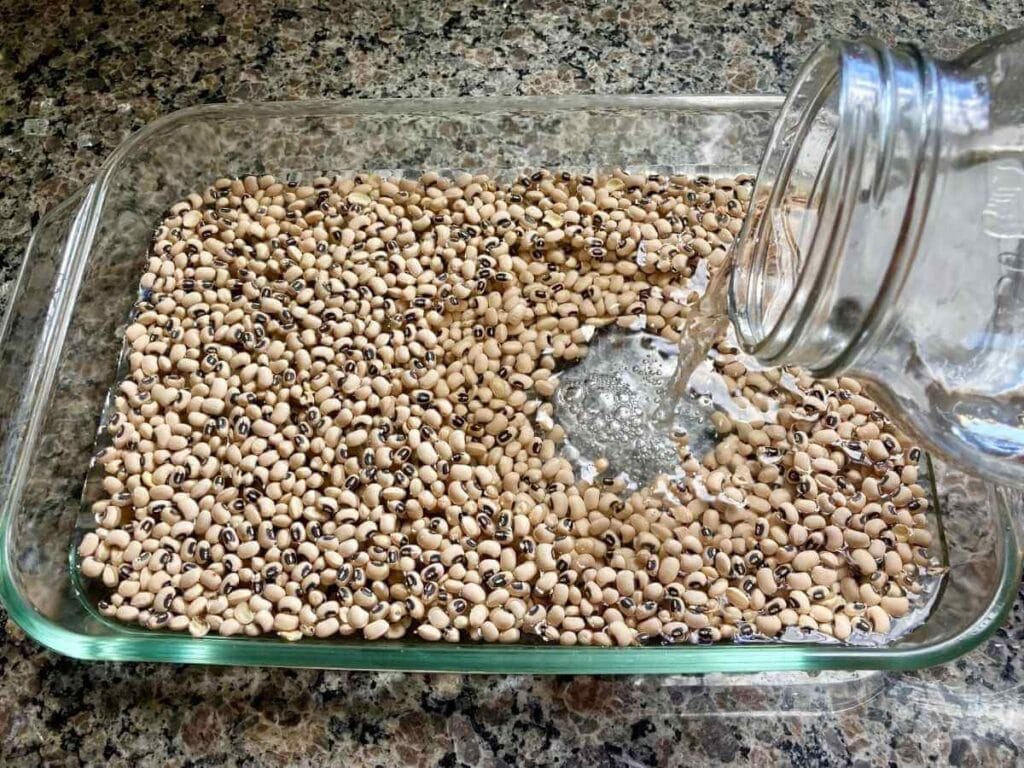
Step 2: Pour enough water into the dish to cover the beans at least 3 times. You can’t use too much water, but there’s no need to fill up the pan completely to the top.
Cover the pan with a towel or something else and let sit at room temperature for 12-18 hours.
Days 2-4
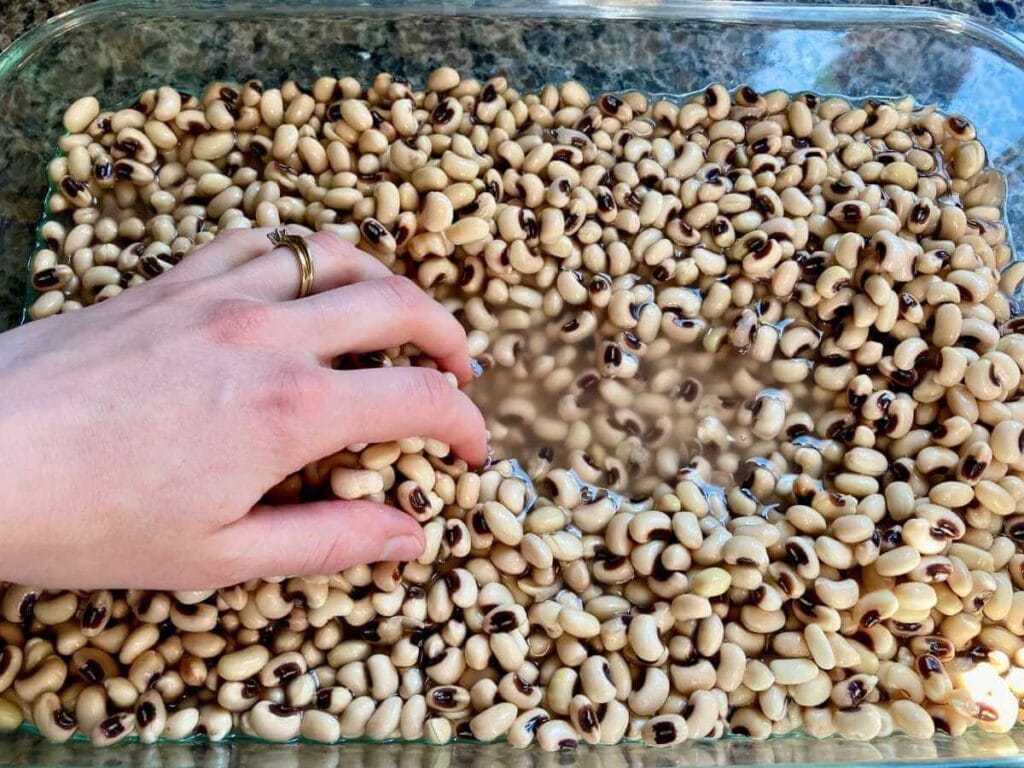
Step 1: On day 2, drain the water out of the pan. Then, add more water and swish the beans in it to rinse them. Now drain this water out of the pan.
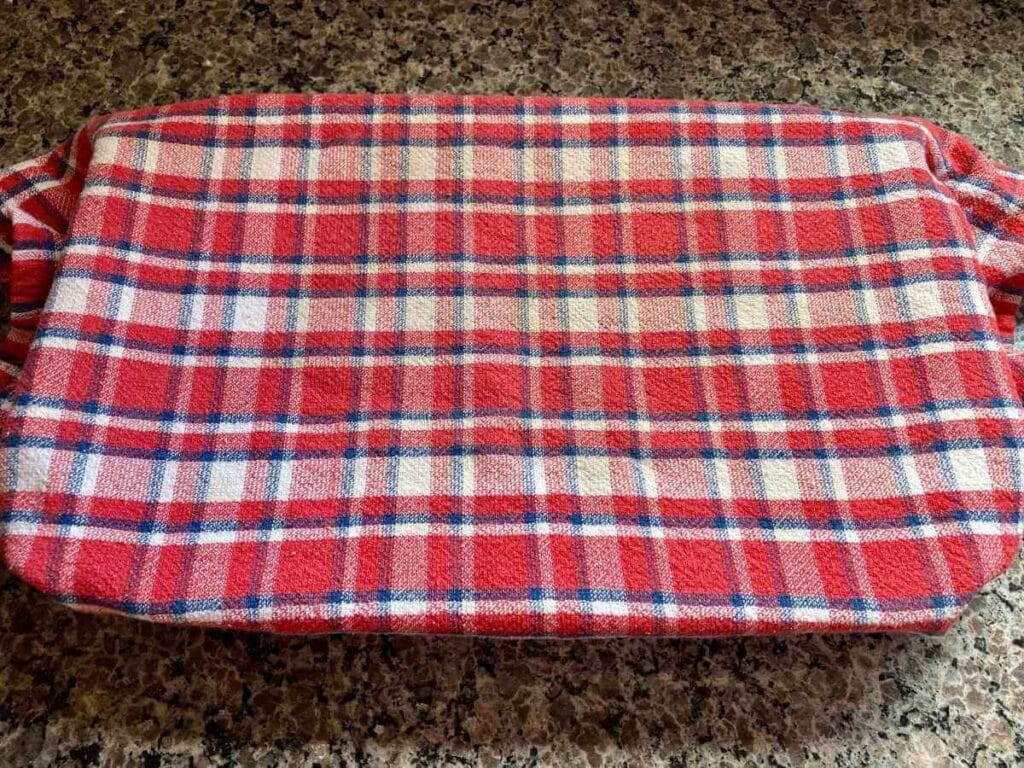
Step 2: Make sure the beans are spread evenly across the pan and cover.
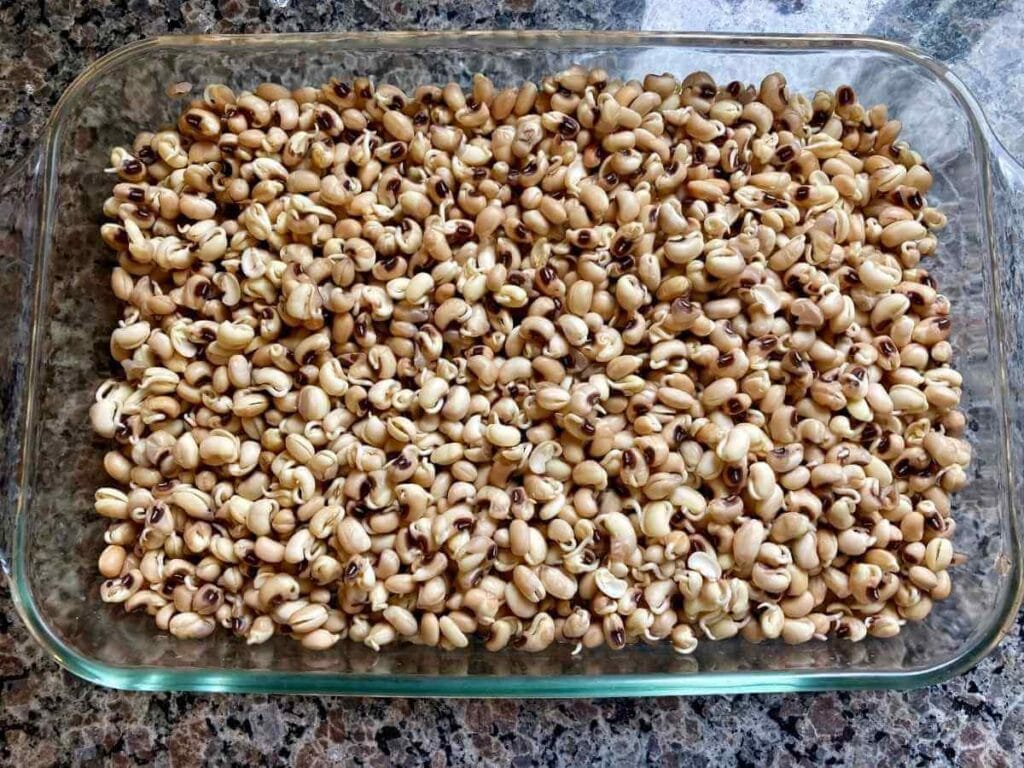
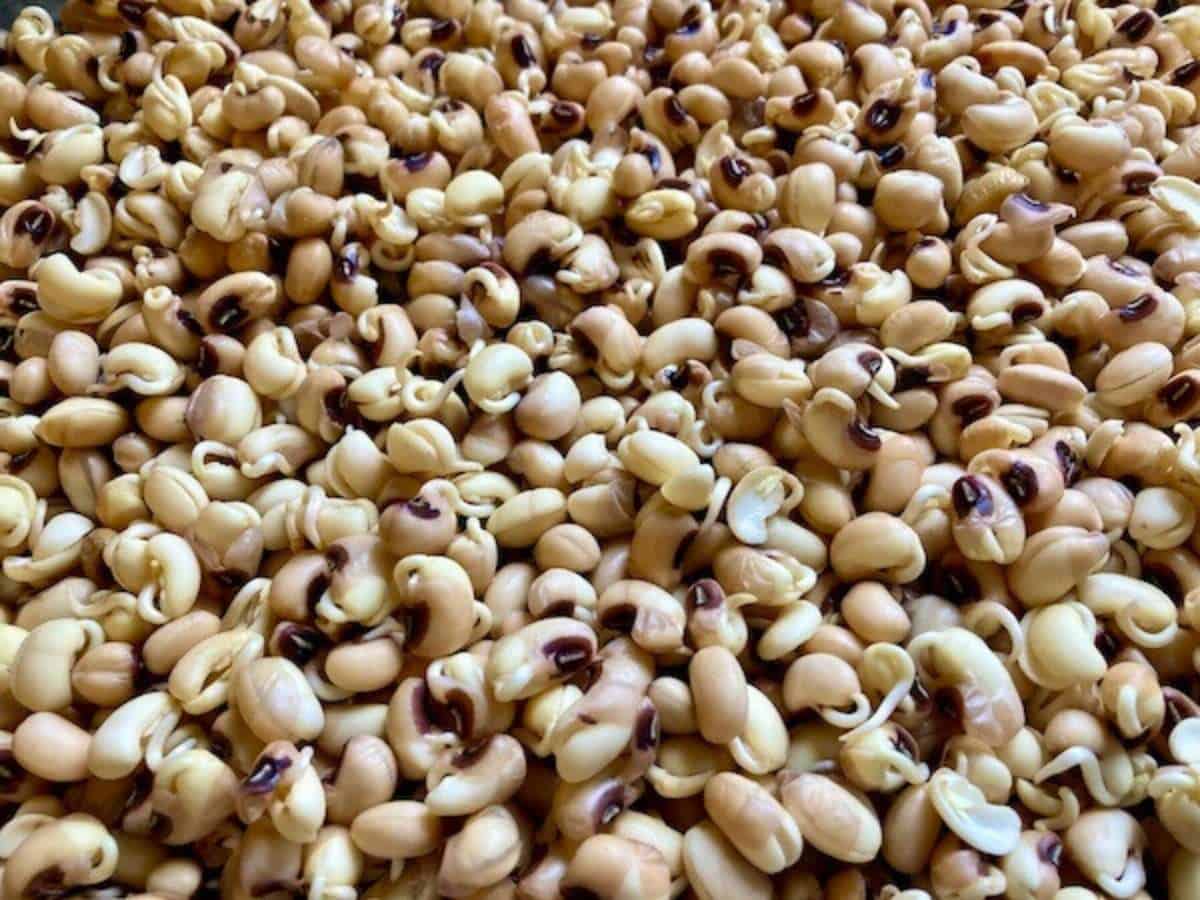
Step 3: Repeat step 1 3-4 times a day until the beans have grown approximately 1/4″ – 1/2″ sprouts.
This will take different amounts of time based on the type of bean you are using and the temperature of the room. Most beans will grow sprouts within 3-4 days.
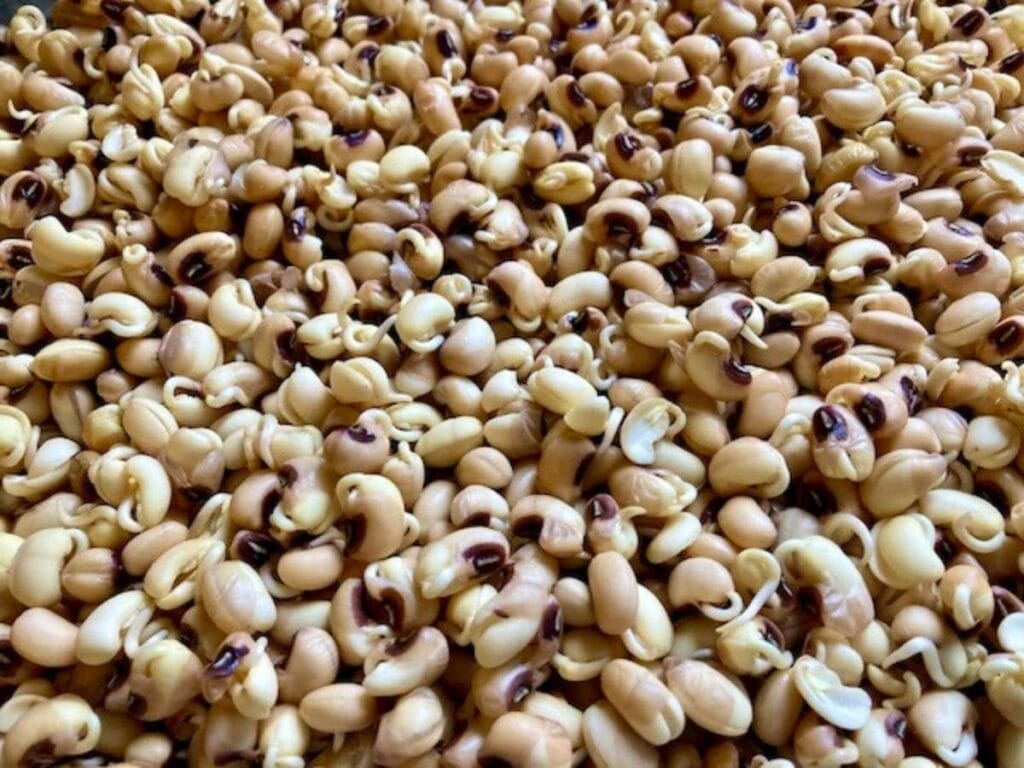
Step 4: Once the beans have grown 1/4″ – 1/2″ sprouts, you can store them in the fridge for up to 3 days to cook later or go ahead and cook them right away.
If you’re looking for more traditionally prepared foods, check out my homemade bone broth and fermented garlic!
What’s Wrong with Unsprouted Beans?
Left unsprouted, beans are full of anti-nutrients which reduce the body’s ability to absorb nutrients in food (source). So when you’re eating that bowl of chili or lentil soup made with unsprouted beans, your body isn’t able to absorb a significant portion of the nutrients in the entire dish.
Lectins, one of the primary anti-nutrients in beans, can also cause effects such as bloating, gas, and nausea. Over time, they can even lead to auto-immune responses and chronic inflammatory conditions (source).
The good news is that sprouting beans removes or deactivates a high percentage of each of anti-nutrients!
More Reasons to Sprout Beans
If the reduction of anti-nutrients wasn’t enough, there are even more reasons why it’s best to sprout beans.
Contain more protein (source)
Higher vitamin and mineral content (source)
Improved digestibility (source).
How to Cook
Sprouted beans can be cooked like unsprouted beans, just keep in mind that they won’t take quite as long. It’s not recommended to eat any sprouted beans, especially kidney beans, raw, so make sure that you fully cook them.
You can use them in any recipes that call for beans including tacos, soup, chili, and bean salad. You can even make your own refried beans which taste much better than the canned version!
FAQs
Store sprouted beans in an airtight container in the fridge for up to three days before cooking them. If you can’t use them all up in time, you can freeze them for 8-10 months.
You can sprout any variety of dry beans. For best results, always use organic beans. While non-organic beans may sprout just fine some of the time, they may be sprayed with a chemical that prevents them from sprouting at all.
If you try this recipe, snap a photo and tag me on Instagram @violet_rightathome
How to Sprout Beans
Ingredients
- Organic dry beans
- Water
Instructions
- Pour the beans into a baking dish, making sure to not fill it more than 1/5th full.Organic dry beans
- Pour enough water into the dish to cover the beans at least 3 times.Water
- Cover the pan with a towel and let sit for 12-18 hours.
- Drain the water out of the pan, add more water, and swish the beans in it to rinse them.
- Drain the water out of the pan again, spread the beans evenly across the bottom of the dish, and cover.
- Repeat steps 4-5 three to four times a day until the beans have grown approximately 1/4" – 1/2" sprouts.
Notes
- Sprouting will take different amounts of time based on the type of bean you are using and the temperature of the room. Most beans will grow sprouts within 3-4 days
- You can store sprouted beans in an airtight container in the fridge for up to three days before cooking them. If you prefer, you can freeze them for 8-10 months.
Nutrition
If you tried sprouting beans, I’d love to hear how it turned out for you! Please make sure to come back and leave a comment and a ⭐️⭐️⭐️⭐️⭐️ rating.






After sprouting beans, I’ll never prepare them any other way! If you have any questions on sprouting them, let me know in the comments and I’ll get back to you!