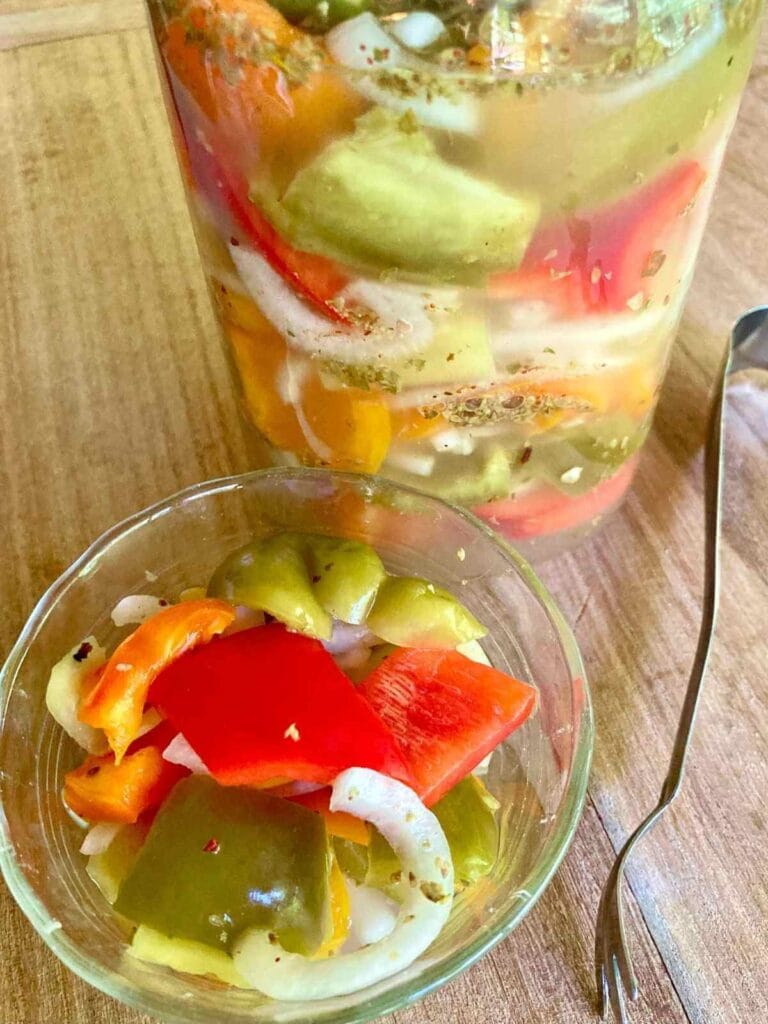
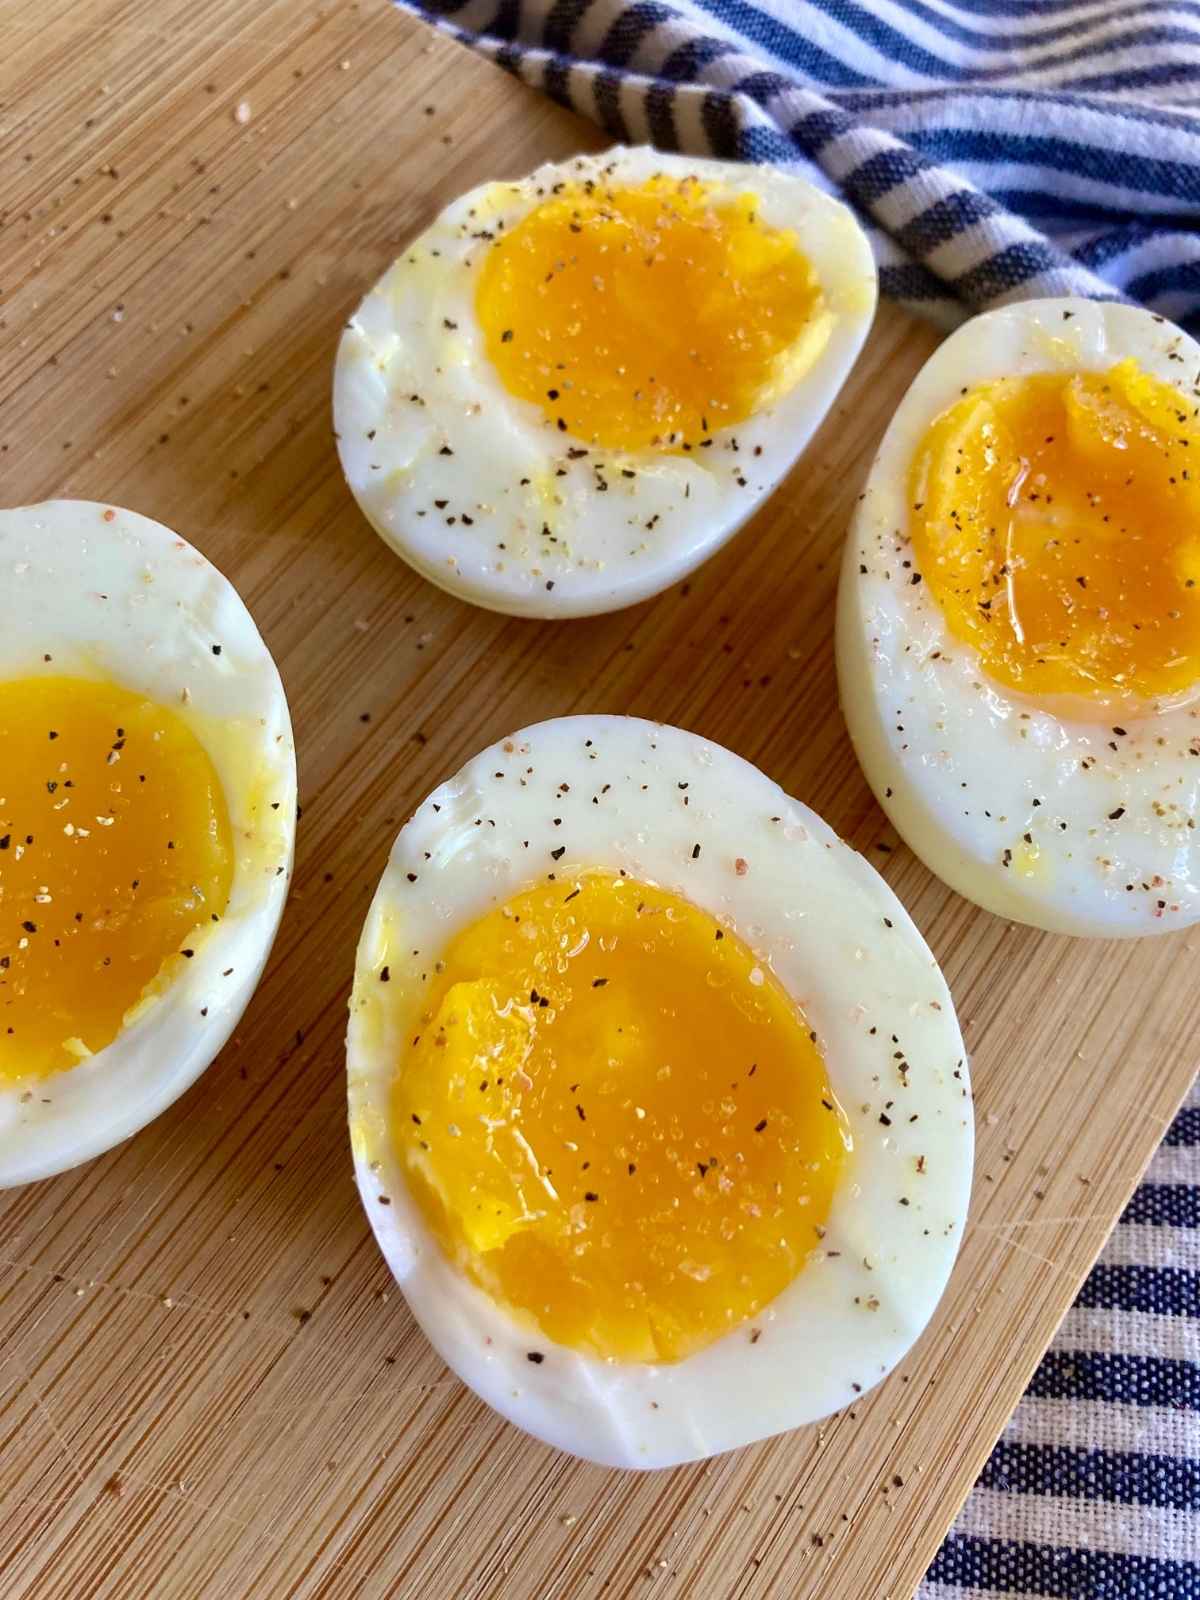
Packed with tangy probiotic flavor, fermented peppers are a perfect condiment to complete a meal. They’re easy to make with sauerkraut juice and delicious on everything from sandwiches to eggs!
Quick Look at the Recipe
- 🌶️ Flavor: Bright and tangy (may be spicy depending on the peppers used)
- ⏱️ Prep Time: 15 minutes
- 🫙 Fermentation Time: 7-10 days
- 👥 Yield: 1 quart
- 🥣 Main Ingredients: Peppers, onion, sauerkraut juice
- 👩🍳 Tip: Sauerkraut juice jumpstarts the fermentation process, helping to prevent mold and kahm yeast.

The Flavor of Summertime
One of the best things about summer is all the fresh fruit and vegetables to ferment! From berry water kefir to fermented garlic or beet kvass, fermentation is by far my favorite way to preserve food.
When we lived in Northern Idaho, the fresh produce was truly unmatched, and I loved trying new recipes with all my farmers market finds. These fermented peppers quickly became one of my favorites, and now they’re a summertime staple no matter where we live!
What Makes this Fermented Recipe Special?
- Fail-proof ferment using sauerkraut juice to jumpstart the good bacteria.
- Versatile recipe using any varieties of sweet or spicy peppers you have on hand.
- Rich, tangy flavor that perfectly compliments so many dishes.
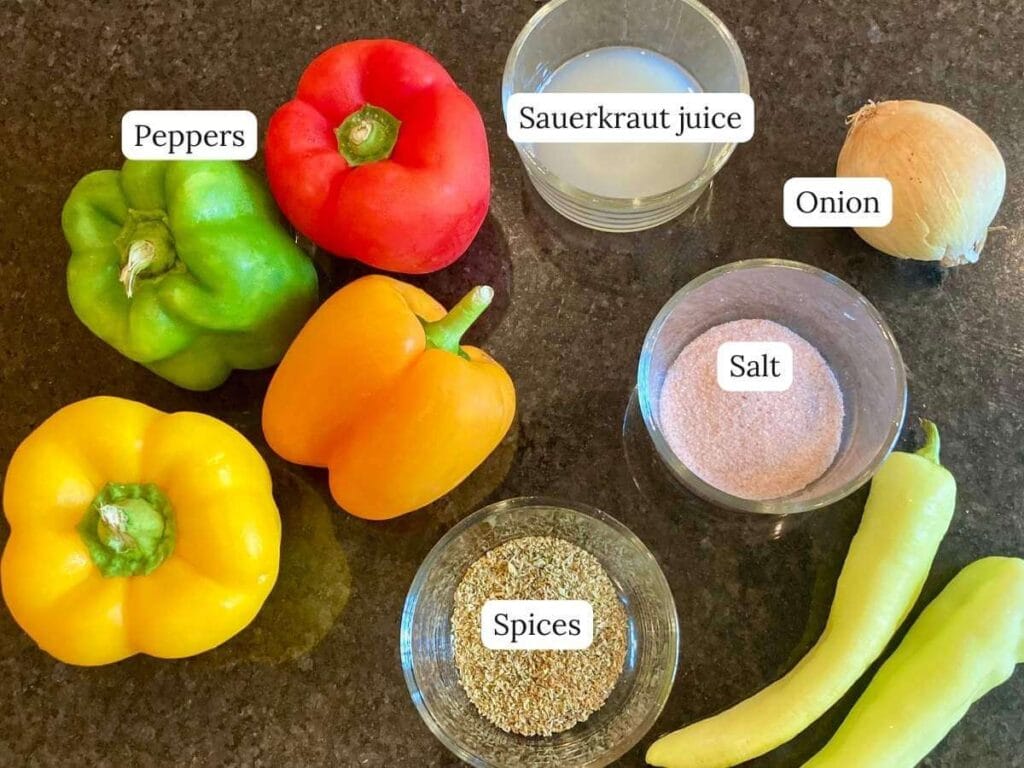
Ingredients
Tools Needed
Step-By-Step Instructions
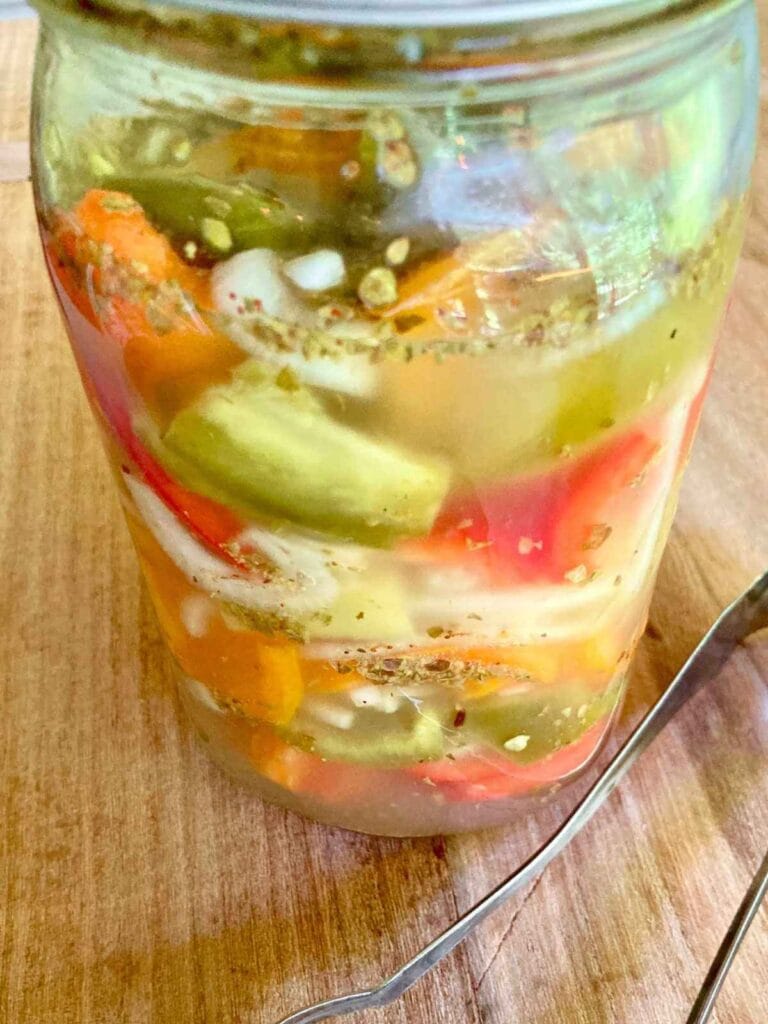
Step 1: First, place the pepper cubes and onion slices in the mason jar, packing them down firmly. As you go, sprinkle in the oregano and cumin so they’re evenly divided throughout the jar.
Now pour the sauerkraut juice into the jar.
Chef’s tip: If you have a variety of peppers, you can layer them in the jar by color for a fun striped pattern.
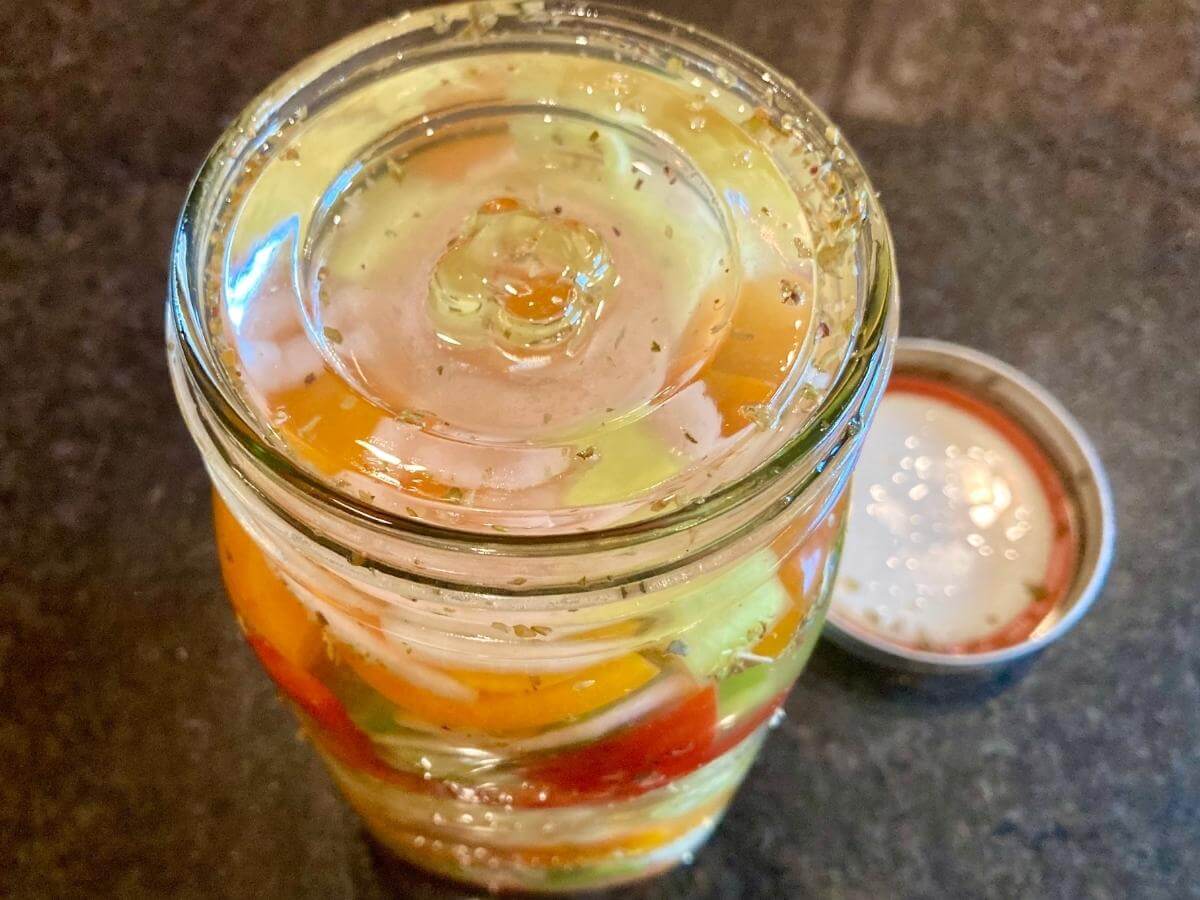
Step 2: To make the brine, dissolve the salt in one quart of cold water. Pour the brine over the peppers and onions, leaving a couple of inches of headspace at the top of the jar.
Place the fermentation weight in the jar and press it down to completely submerge the vegetables under the brine. If you need to add more brine to cover them, you can do so.
Finally, tightly screw on the lid, and put the jar in a dark location at room temperature.
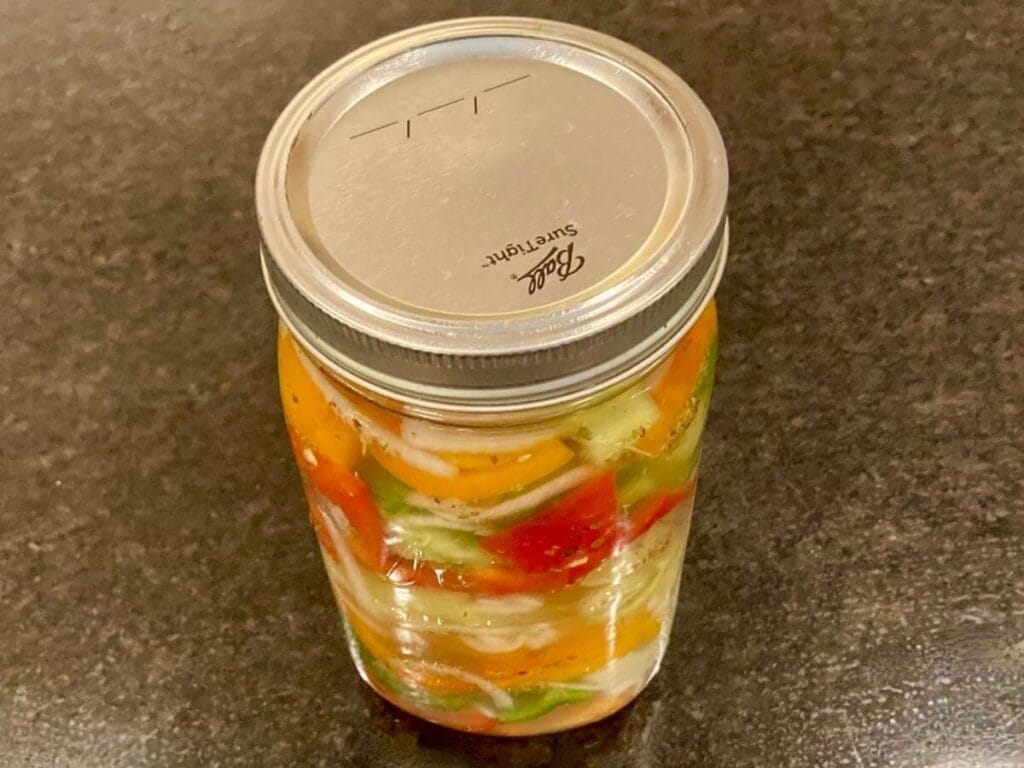
Step 5: Let the peppers ferment for 7-10 days. As they’re fermenting, slightly unscrew the lid (but don’t remove it) 1-2 times a day to release any pressure that has built up.
Once they’re done fermenting, store in the fridge and enjoy!
If you want to learn to make more fermented foods, check out my classic sauerkraut and favorite yogurt recipe!
Tips for Success
Check the room temperature – Fermented peppers do best between 65 and 75 degrees. If your home is warmer than 75 degrees, wrap a damp towel around the jar to keep it cool.
Use chemical-free water – Chemicals in the water can ruin the ferment since they can prohibit the growth of good bacteria. Unfortunately, most countertop filters don’t adequately filter out chemicals, so make sure to use reverse osmosis water or clean well water.
Only ferment fresh vegetables – Older vegetables tend to have more bad bacteria and mold spores on them which can ruin your ferment. Most grocery stores sell produce that isn’t fresh, so I recommend using local vegetables or those that have been purchased from a higher-quality store.
Add an active starter – For this recipe, you need sauerkraut juice or whey with live bacteria. If you’re using sauerkraut juice from the store, make sure that vinegar is not listed in the ingredients as this is often used to add flavor where there are no probiotics.
Adjust fermentation time – Fermentation time can vary based on numerous factors, including how active your starter is and the room temperature. Feel free to taste it every few days to see how it’s coming and refrigerate once you’re happy with the flavor.
Violet’s Tips for Serving
For an easy and healthy meal, serve these peppers on top of Mexican beef bowls!
FAQs
No, freezing fermented peppers will kill some of the probiotics as well as making the texture mushy. Instead, store in the fridge for up to 6 months.
Fermented peppers and onions will last 6 months in the fridge. Keep in mind that they will continue to ferment very slowly and the tangy flavor will increase over time.
Yes, fermentation is one of the safest food preservation methods there is, even safer than canning. If something goes wrong, there will be obvious signs such as visible mold. If the peppers and onions look, smell, and taste good, they should be safe to eat.
If you try this recipe, let me know in the comments! Tag me on Instagram @violet_rightathome

Lacto-Fermented Peppers (with Onion)
Equipment
Ingredients
- 1 pound peppers cut into 1-inch cubes
- 1 onion thinly sliced
- 3 tablespoons sauerkraut juice
- 2 tablespoons course salt sea salt or Himalayan
- 1 teaspoon dried oregano
- 1/2 teaspoon cumin
Instructions
- Place the pepper cubes and onion slices in the mason jar, packing them down firmly.1 pound peppers, 1 onion
- As you go, sprinkle in the oregano and cumin so they're evenly divided throughout the jar.1 teaspoon dried oregano, 1/2 teaspoon cumin
- Pour the sauerkraut juice into the jar.3 tablespoons sauerkraut juice
- To make the brine, dissolve the salt in one quart of cold water.2 tablespoons course salt
- Pour the brine over the peppers and onions, leaving a couple of inches of headspace at the top of the jar.
- Place the fermentation weight in the jar and press it down to completely submerge the vegetables under the brine. If you need to add more brine, you can do so.
- Tightly screw on the lid, and place the jar in a dark location at room temperature for 7-10 days.
- As it's fermenting, slightly unscrew the lid (but don't remove it) 1-2 times a day to release any pressure that has built up through the fermentation process.
- Move the jar to the fridge to store, and enjoy your fermented peppers!
Notes
Nutrition
If you tried these peppers, I’d love to hear how they turned out for you! Please make sure to come back and leave a comment and a ⭐️⭐️⭐️⭐️⭐️ rating.


These peppers taste so good! During the summer I love putting them on almost everything!