The easiest way to care for your cast iron! This DIY cast iron seasoning wax is quick to make with simple, food-grade ingredients that will make your skillets non-stick and easy to use.

I’m Kind of Obsessed
I can hardly live without my cast iron pans. Every time we move I prove this to myself by packing my skillet at the very last minute (often even after my toothbrush)!
Since cast iron is my all-time favorite type of pan to cook in (I make everything in it from my favorite gluten-free Dutch baby to Tuscan chicken), I need an easy way to keep my pans in tip-top shape.
That’s where this seasoning wax comes in! It’s easy to make, uses ingredients I feel good about, and lasts so long. I make sure I never run out of this stuff!
How to Use
You can use seasoning wax to restore an old pan, season a stripped-down brand new pan, or maintain your favorite skillet.
Seasoning a Pan (New and Restored Pans or Yearly Maintenance)
- Clean – Wash the pan really well. I typically just use hot water and a stainless steel scrubber, but many people use soap on their cast iron without any issues.
- Dry – Dry the pan with a towel and place it on the stove on medium heat until there’s no moisture left on it.
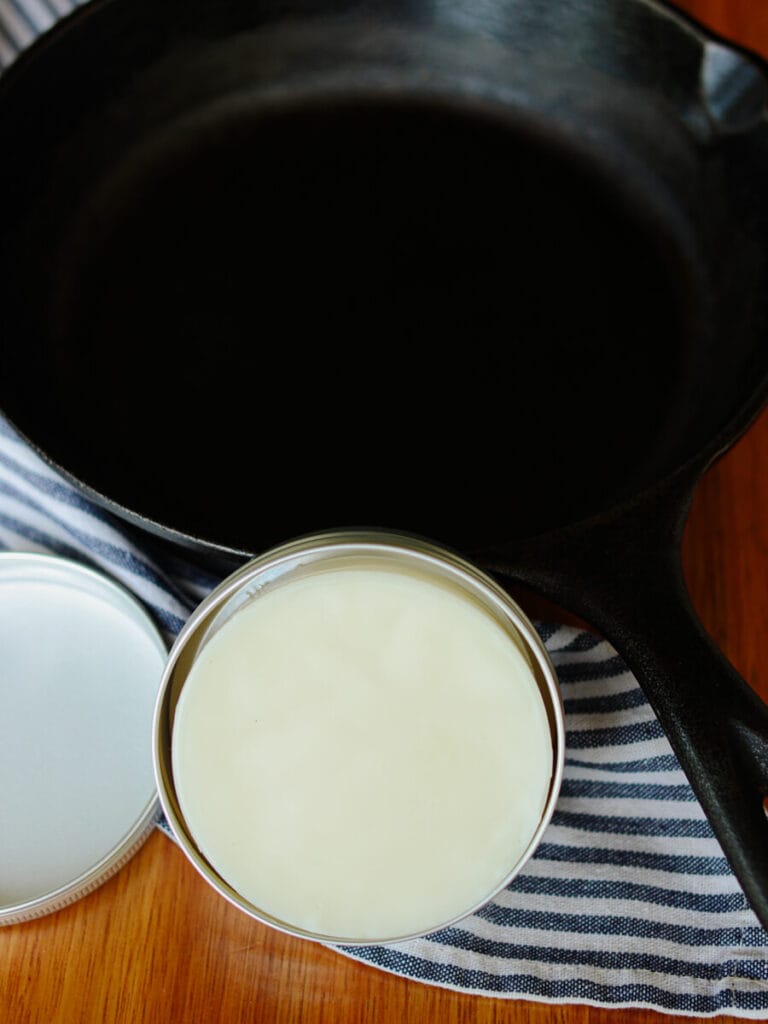
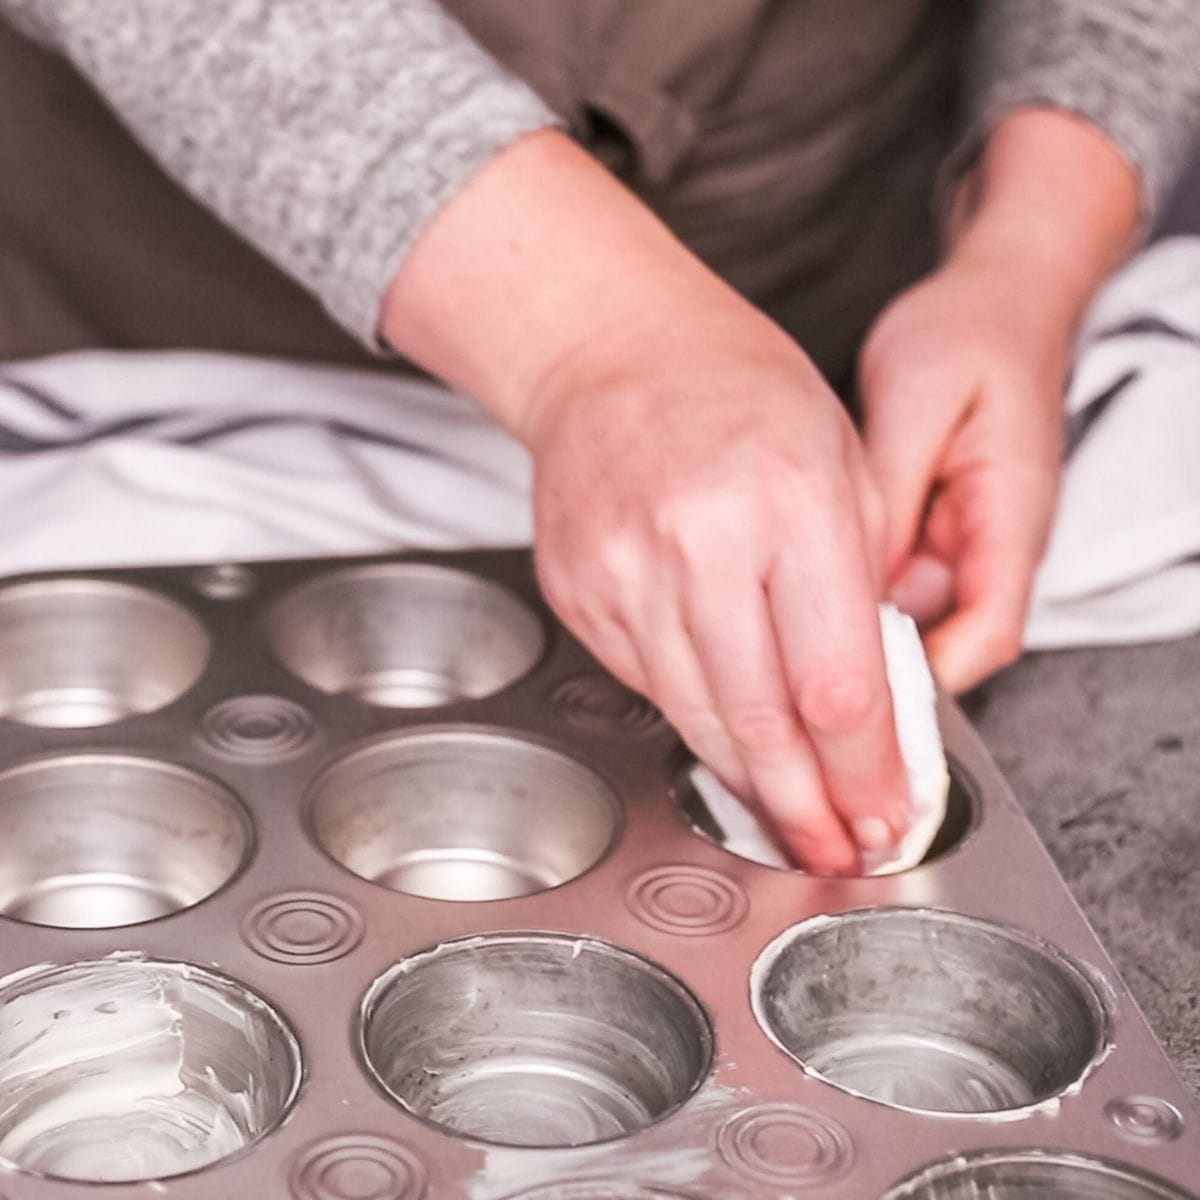
- Apply seasoning wax – Quickly rub the bar across the hot pan and use a lint-free cloth or paper towel to make sure every side of the pan is completely covered, including the bottom. Then wipe off all the wax you can. It may feel like you wiped it all off, but there will still be some left!
- Season – Place the pan in the oven at 450 degrees and leave it for 1 hour. It will get a little smoky, so make sure your kitchen has good ventilation!
- Repeat – Repeat steps 3 and 4 an additional 3 or 4 times, and then let the pan cool. You’re now ready to use it!
Maintaining Your Pan (Oiling)
For best results, do this each time you use your skillet.
- Clean – Make sure there’s no food residue left, and then dry it with a towel. (I often skip drying with the towel and just go to step 2 to dry on the stove, but it’s not recommended.)
- Dry – Place the pan on the stovetop on medium heat and let it heat until every bit of moisture has evaporated.
- Oil – Rub the seasoning bar quickly across the pan and use a lint-free cloth to make sure every part of the pan is covered and all excess wax has been removed. Then let the pan cool before storing.
FAQs
Cast iron should be re-seasoned one to two times a year. It should also be oiled after each time cooking on it.
Beeswax does a fantastic job sealing cast iron, however, it works best when combined with oil.
Avocado oil and tallow are the healthiest oils for seasoning cast iron. They both have a high smoke point and are considered healthy cooking oils.
Tips for Success
Avoid contaminating with water – Water in seasoning wax can cause mold to grow, so make sure to avoid getting any water in it during the melting process.
Cool at room temperature – Resist the urge to speed up the process in the fridge! Cooling at room temperature will lead to a smoother finish on the cast iron seasoning bars.
Tools You May Need
This post contains affiliate links which means I earn a small commission at no extra cost to you. See my full disclosure here.
Ingredients
Step-By-Step Instructions
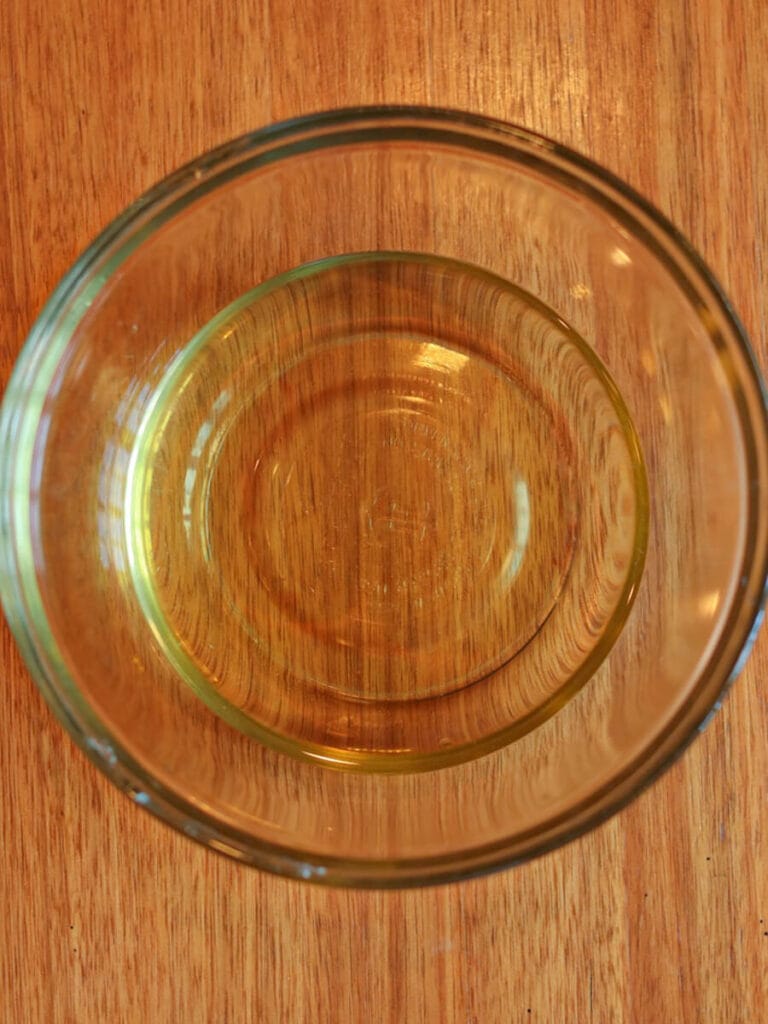
Step 1: In a double boiler, gently melt the tallow and beeswax. Then add the avocado oil and stir to combine.
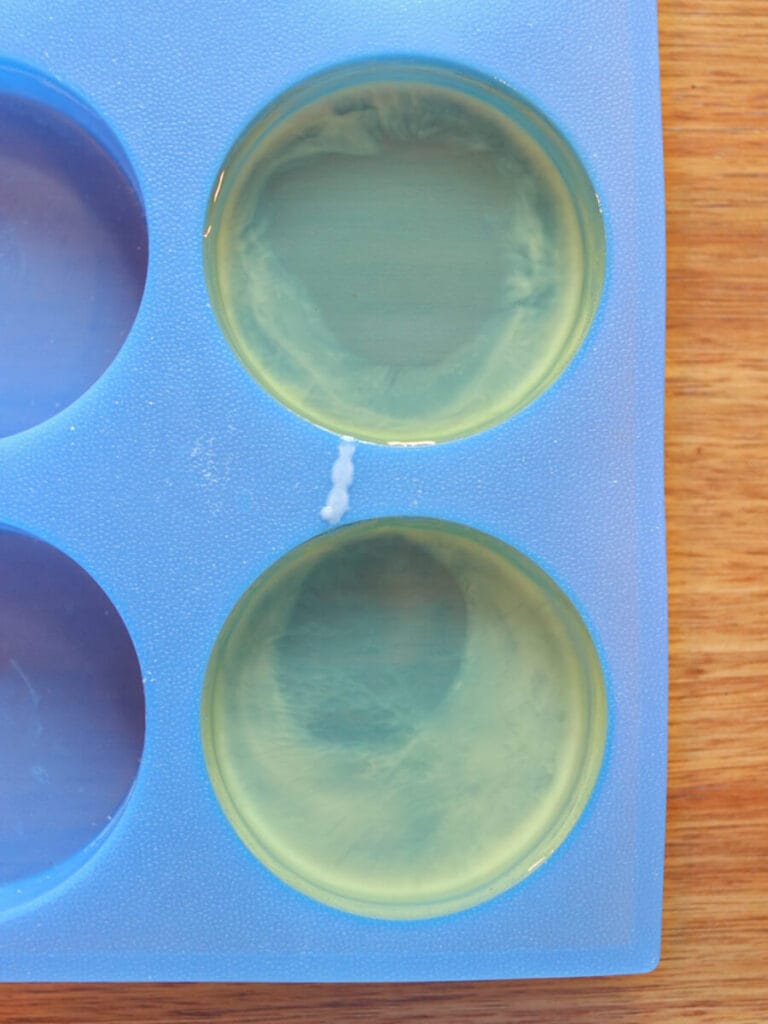
Step 2: Next slowly pour the mixture into the silicone molds, and let them sit at room temperature until they’re completely cooled and solid. This usually takes a few hours, but the time can vary depending on the temperature of your home.
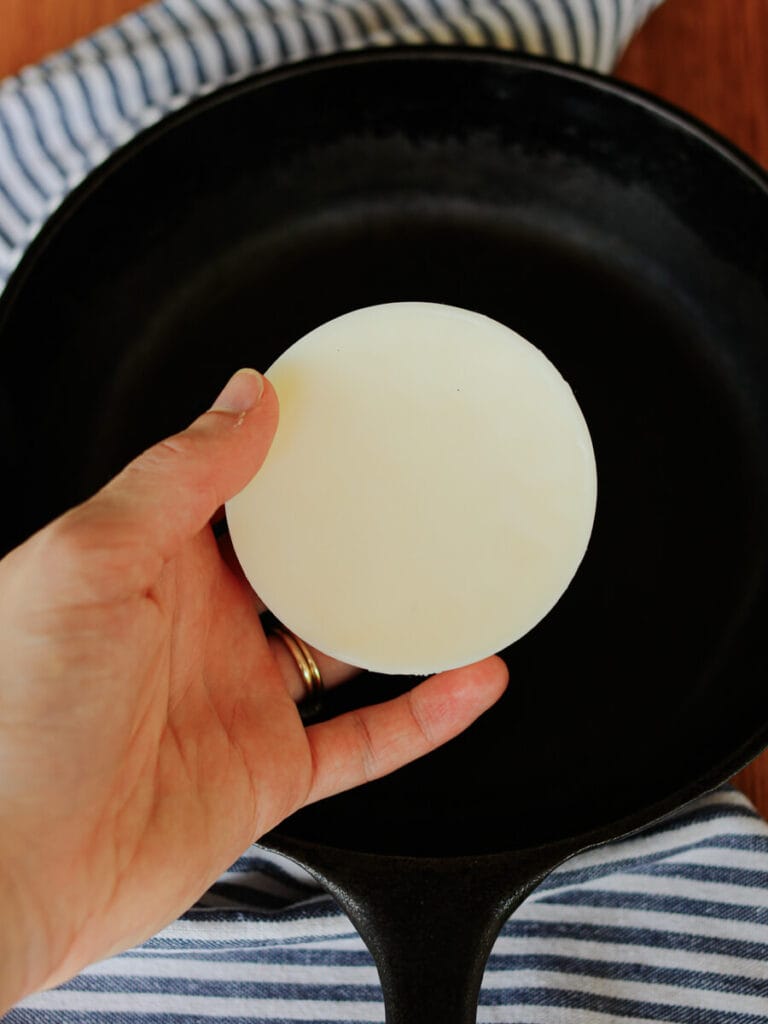
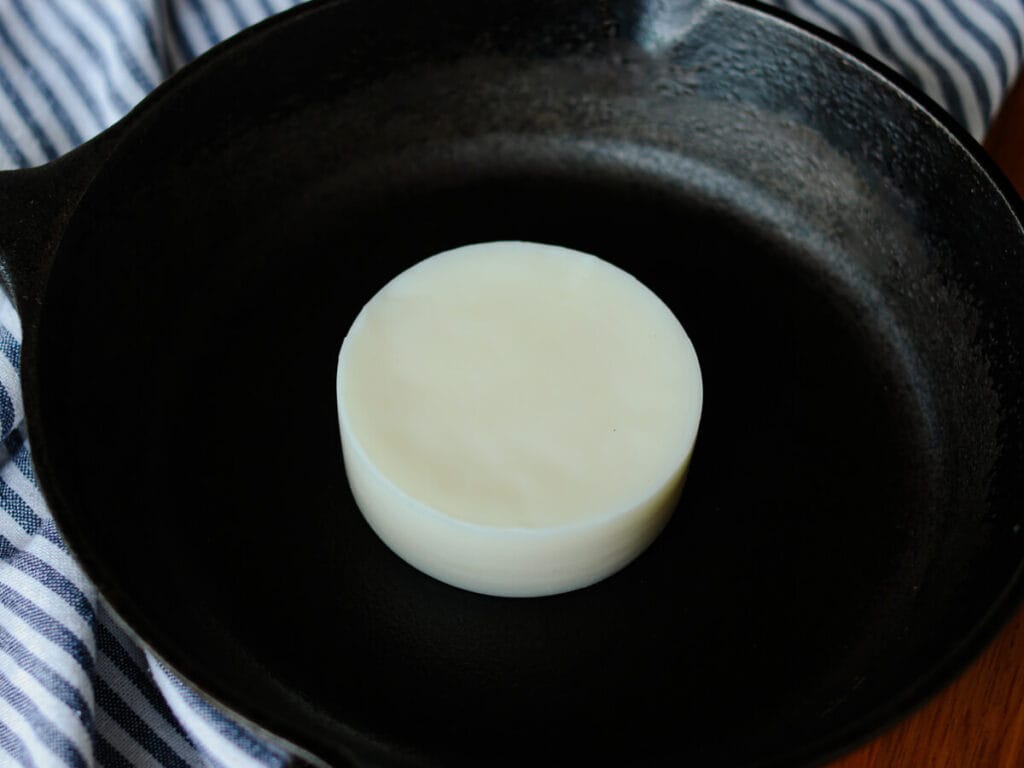
Step 3: Finally, gently remove the bars from the mold and use to season and oil your cast iron.
If you try this DIY, let me know in the comments! Tag me on Instagram @violet_rightathome
More Clean Living DIYs
Homemade Dishwasher Detergent (Without Borax)
Cast Iron Seasoning Wax
Equipment
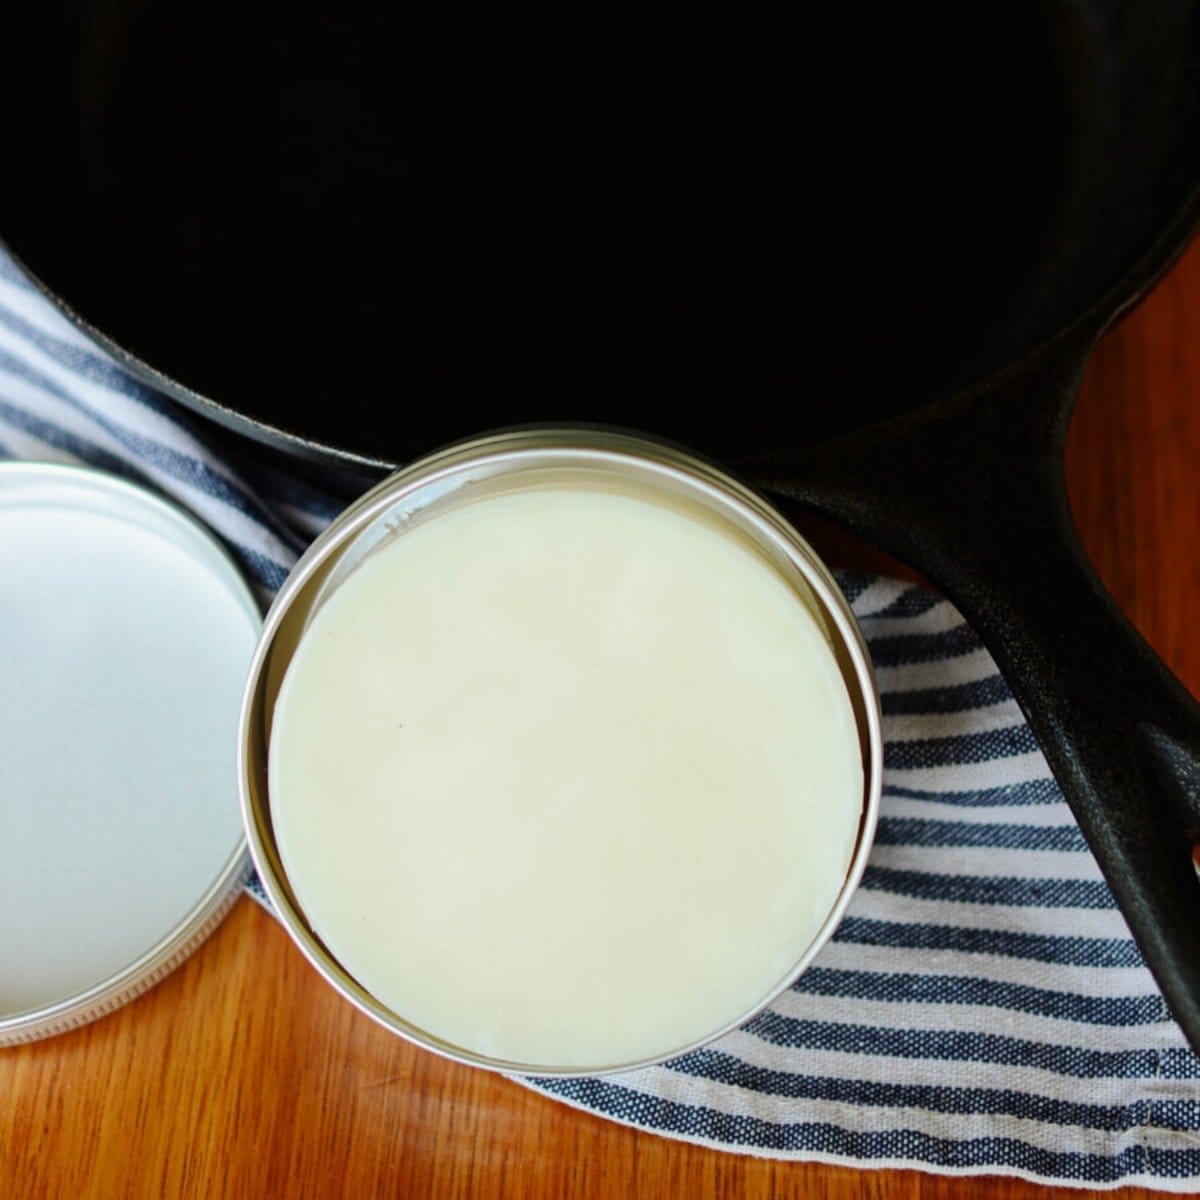
- Tins for storing or gifting optional
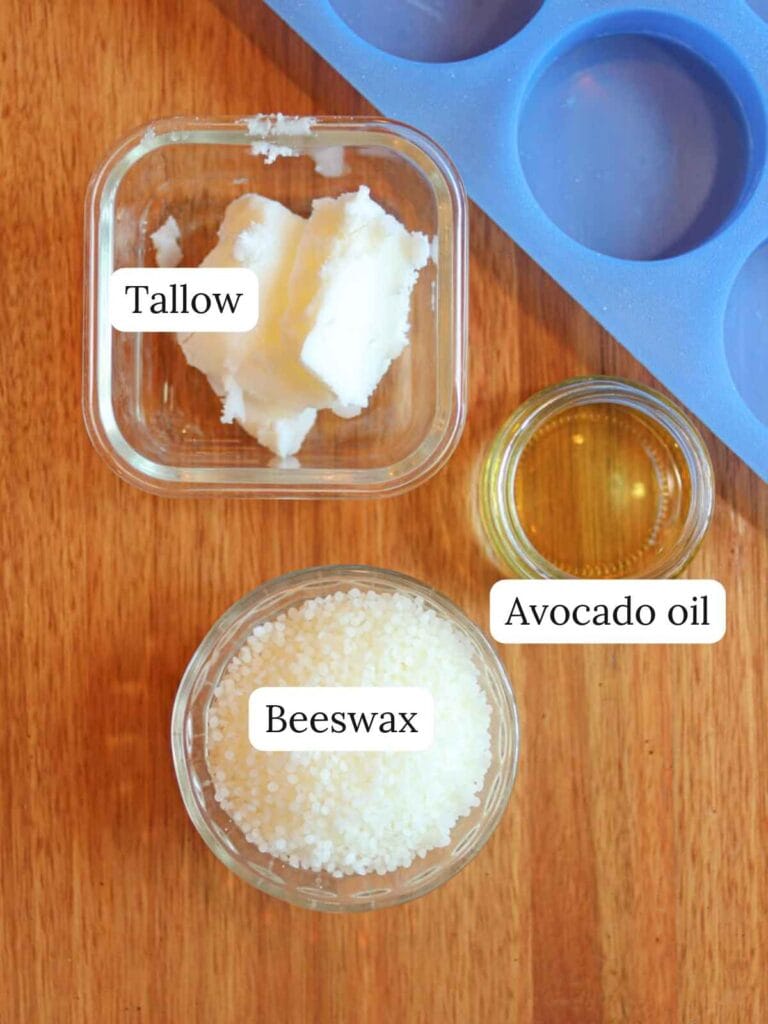
Ingredients
- 3 ounces beeswax
- 2 ounces tallow
- 1 ounce avocado oil
Instructions
- In a double boiler, gently melt the tallow and beeswax.3 ounces beeswax, 2 ounces tallow
- Add the avocado oil and stir to combine.1 ounce avocado oil
- Slowly pour the mixture into the silicone molds, and let them sit at room temperature until they're completely cooled and solid. This usually takes a few hours, but the time can vary depending on the temperature of your home.
- Gently remove the bars from the mold and use to season and oil your cast iron.
If you love this seasoning wax, please make sure to come back and leave a comment and a 5 star rating. I’d love to hear how it turned out for you!
Also, I’d love to have you part of the Right At Home community! Make sure to join my newsletter for all the latest clean eating recipes and clean living tips and DIYs.


This is one thing I make sure to always have on hand. I’m not very always very careful with my cast iron skillets, but this wax keeps them nonstick. Let me know if you have any questions on how to use them, and I’ll get back to you quickly!