Learn the easiest way to render pure, odorless tallow, perfect for everything from cooking to skincare! Once you try this fail-proof method for how to render tallow, you’ll never want to do it any other way.
Quick Look at the Recipe
- 🫙 Uses: Frying and sautéing, tallow skincare, soap, leather conditioning, candles
- ⏱️ Active Time: 1 hour
- 🔥 Cook Time: 6 hours
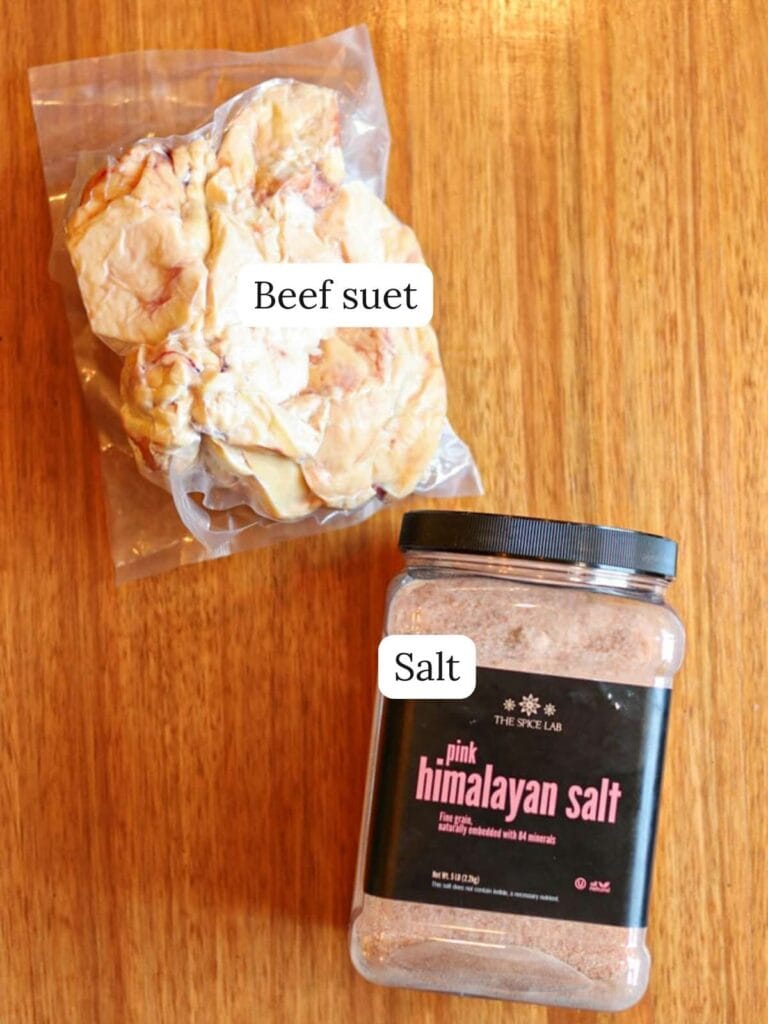
- 🥣 Main Ingredients: Beef suet, salt
- 👩🍳 Tip: Slow rendering tallow with water helps to create a pure white, odorless result that has unlimited uses.

I Can’t Live Without This!
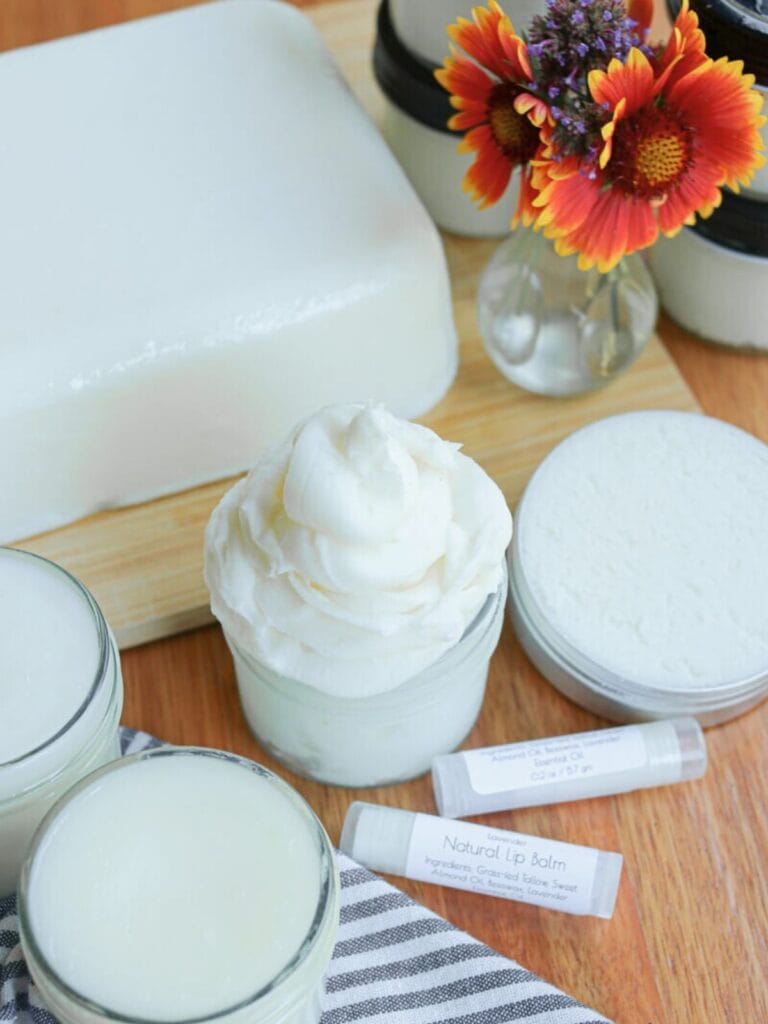
I use tallow for so much in my home. Cooking, seasoning cast iron, making my favorite tallow balm recipe, you name it!
While beefy-smelling tallow is fine for cooking, when I decided to start my own tallow business, I had to find a way to get pure, odorless tallow with no scent. I discovered that rendering pure tallow wasn’t actually complicated, and I’m excited to show you this simple method.
What Makes this Tallow Special?
- Pure and odorless making it perfect for so many uses.
- No-fail method using water to avoid scorching.
- Simple technique anyone can do in your own kitchen!
Ingredients
Tools Needed
Step-By-Step Instructions
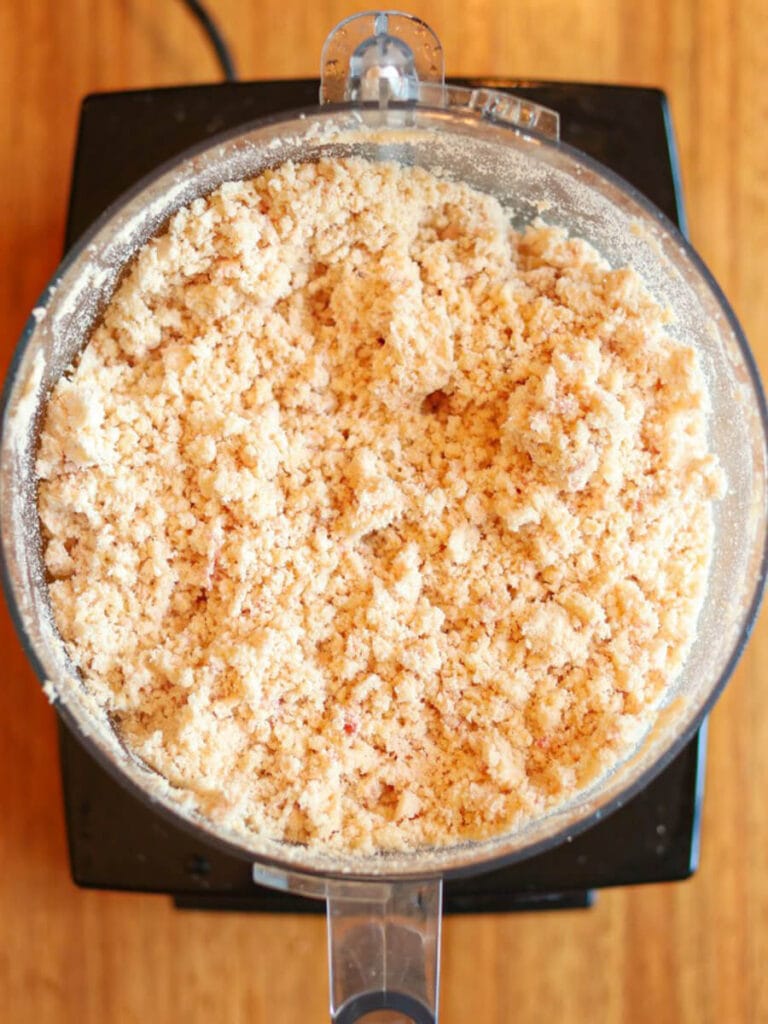
Step 1: Place the suet in a food processor and grind well.
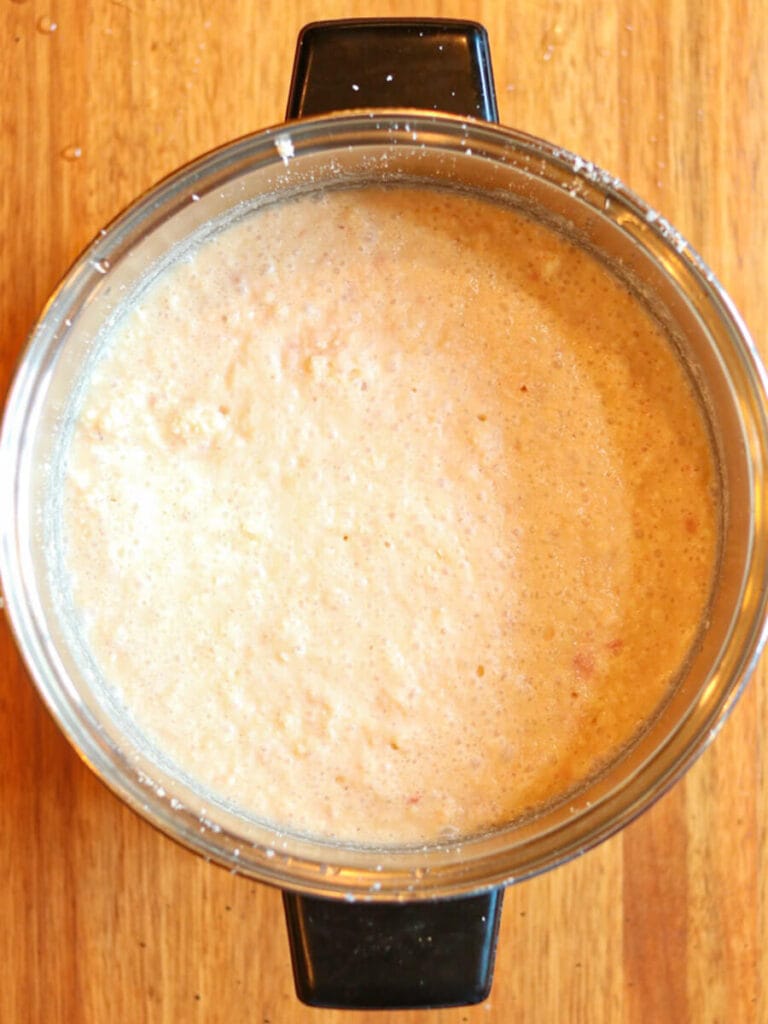
Step 2: Place the ground suet and ⅓ of the salt in a stockpot and add enough water to completely cover the suet. Put it in the oven and turn it to 200 degrees.
Expert tip: If you don’t have a food processor, simply use a knife to chop the suet into pieces as small as possible. It will, however, take significantly longer to melt than ground suet, and you won’t be able to extract quite as much tallow from it.
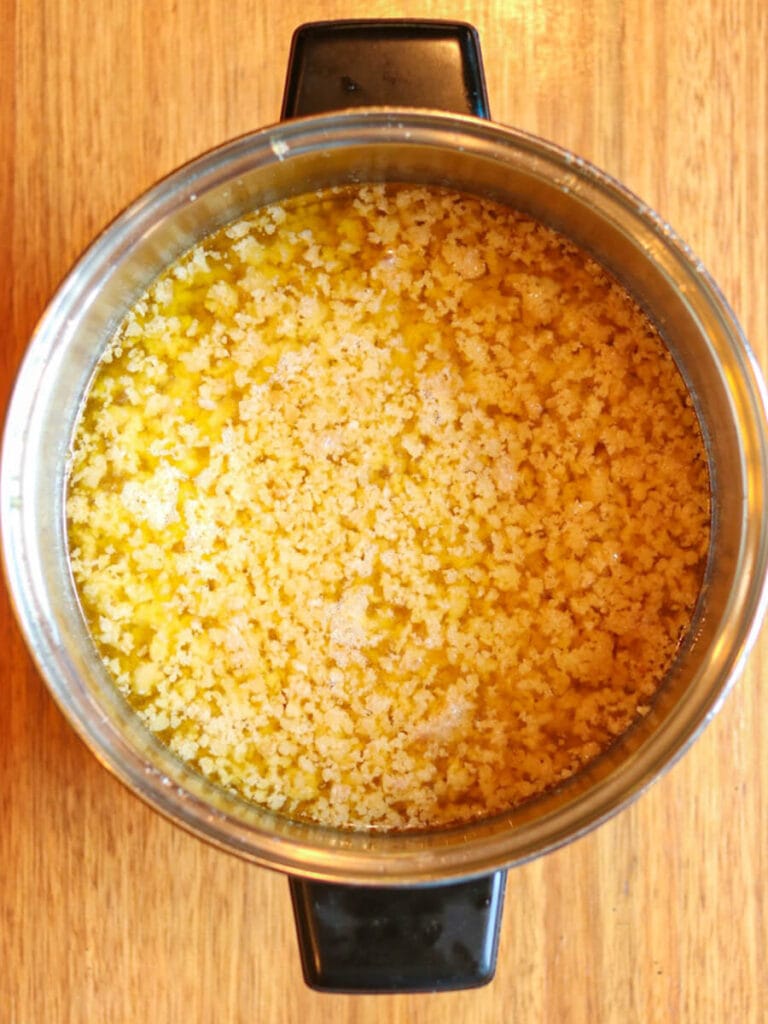
Step 3: Stir the mixture every 45 minutes until it has completely melted and pieces of gristle are floating on top. The time this takes will vary based on the amount you are rendering.
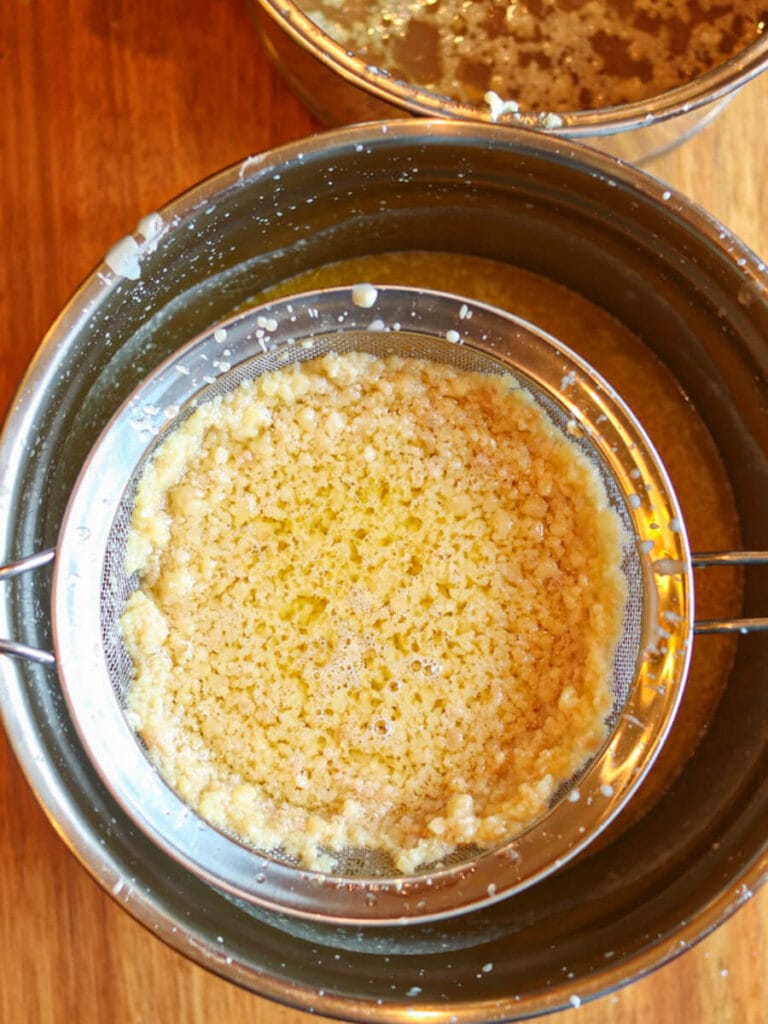
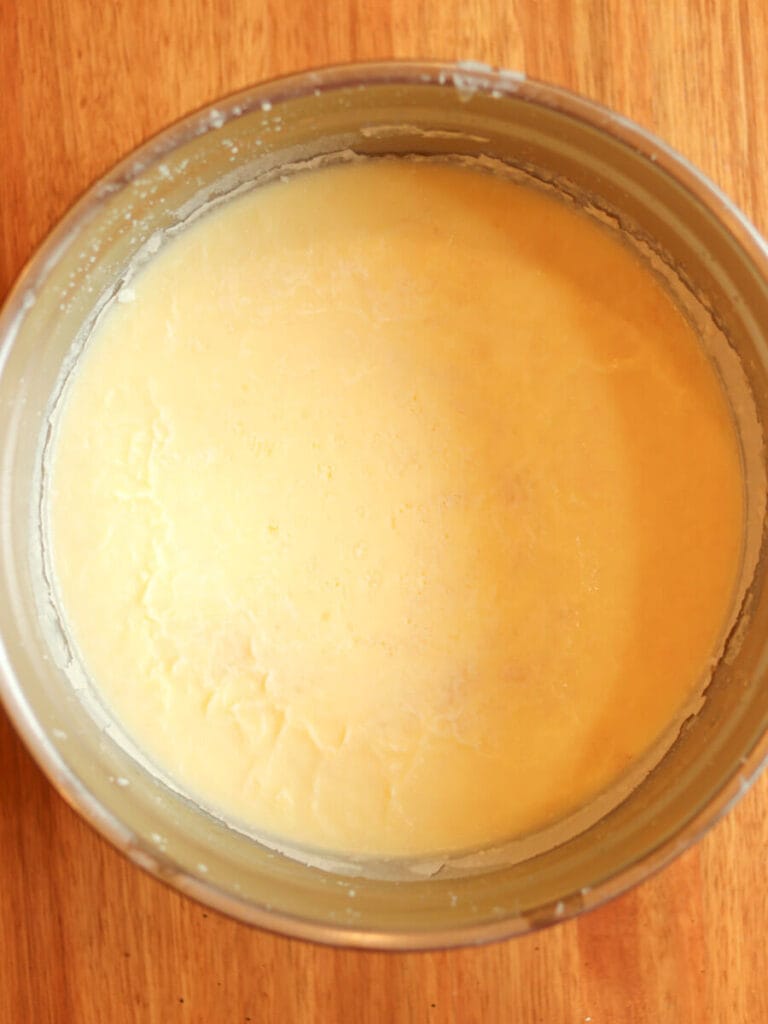
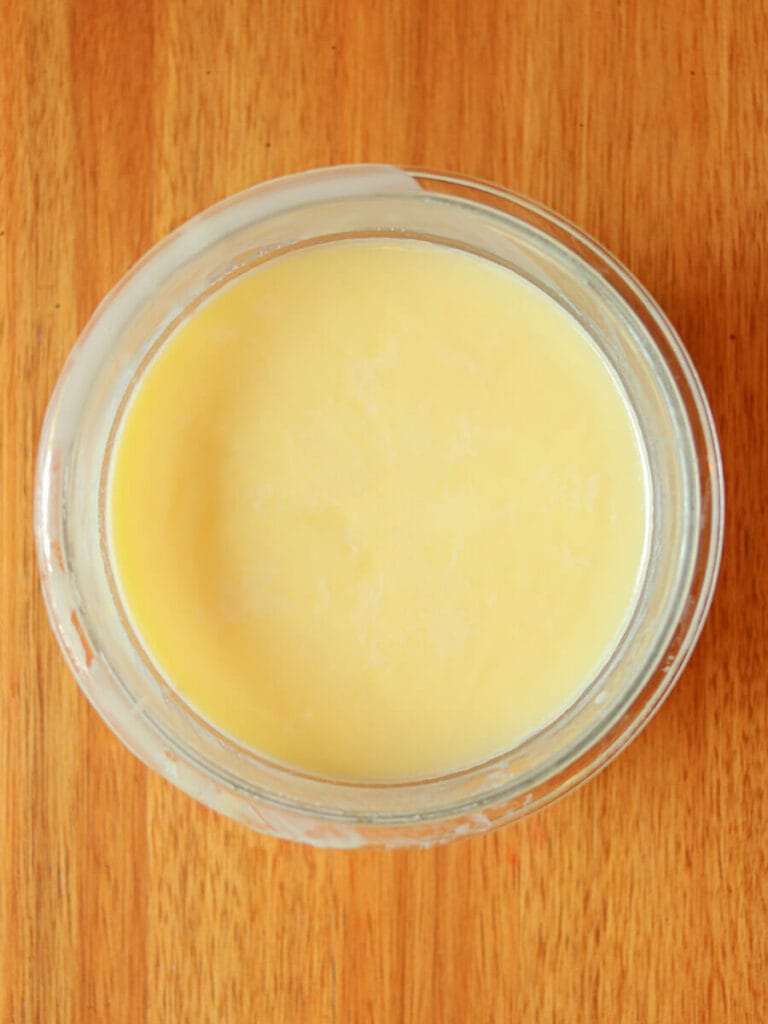
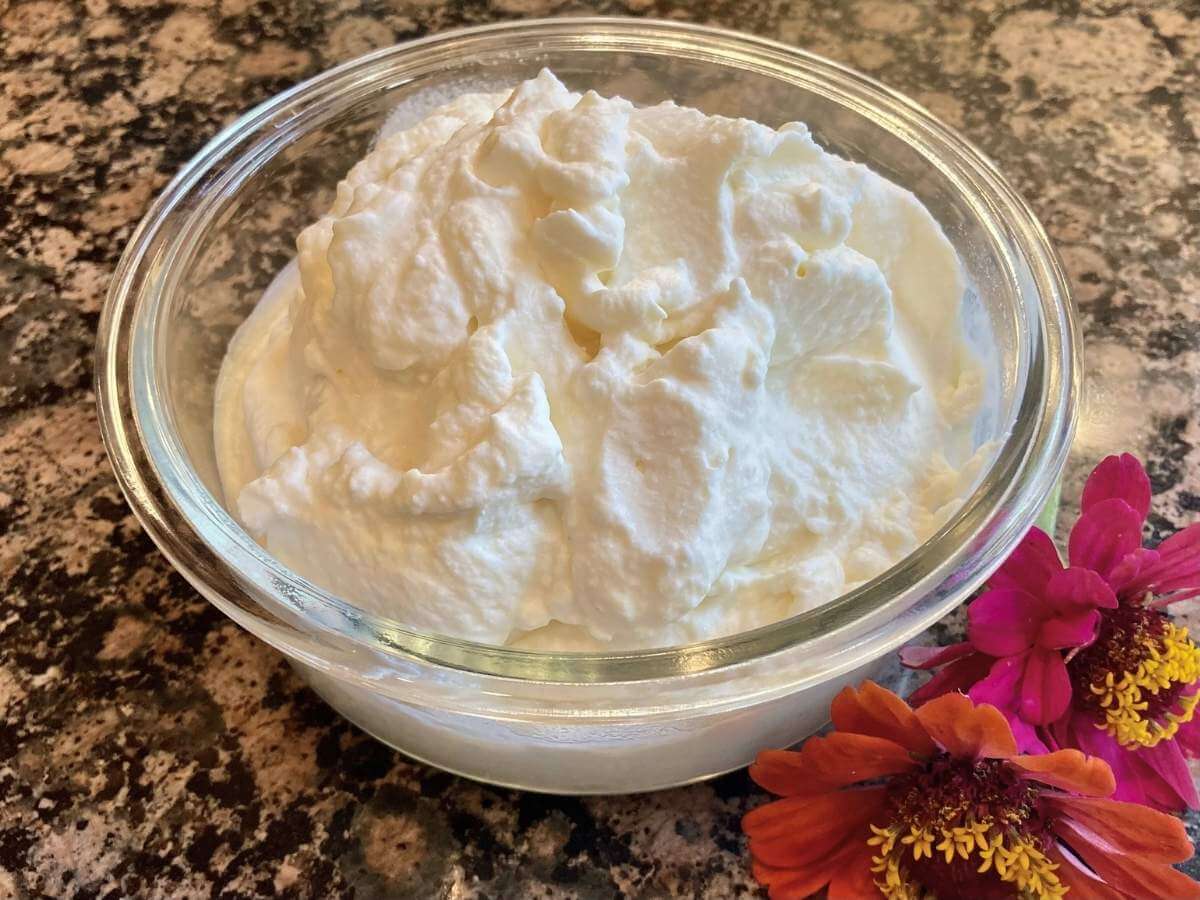
Step 4: Strain the mixture through a fine mesh strainer and place it in the fridge until the tallow hardens on top of the water.
Wash the stockpot to use again in the next step.
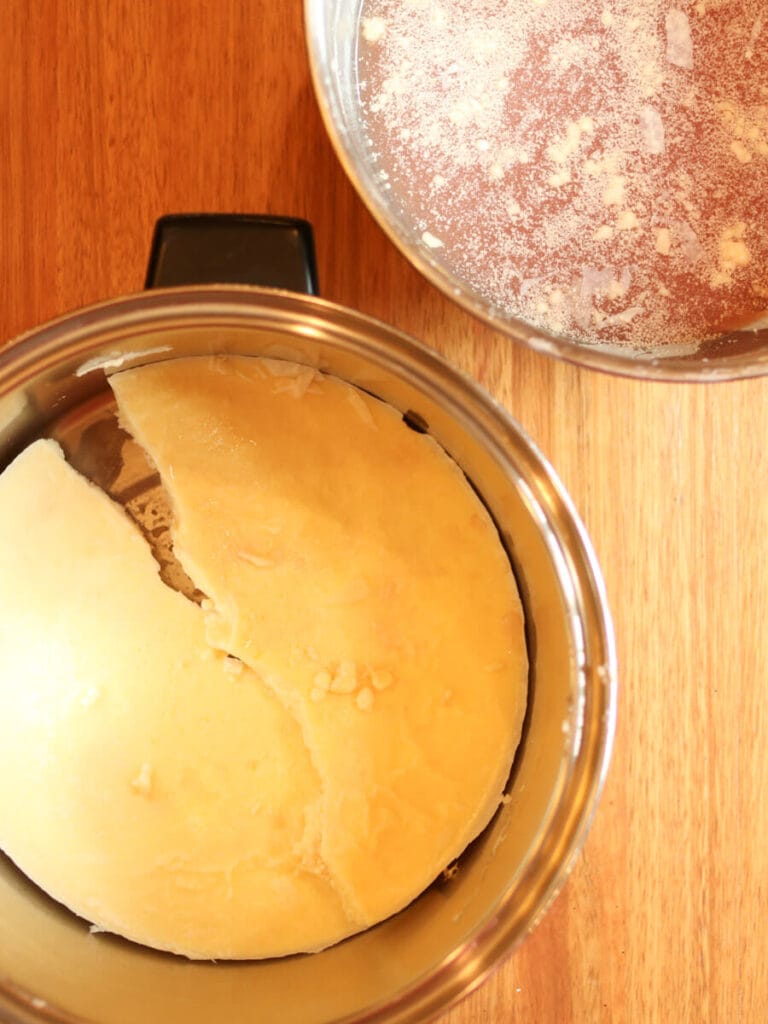
Step 5: Remove the hardened tallow and scrape the brown residue off the bottom of the disk. The water left in the bowl will be extremely dirty. This, plus the residue on the tallow are the impurities that have been pulled out.
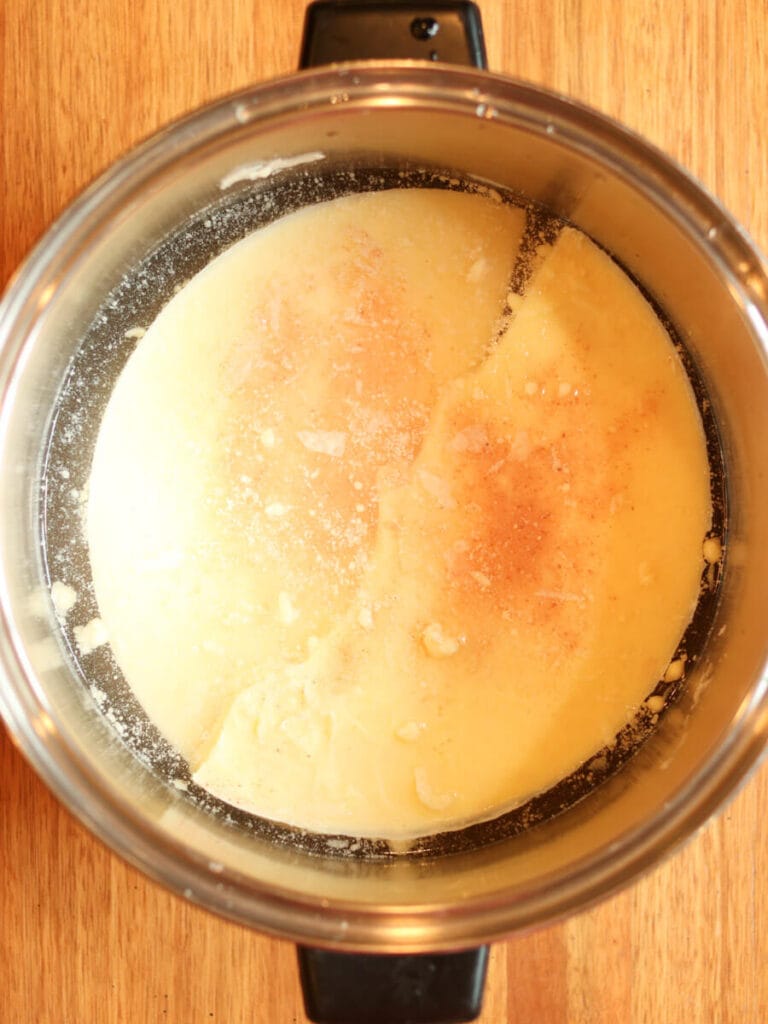
Step 6: Place the tallow back in the clean stockpot along with half of the remaining salt and cover with fresh water. Place back in the oven at 200 degrees for about 2 hours or until the tallow has melted and gently simmered for about an hour.
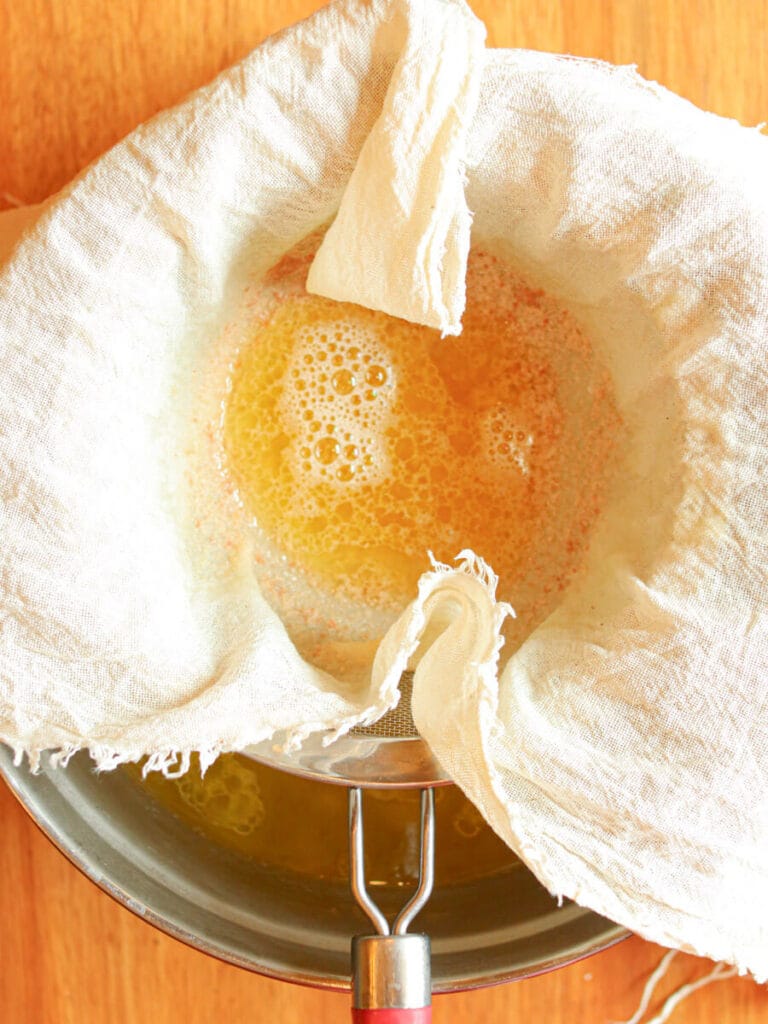
Step 7: Strain the mixture through a fine mesh strainer, this time with a cheesecloth spread over it, and place in the fridge until the tallow hardens.
Wash the stockpot to use again.
Step 8: Remove the hardened tallow and scrape any brown residue off the bottom. There should be less than the previous time and the water left at the bottom of the bowl should look cleaner too.
Place the tallow back in the clean stockpot along with the rest of the salt and cover with water. Place back in the oven at 200 degrees for about 2 hours or until the tallow has melted and gently simmered for about an hour.
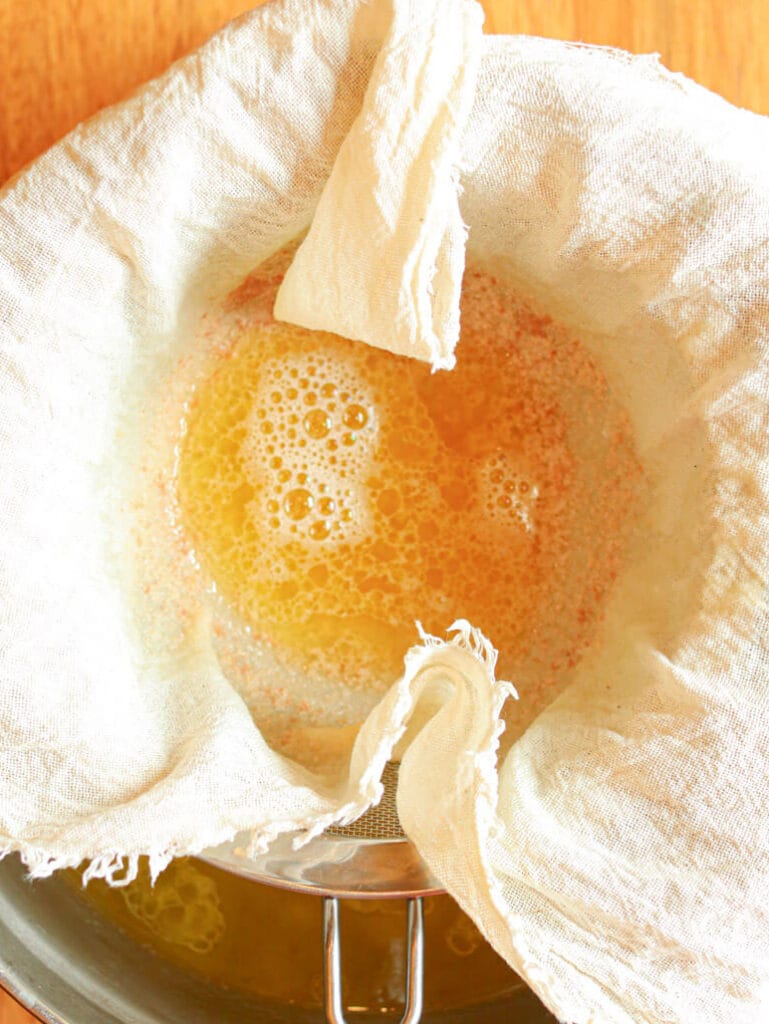
Step 9: Strain the mixture, this time using a doubled cheesecloth over a mesh strainer and let sit at room temperature for an hour before placing in the fridge to finish hardening. The slower cooling process will help you avoid any water pockets in the finished tallow.
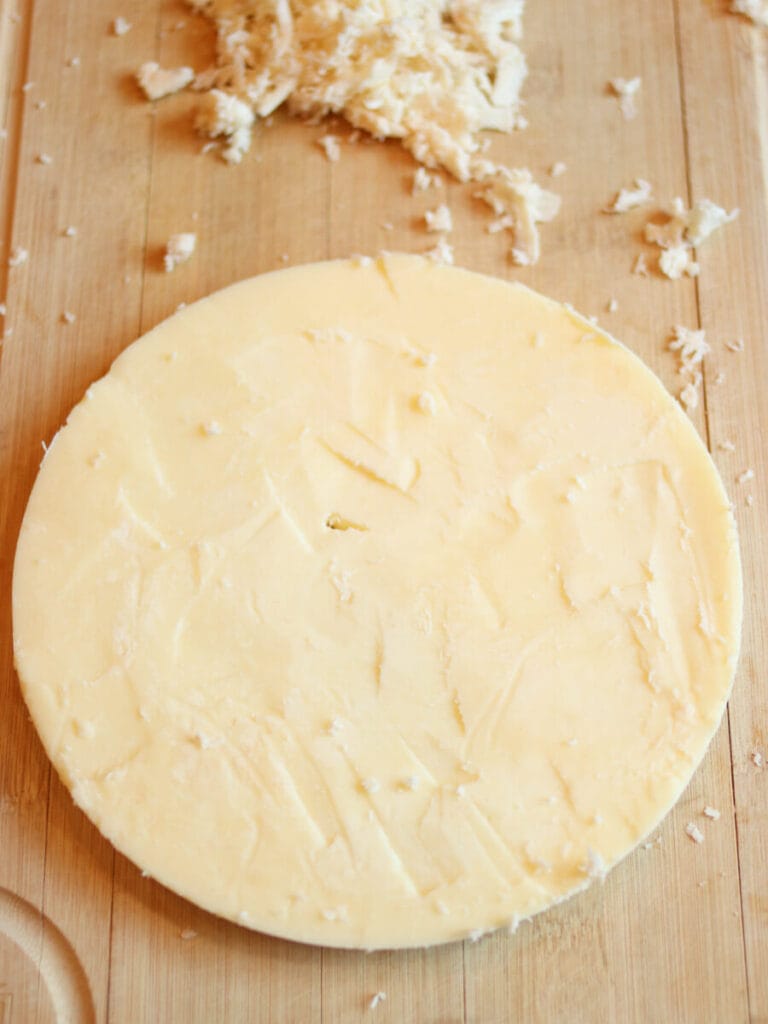
Step 10: Once the tallow is hard, remove it from the bowl. Use a knife to scrape any discolorations off of it (there shouldn’t be much left).
Then use paper towels to dry it off as much as possible, and let it sit at room temperature to dry completely.
Expert tip: At this stage, it’s essential to thoroughly remove all water to avoid mold. Don’t rush the cooling process and make sure the tallow is 100% dry before storing.
Step 11: You have two options for storing:
- Break up the tallow and store in a container. If you use this method, be very careful that the tallow is 100% dry before storing.
- Gently melt the tallow in a double boiler and pour into a glass container to store. As it melts, any moisture remaining on the tallow will sink to the bottom of the melted tallow. Be careful to watch for this water and not let it go into the storage container. (This is my favorite method.)
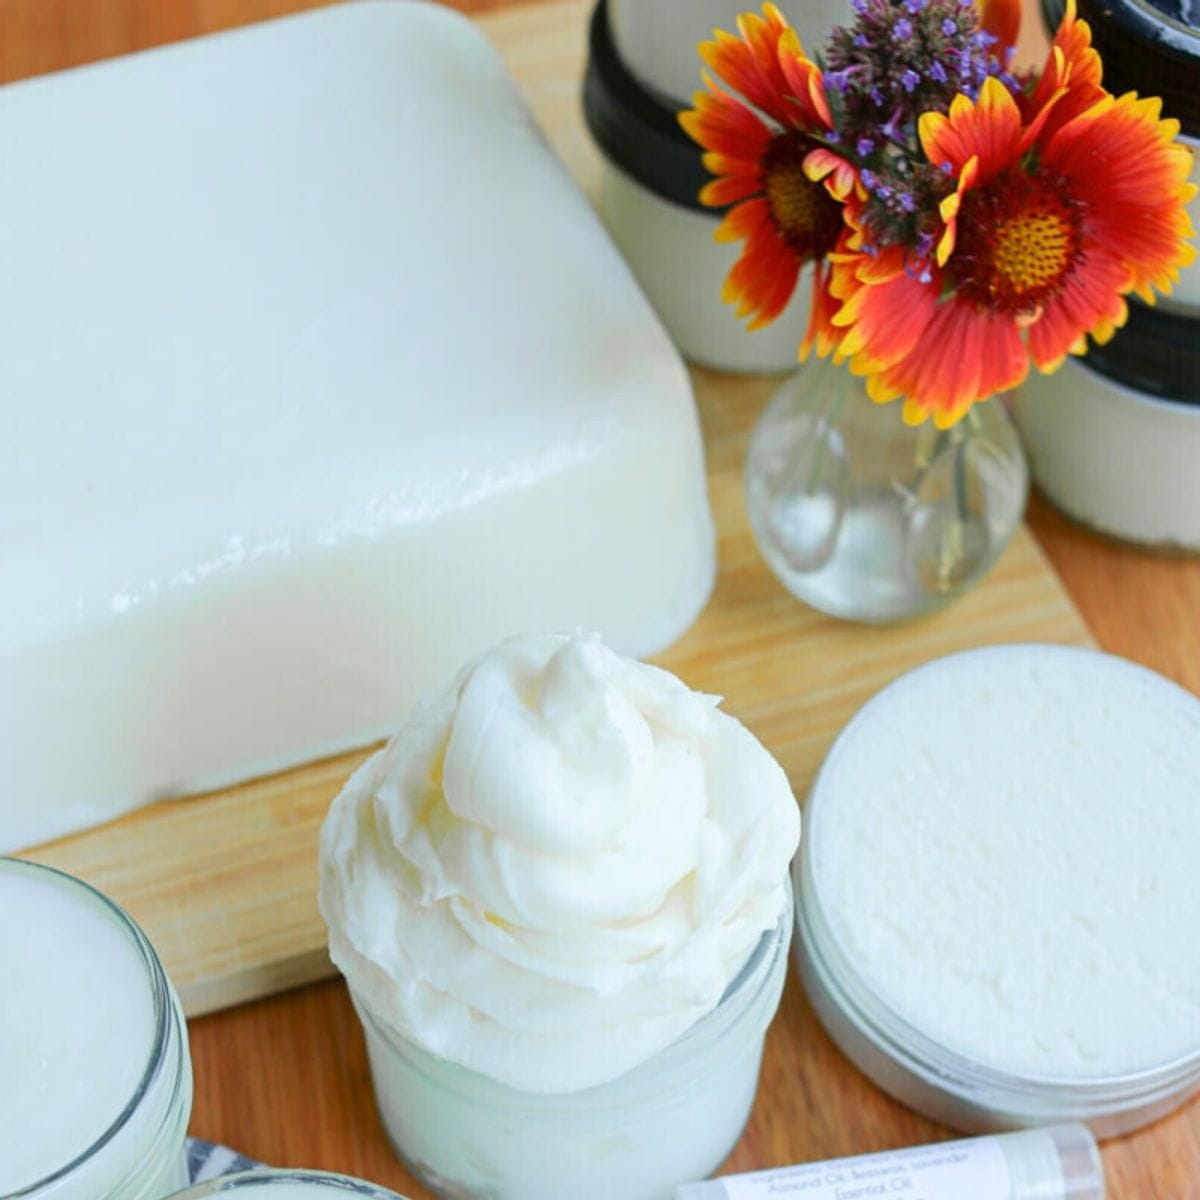
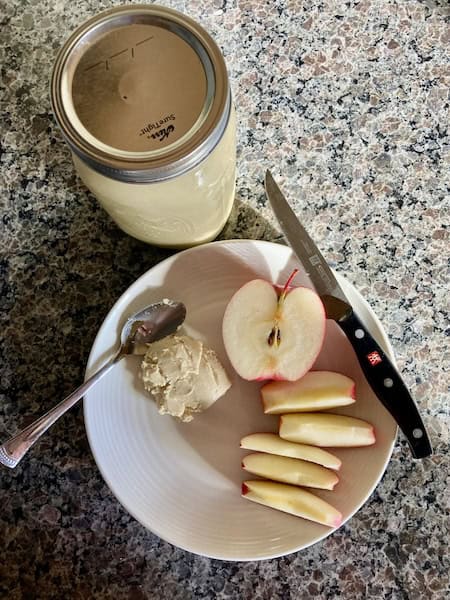
Step 12: Enjoy using your pure tallow for cooking, skincare, or other fun DIYs!
If you’re looking for easy ways to use tallow, check out my tallow lip balm recipe and baby cream!
What is Tallow?
Simply put, tallow is high-quality fat taken from the area around a cow’s kidneys. Tallow goes through a specific rendering process to purify it, making it fantastic for skincare, cooking, and various other uses.
It has been valued by many cultures for thousands of years and has recently made a comeback in the homesteading and natural living communities.
How to Use Tallow
Tallow is an amazing fat that has almost unlimited uses!
Cooking – Tallow is fantastic for sautéing or frying (McDonald’s used to fry their fries in tallow, and today it’s regaining popularity in some restaurants).
Skincare – It’s an essential moisturizing ingredient in many clean skincare products.
Soap – Many people use tallow when making their own soaps.
Candles – If you use tallow for candles, it’s especially important that it’s odorless (unless you want your whole home smelling like beef)!
Cast iron care – Tallow makes a fantastic seasoning for cast iron that needs a little extra care.
Ready to Craft Your Own Line of Tallow Skincare?
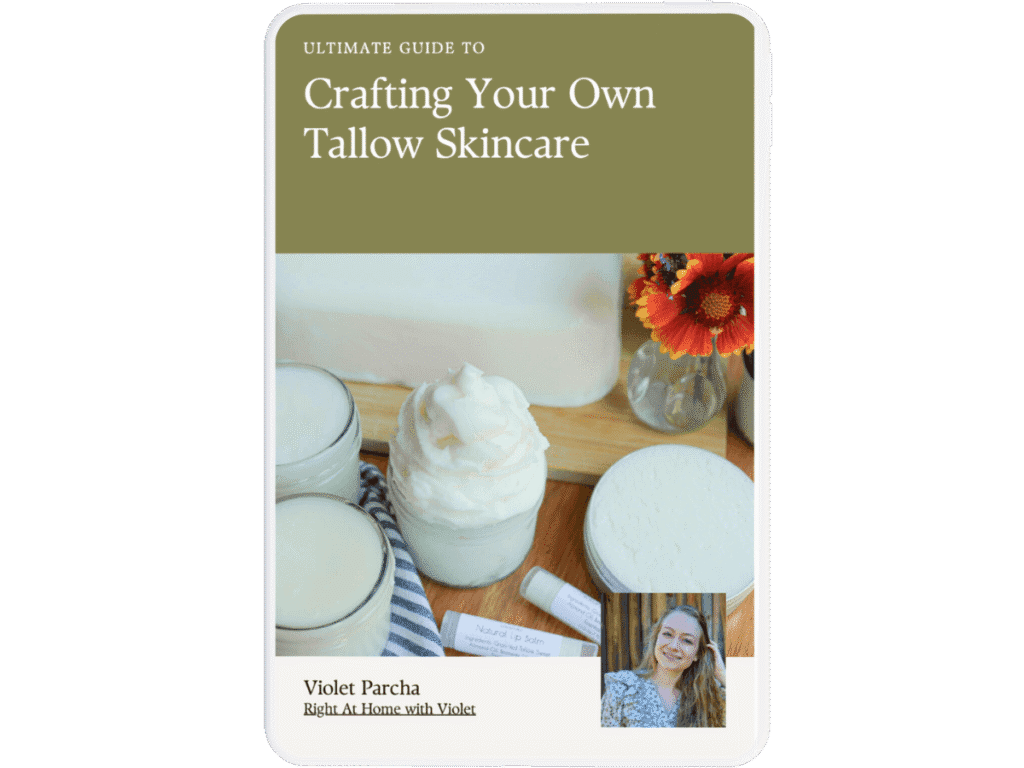
Download my ebook Ultimate Guide to Crafting Your Own Tallow Skincare and get ready to experience naturally radiant skin!
How to Store
Tallow is shelf-stable and can be stored at room temperature in dark location for up to 1 year. If you want to extend its shelf life, you can refrigerate or freeze it.
Where to Purchase Beef Suet
Raw beef suet can usually be purchased at a local butcher shop or direct from the farmer. While organic, grass-finished is always best, tallow from healthy cows will still be wonderful for cooking, skincare, and various other uses.
Tips for Success
Finely grind the suet – This will make the process go quicker and help you get every bit of tallow out of the suet. If you can’t grind it, you can always cut it into small pieces, but the process won’t be quite as easy.
Don’t rush – To avoid burning, tallow needs to be rendered slowly at a low temperature.
Purify 3 times – Each time the tallow goes through the purification process, you remove more impurities. Typically, it takes 3 rounds of purification to lose the beefy scent.
Dry completely before storing – Water can cause mold, so make sure there’s no dampness remaining on the tallow when you’re ready to store it.
FAQs
There are pros and cons to each method, however, dry rendering is trickier since the tallow can easily burn. Typically wet rendered tallow has a more neutral smell.
Each purification step in rendering tallow takes approximately 2 hours. If you want white, odorless tallow, it’s necessary to purify it 3 times.
The amount of tallow you can get from suet varies significantly on the amount of meat and connective tissue mixed into the fat. Also, the finer the suet is ground before being purified, the more tallow you will be able to extract.
If you use this recipe to render your own tallow, let me know in the comments! Tag me on Instagram @violet_rightathome
How to Render Tallow (Easy Water Method)
Equipment
Ingredients
- 5 pounds beef suet
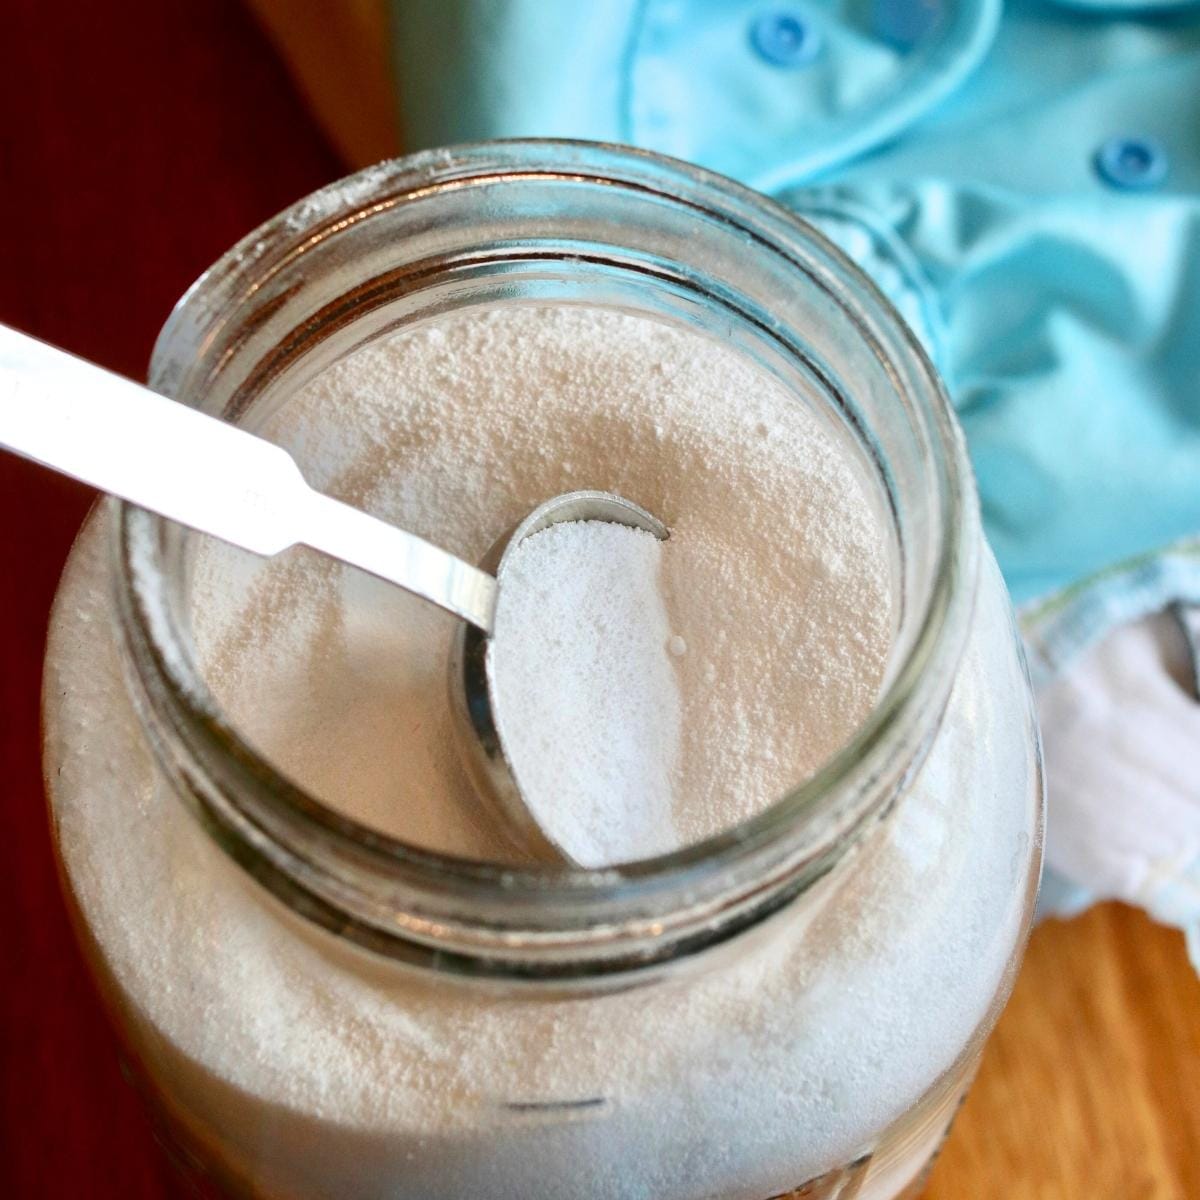
- 6 tablespoons salt Pink salt is the easiest since you will be able to clearly see any salt residue on the tallow.
Instructions
- Place the suet in a food processor and grind well.
- Place the ground suet and ⅓ of the salt in a stockpot and add enough water to completely cover the suet. Put it in the oven and turn it to 200 degrees.
- Stir the mixture every 45 minutes until it has completely melted and pieces of gristle are floating on top. The time this takes will vary based on how finely you were able to grind or cut the tallow.
- Strain the mixture through a fine mesh strainer and place it in the fridge until the tallow hardens on top of the water.
- Wash the stockpot to use again.
- Remove the hardened tallow and scrape the brown residue off the bottom of the disk. The water left in the bowl will be extremely dirty.
- Place the tallow back in the clean stockpot along with half of the remaining salt and cover with fresh water. Place back in the oven at 200 degrees for about 2 hours or until the tallow has melted and gently simmered for about an hour.
- Strain the mixture through a fine mesh strainer, this time with a cheesecloth spread over it, and place in the fridge until the tallow hardens.
- Wash the stockpot to use again.
- Remove the hardened tallow and scrape any brown residue off the bottom. There should be less than the previous time and the water left at the bottom of the bowl should look cleaner too.
- Place the tallow back in the clean stockpot along with the rest of the salt and cover with water. Place back in the oven at 200 degrees for about 2 hours or until the tallow has melted and gently simmered for about an hour.
- Strain the mixture, this time using a doubled cheesecloth over a mesh strainer and let sit at room temperature for an hour before placing in the fridge to finish hardening.
- Once the tallow is hard, remove it from the bowl. Use a knife to scrape any discolorations off of it (there shouldn't be much left).
- Use paper towels to dry it off as much as possible, and let it sit at room temperature to dry completely before storing.
Notes
How to Store:
Option 1:- Break up the tallow and store in a container. If you use this method, be very careful that the tallow is 100% dry before storing.
- Gently melt the tallow in a double boiler and pour into a glass container to store. As it melts, any moisture remaining on the tallow will sink to the bottom of the melted tallow. Be careful to watch for this water and not let it go into the storage container. (This is my favorite method.)
If you tried rendering tallow, I’d love to hear how it went for you! Please make sure to come back and leave a comment and a ⭐️⭐️⭐️⭐️⭐️ rating.


I use tallow for so much, so this is one of my staple recipes I’m always coming back to. Let me know if you have any questions on rendering your own tallow. I always love to help!