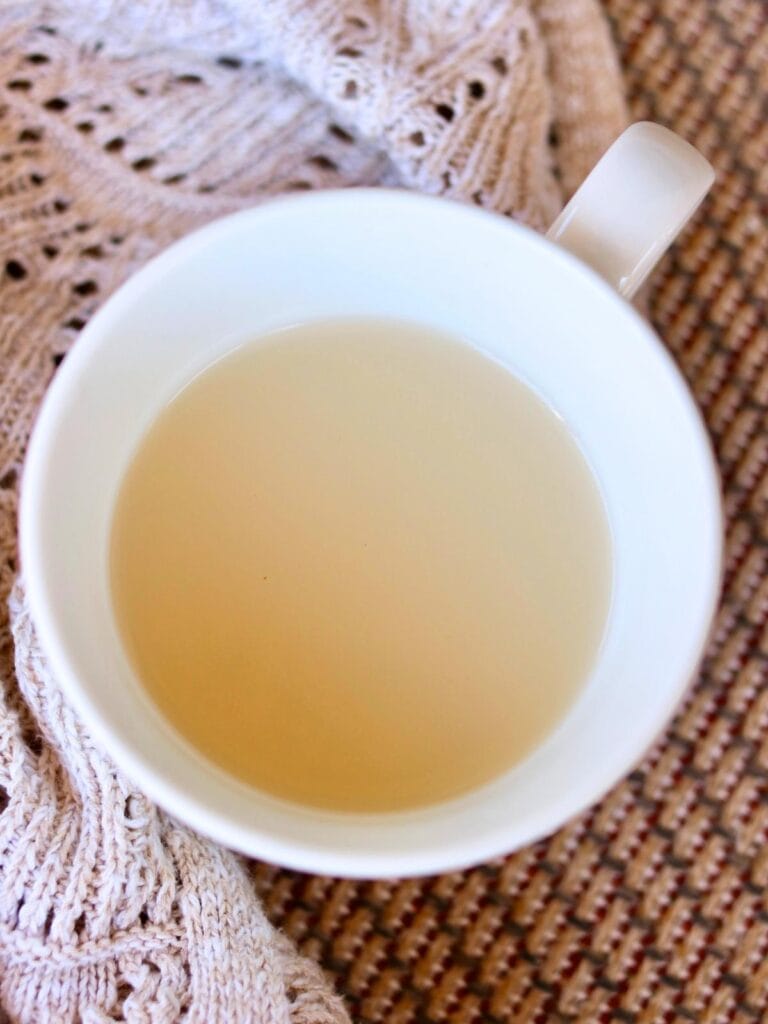
Simple, healthy, and versatile, knowing how to make bone broth is a skill every good cook should have. Here is the easiest method for rich, gelatinous bone broth every time!
When I first dived into the world of healthy cooking, bone broth was one of the very first things I learned to make. Not only was it a simple and easy place to start, but it’s packed with amazing nutrition.
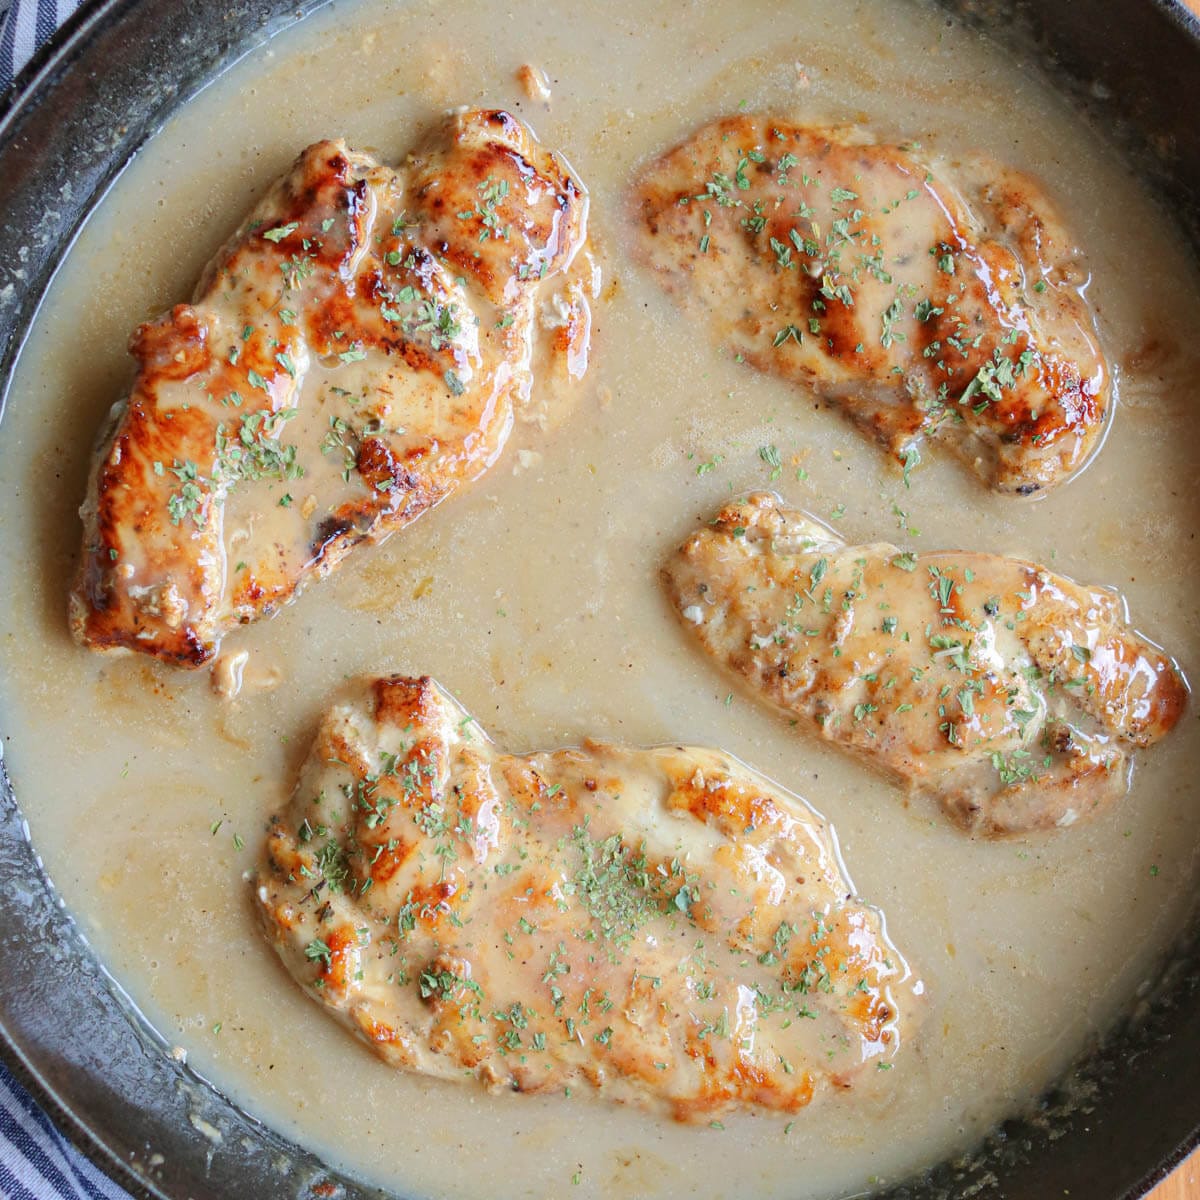
Making bone broth has now become a regular routine for me, and I do my best to make sure we never run out! I usually make a couple of large stockpots every month and freeze it to use to use in foods like Salisbury steak or Indian beef curry.
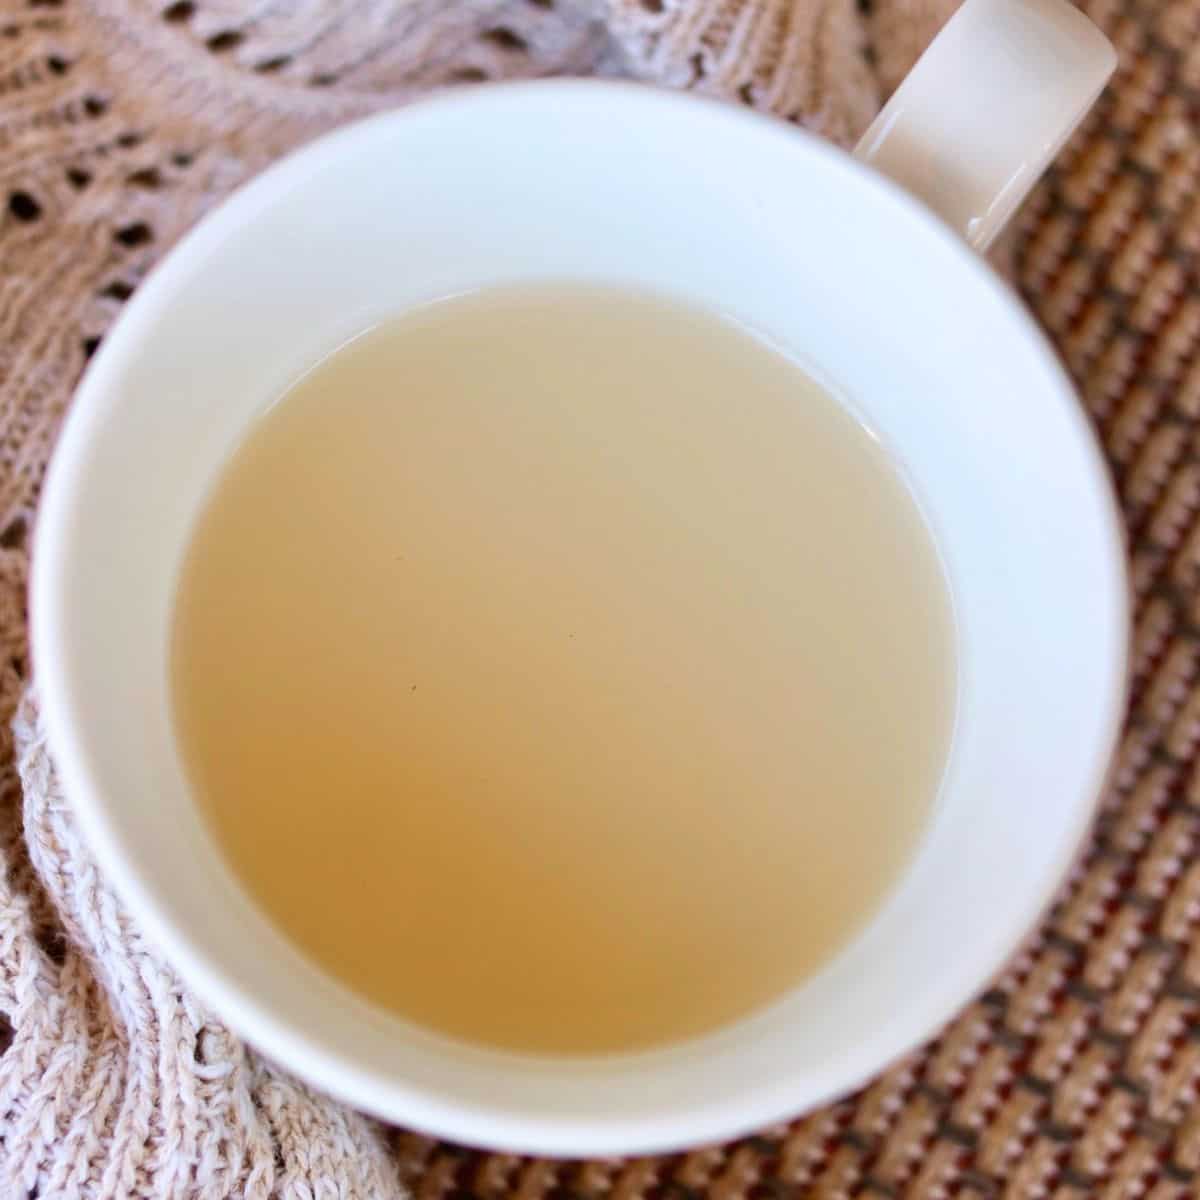
Often, we’ll even just drink it plain! (My toddler and baby both love it like this.)
Why You’ll Love this Recipe
Classic method – This is the simplest way to make bone broth!
Healthy drink – Bone broth is packed with protein, collagen, gelatin, calcium, magnesium, glucosamine, chondroitin, and many other vitamins and minerals.
No fancy tools – If you’ve got a few basic pieces of cookware, you can make bone broth!
Great for babies and children – Bone broth is a fantastic food for babies after they’re 6 months, and my toddler still loves it!
Fail-proof recipe – I’ve made bone broth using this method over 30 times, and it always turns out great.

How to Cook with Bone Broth
Bone broth has been used by chefs in Asia, France, Italy, and other cultures for thousands of years to make rich, healthy dishes. Even if you’re just making simple home-cooked meals, bone broth adds a wonderful depth of flavor to so many foods.
Here are some easy ways you can start using it in your cooking:
- Base for soups, gravies, and sauces
- Cook rice or quinoa
- Replace regular broth or water in recipes
What Type of Bones to Use
You can use any type of animal bones to make bone broth, however the most popular types are chicken, pork, or beef bones. For this recipe, I used beef bones.
For best results, you want to use a mixture of bones. Make sure many of them include marrow and connective tissue. It’s also great if they still have little bits of meat on them.
If you’re on a budget or all you can find is soup bones, they will still make good broth.
If you can, it’s good to use bones from a quality source. Bones from organic, grass-fed/pastured cows are the best.
If you’re not able to find bones from animals raised exactly this way (or they’re too expensive), the most important thing is that they lived in a healthy environment.
Where to Buy Bones
You may be able to find bones at a grocery store, however, it’s likely that you can find higher quality bones for a much better price from a local butcher or farmer.
Check out a local farmers market and talk to people in your area. The bones are typically one of the least-desirable parts of the animal, so farmers have plenty that they would love to sell you.
Bones are also available online from various sources.
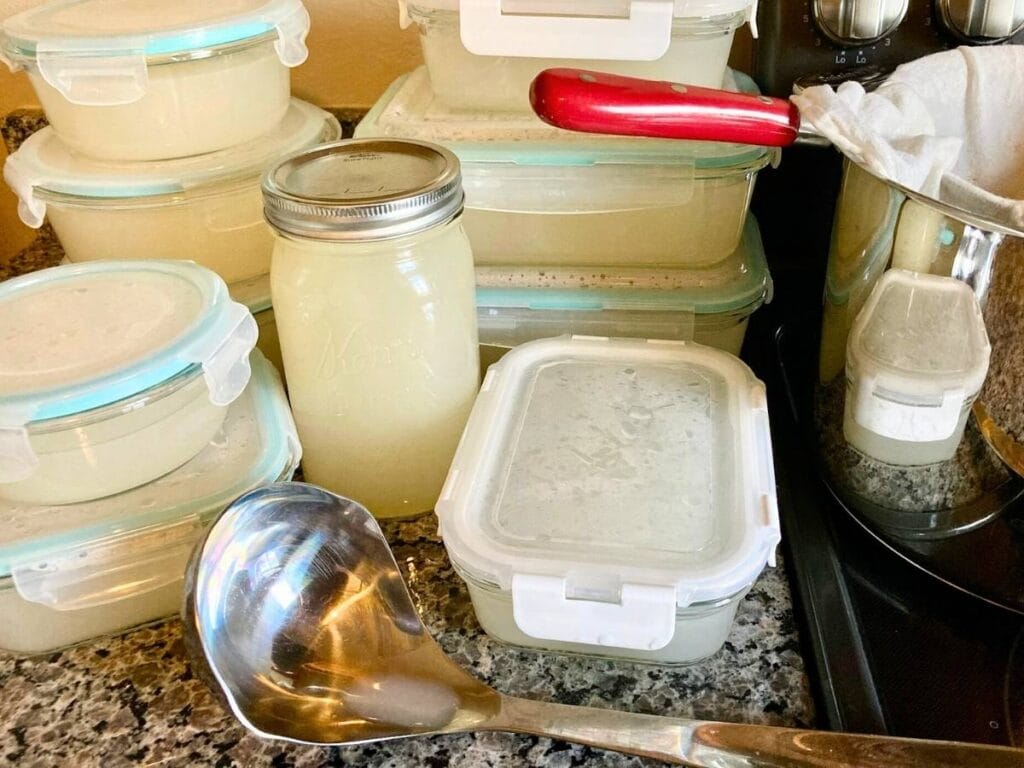
How to Store
Bone broth will keep in the fridge for 5 days. If you leave the fat on top as an airtight seal, this will make it last few more days.
When I make bone broth, I immediately place it in the fridge and let the fat harden for a day or two. Once I remove the fat and pour the broth into smaller containers, I begin the 5 day countdown.
You can also freeze bone broth for up to 6 months. While there are a few different methods, I recommend using freezer-safe glass food storage containers.
Tips for Success
Use a Variety of Bones
Bones from different parts of the animal have different nutrients, so use a variety for the most well-rounded broth. It’s best to focus on bones with lots of marrow or connective tissue.
Don’t Skip Blanching and Roasting the Bones
These are extremely important steps that improve the purity and flavor of the bone broth. I often do these steps the day before making broth and then place the bones in the fridge overnight.
Add Apple Cider Vinegar
This helps to draw the nutrients out of the bones and will result in richer bone broth.
Use the Right Water
High-quality well water or spring water is my favorite! Water with a lower ph (such as reverse osmosis water) won’t do quite as good of a job at extracting the nutrients from the bones.
However, any clean drinking water will still make great bone broth!
Simmer as Long as Possible
Bone broth should be simmered for a minimum of 12 hours, however, you can simmer it for up to 24 hours. The longer it goes, the richer it will become.
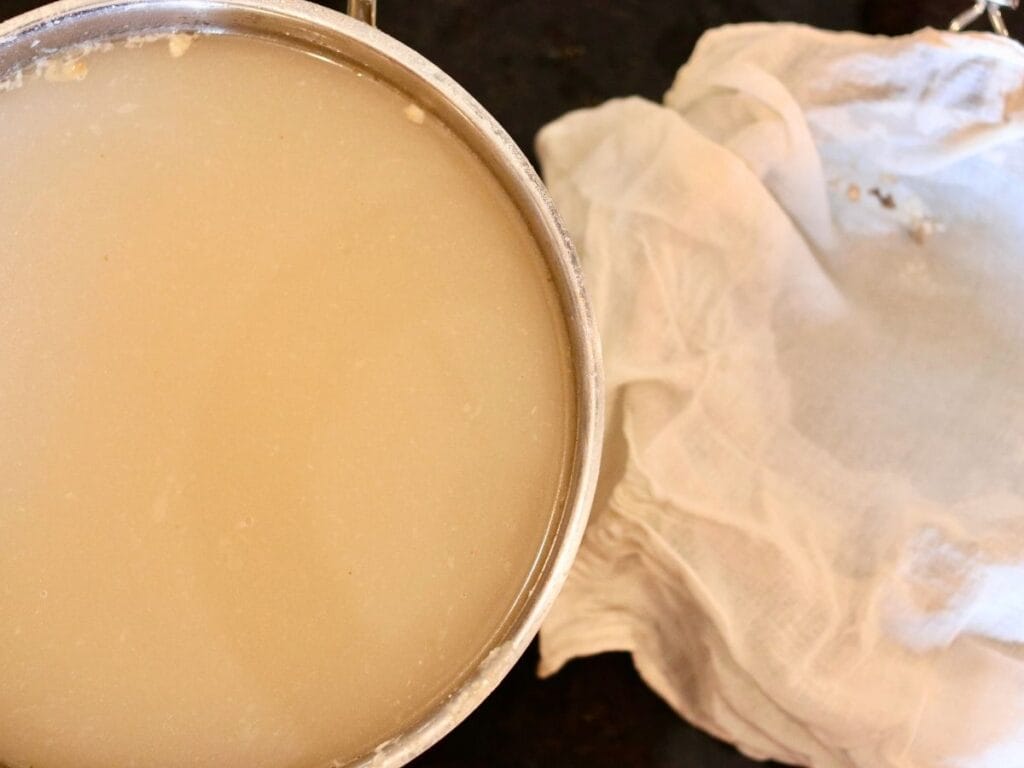
Strain with a Cheesecloth
Often even a fine mesh strainer will leave tiny bone particles in the broth. It’s best to strain it with a cheesecloth over a mesh strainer to make sure all the particles have been removed.
Frequently Asked Questions
It’s often recommended to drink two cups of bone broth daily. However, this is not strict, and the amount you consume can be based on your personal preference and any health practitioner recommendations.
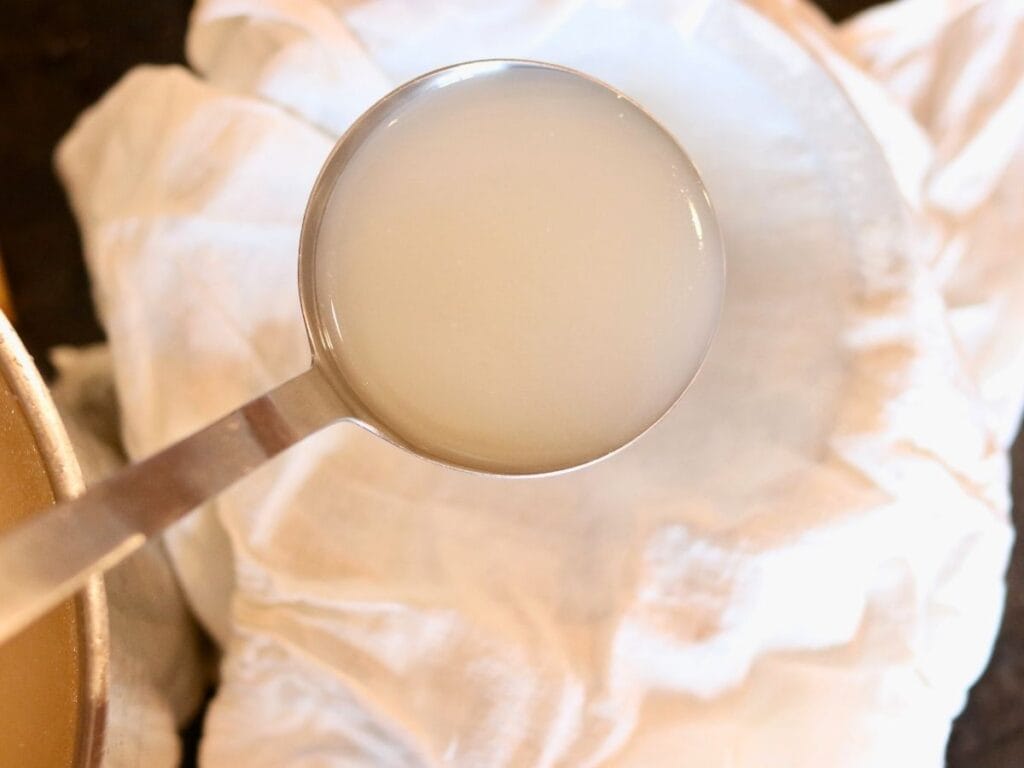
The thickness of the bone broth depends on the amount of gelatin extracted from the bones. Each batch will vary depending on the bones you use.
For thicker bone broth, use bones with lots of connective tissue and add apple cider vinegar to help draw out the gelatin.
Regular broth is made with more meat and less bones, while bone broth is primarily made with bones. Because of this, bone broth has higher nutrition and a richer flavor.
Yes, bone broth is made with bones, water, and apple cider vinegar, so it’s free of all of the major allergens.
When broth is boiled at a higher heat the proteins and fats emulsify giving the broth a milky white appearance. This is totally normal and healthy!
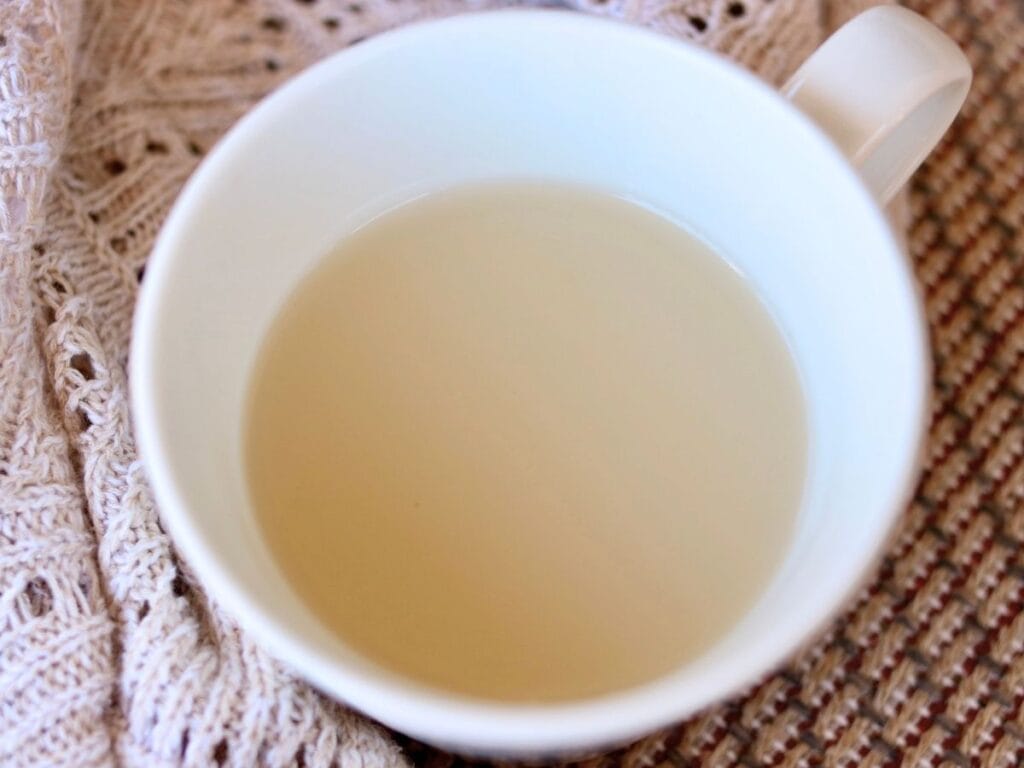
Violet’s Tips for Serving
Bone broth makes a rich and nourishing drink on its own. If you’re not a fan of the plain flavor, you’ve got to try bone broth hot chocolate!
Tools You May Need
This post contains affiliate links which means I earn a small commission at no extra cost to you. See my full disclosure here.
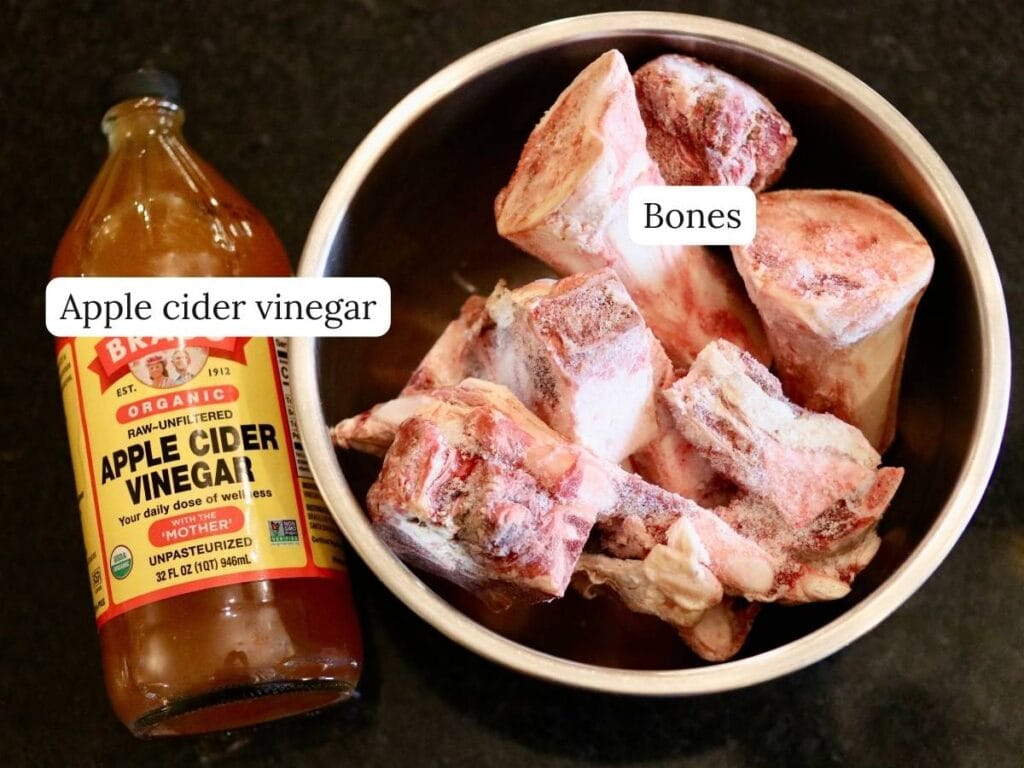
Ingredients
Step-By-Step Instructions
Prepare the Bones

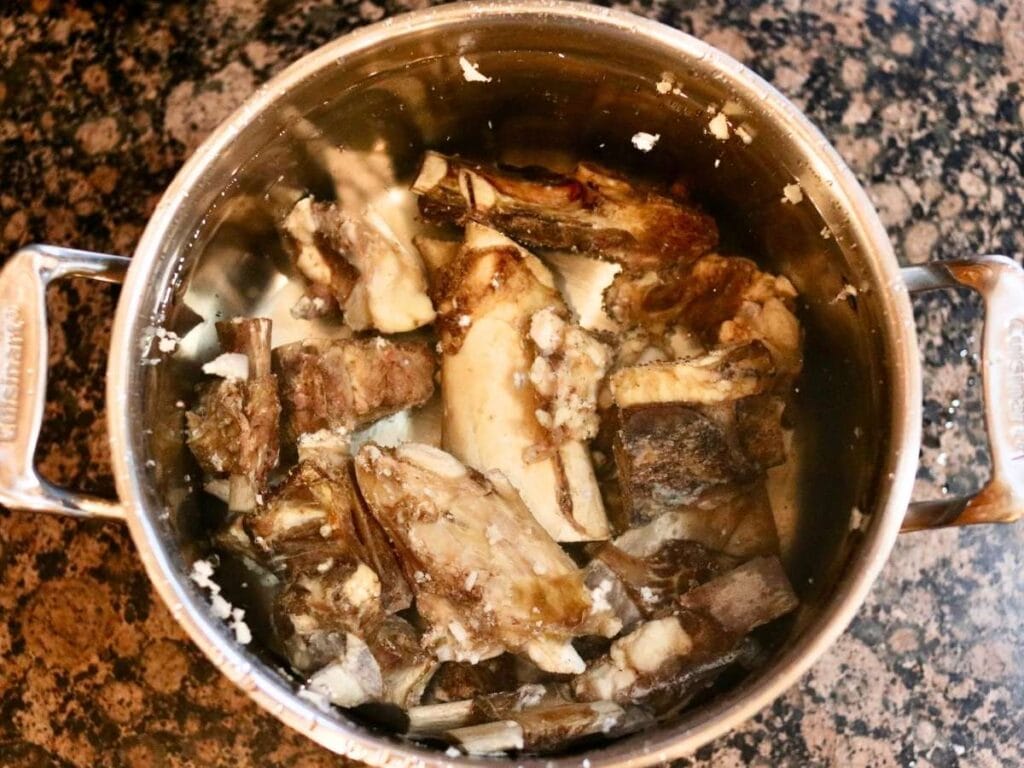
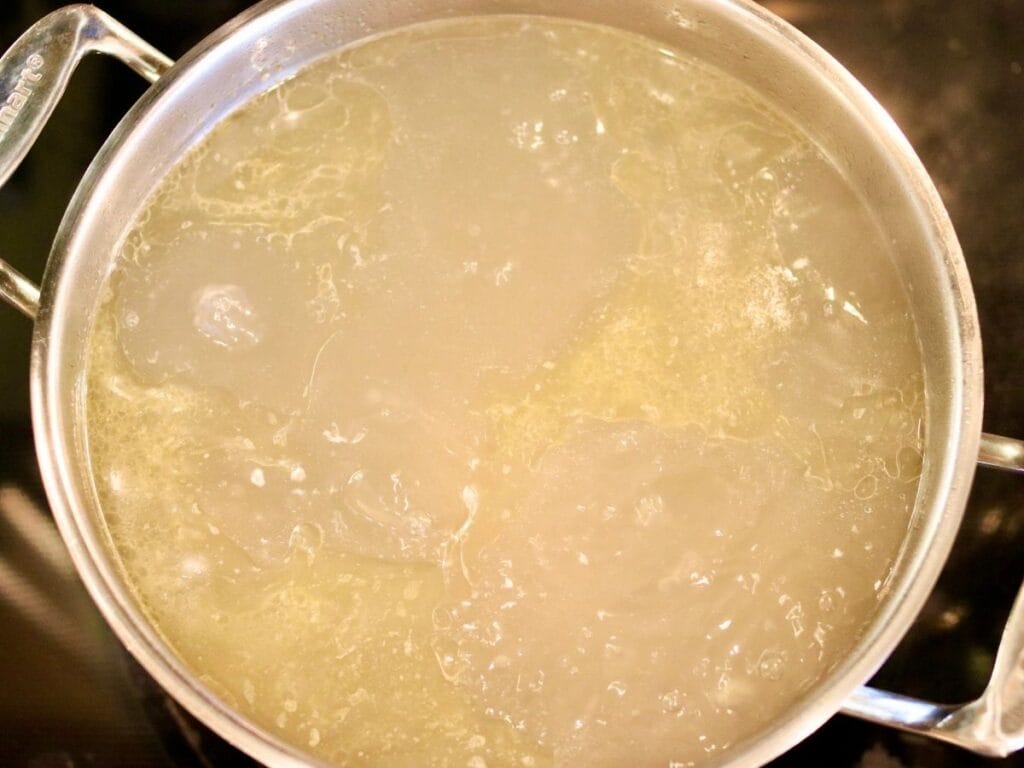
Step 1: First, blanch the bones to remove impurities. Add your bones to a stockpot, cover with water, and boil for 20 minutes.
You’ll see lots of foam and other residue come to the top of the water.
I usually use about 4-5 pounds per 8 quart pot, however, for richer broth, you can add as many bones as you would like as long as they’re able to stay completely under when the pot is full of water.
Step 2: Then preheat your oven to 450 degrees.
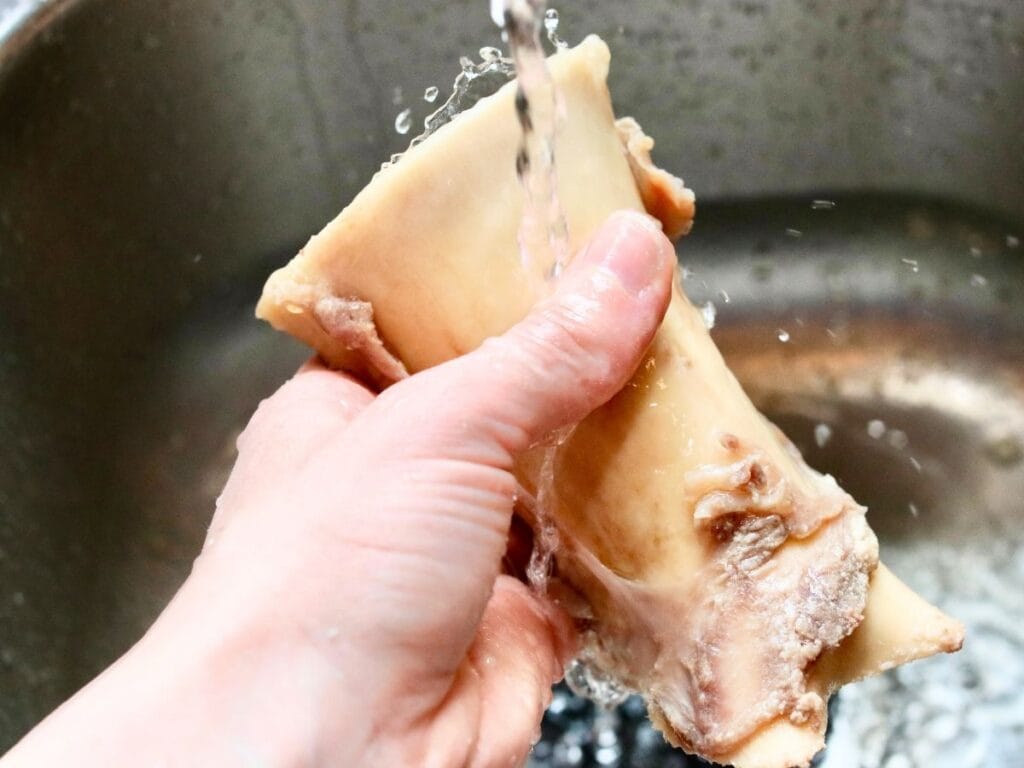
Once the bones are done boiling, rinse them with cold water to get off any loose residue. You don’t need to scrub hard; just remove whatever comes off easily.
Make sure to leave as much marrow in the bones as possible.
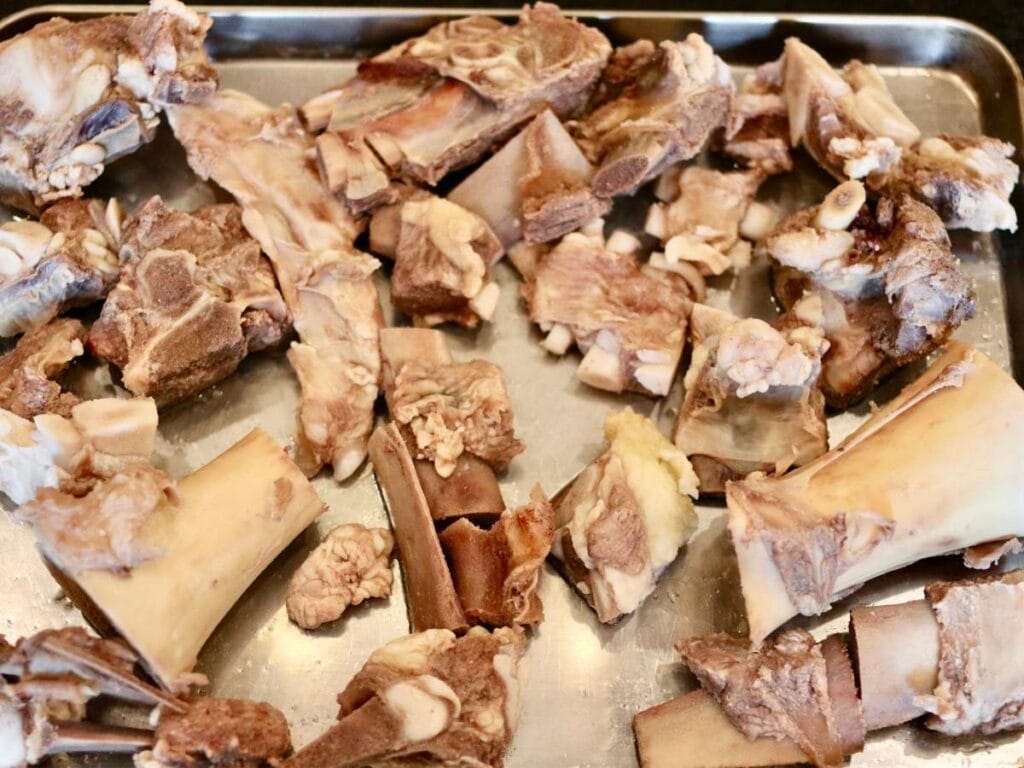
Step 3: Next, roast the bones to improve the flavor. Place the bones on a baking sheet and put them in the oven for 30 minutes.
Then flip them over and roast for an additional 15 minutes.
Step 4: After roasting is done, I usually put the bones in the fridge and call it a day. However, you can make your broth in one day if you have enough time.
Make the Bone Broth
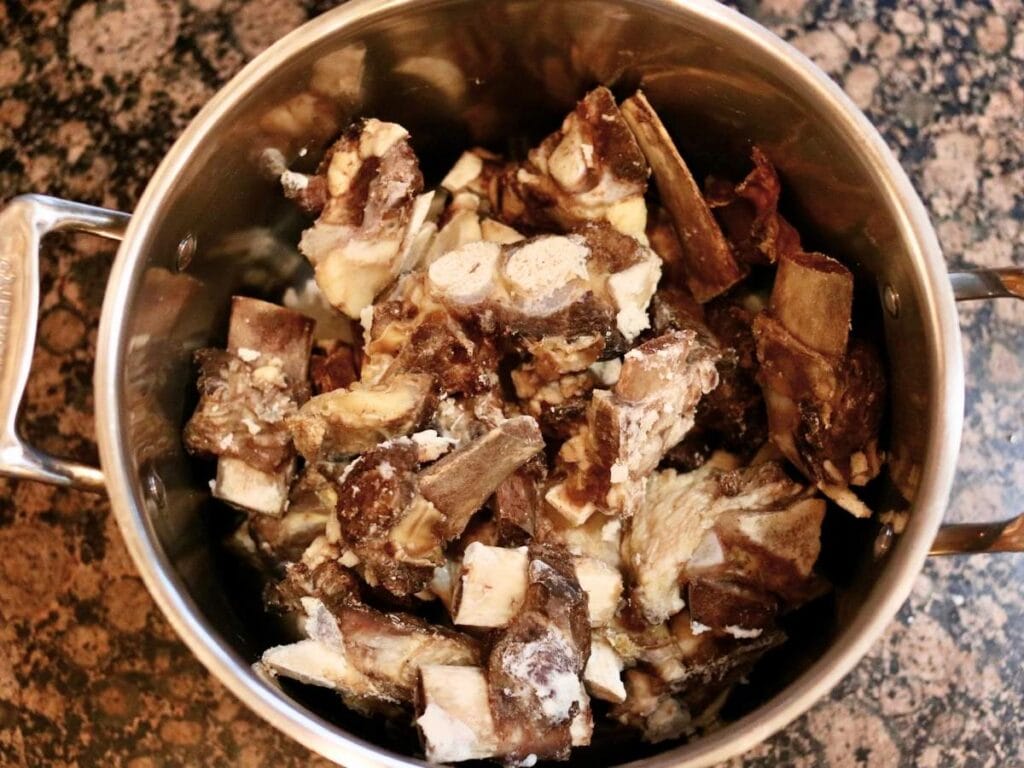
Step 1: Put the bones (and any fat that came off when they were roasted) in a clean stockpot, add the apple cider vinegar, and then fill up the pot the rest of the way with water, making sure to completely cover all of the bones.
Step 2: Now bring the water to a simmer, cover partially, leaving the lid tilted, and cook on the stove for at least 12 hours.
The longer the better! Make sure to replenish the water as it evaporates.
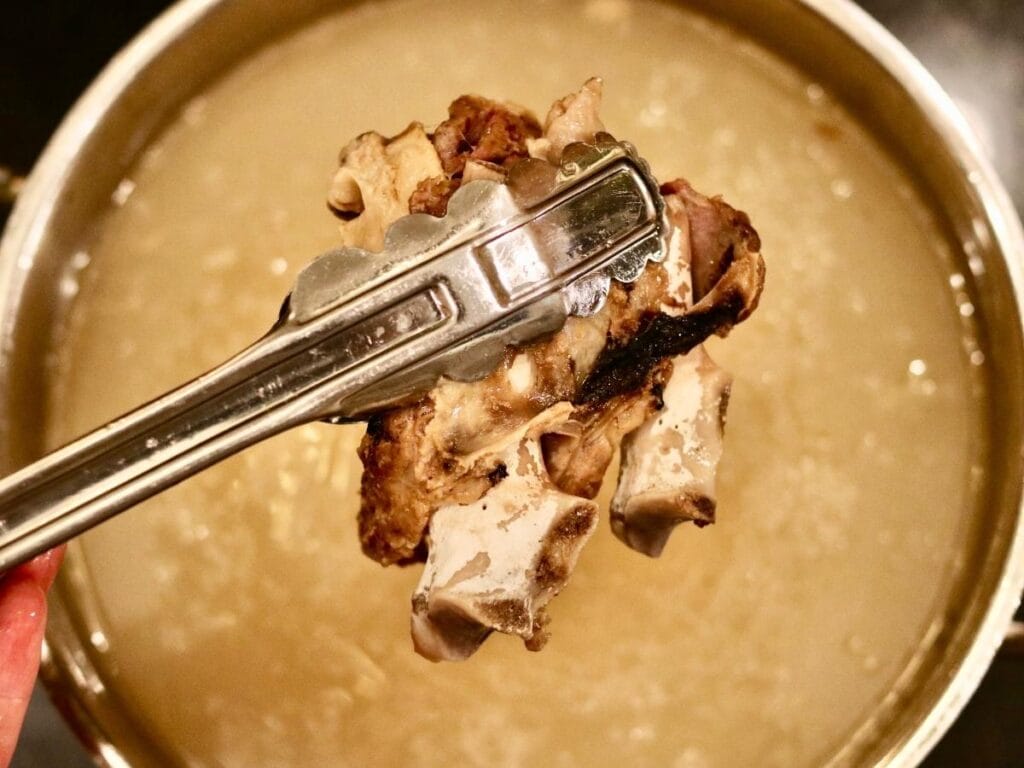
Step 3: After you’re done simmering the broth, remove the bones with tongs and place the pot in an ice bath to cool.
Then place the pot in the fridge to chill for 36-48 hours.
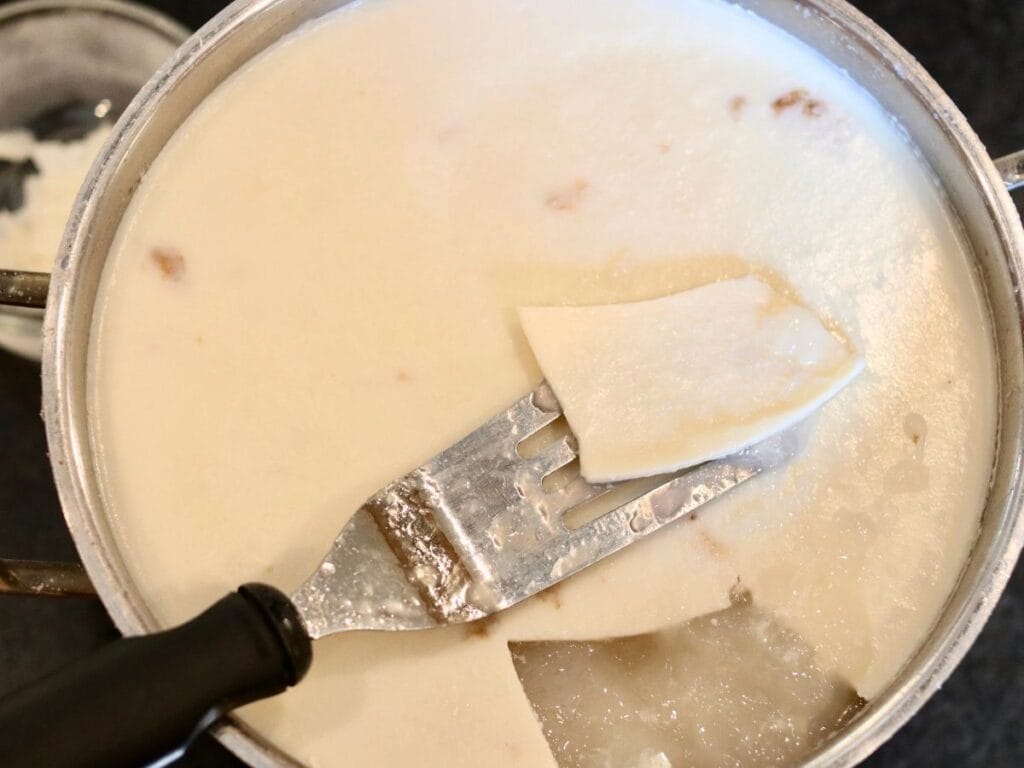
Step 4: Once the broth has fully chilled, it will have thickened and there will be a hard layer of fat on top. Remove the fat which can be used for cooking.
Step 5: Then place the broth back on the stove on medium heat and warm until it’s thin.
Step 6: Finally, strain the bone broth through a cheesecloth over a mesh strainer and store it in the fridge or freezer.
If you try this recipe, let me know in the comments! Tag me on Instagram @violet_rightathome
Recipes That Use Bone Broth
Simple Salisbury Steak Recipe – Gluten & Egg Free
Gluten-Free Green Bean Casserole from Scratch
Gluten-Free Cream of Mushroom Soup Recipe
Cabbage Roll in a Bowl – Easy Skillet Meal
Bone Broth (with Beef Bones)
Ingredients
- 4-5 pounds beef bones
- 2 tablespoons apple cider vinegar
- water
Instructions
Prepare the Bones
- Add your bones to an 8-quart stockpot and cover with water.
- Turn your stove on high and bring the water to a rolling boil. Turn down to medium-high heat, and continue to boil for 20 minutes.
- Preheat your oven to 450 degrees.
- Once the bones are done boiling, rinse them with cold water to get off any loose residue. Make sure to leave as much marrow in the bones as possible.
- Place the bones on a baking sheet and put them in the oven for 30 minutes.
- Flip them over and roast for an additional 15 minutes.
Make the Bone Broth
- Put the bones (and any fat that came off when they were roasted) in a clean 8-quart stockpot, add the apple cider vinegar, and then fill up the pot the rest of the way with water, making sure to completely cover all of the bones.
- Bring the water to a simmer, cover partially, leaving the lid tilted, and cook on the stove for at least 12 hours.
- Make sure to replenish the water as it evaporates.
- After you're done simmering the broth, remove the bones with tongs and place the pot in an ice bath to cool.
- Put the pot in the fridge to chill for 36-48 hours.
- Once the broth has fully chilled, it will have thickened and there will be a hard layer of fat on top. Remove the fat which can be used for cooking.
- Place the broth back on the stove on medium heat and warm until it's thin.
- Strain the broth through a cheesecloth over a mesh strainer and store it in the fridge or freezer.
Notes
- After I've finished preparing the bones, I usually put the bones in the fridge and call it a day. However, you can make your broth in one day if you have enough time.
- The longer you let the bone broth simmer the better! For extra rich broth, cook it for 24 hours. (Don't leave it on the stove overnight. Place it in the fridge after the first day and then put it back on the stove the next morning.)
Nutrition
If you love this recipe, please make sure to come back and leave a comment and a 5 star rating. I’d love to hear how it turned out for you!
Also, I’d love to have you part of the Right At Home community! Make sure to join my newsletter for all the latest recipes, DIYs, and motherhood encouragement.


I love making bone broth, and I’d love to help you learn to make it too! Let me know in the comments if you have any questions, and I’ll reply to you.